
- This work was done from April 27 to May 9.
- Sanded ( a lot ) and trimmed empennage fairing
- Waxed fuselage and applied a layer of flox to horizontal part of fairing
- More sanding
- Fabricated fairing and inspection panel combo. I used the original inspection panel and paper as a template and made a new piece that covers the rear portion of the empennage around the elevators. This is a newer technique that Van's uses on the RV-14 ... except on that one you don't have to make the part yourself.
- After the new inspection panel / fairing piece was ready I did a flox layup to fill gaps in the vertical part of the empennage fairing.
Empennage fairing after sanding and trimming:

Flox filler layup on horizontal part of fairing:

Making the paper template for the new inspection / fairing panel:

New panel before cutouts for elevator horns:

Once the left fairing panel was done it made a quick template for the right side:

Getting ready to use the hole finder to locate screw holes:

Good fit with the elevator:

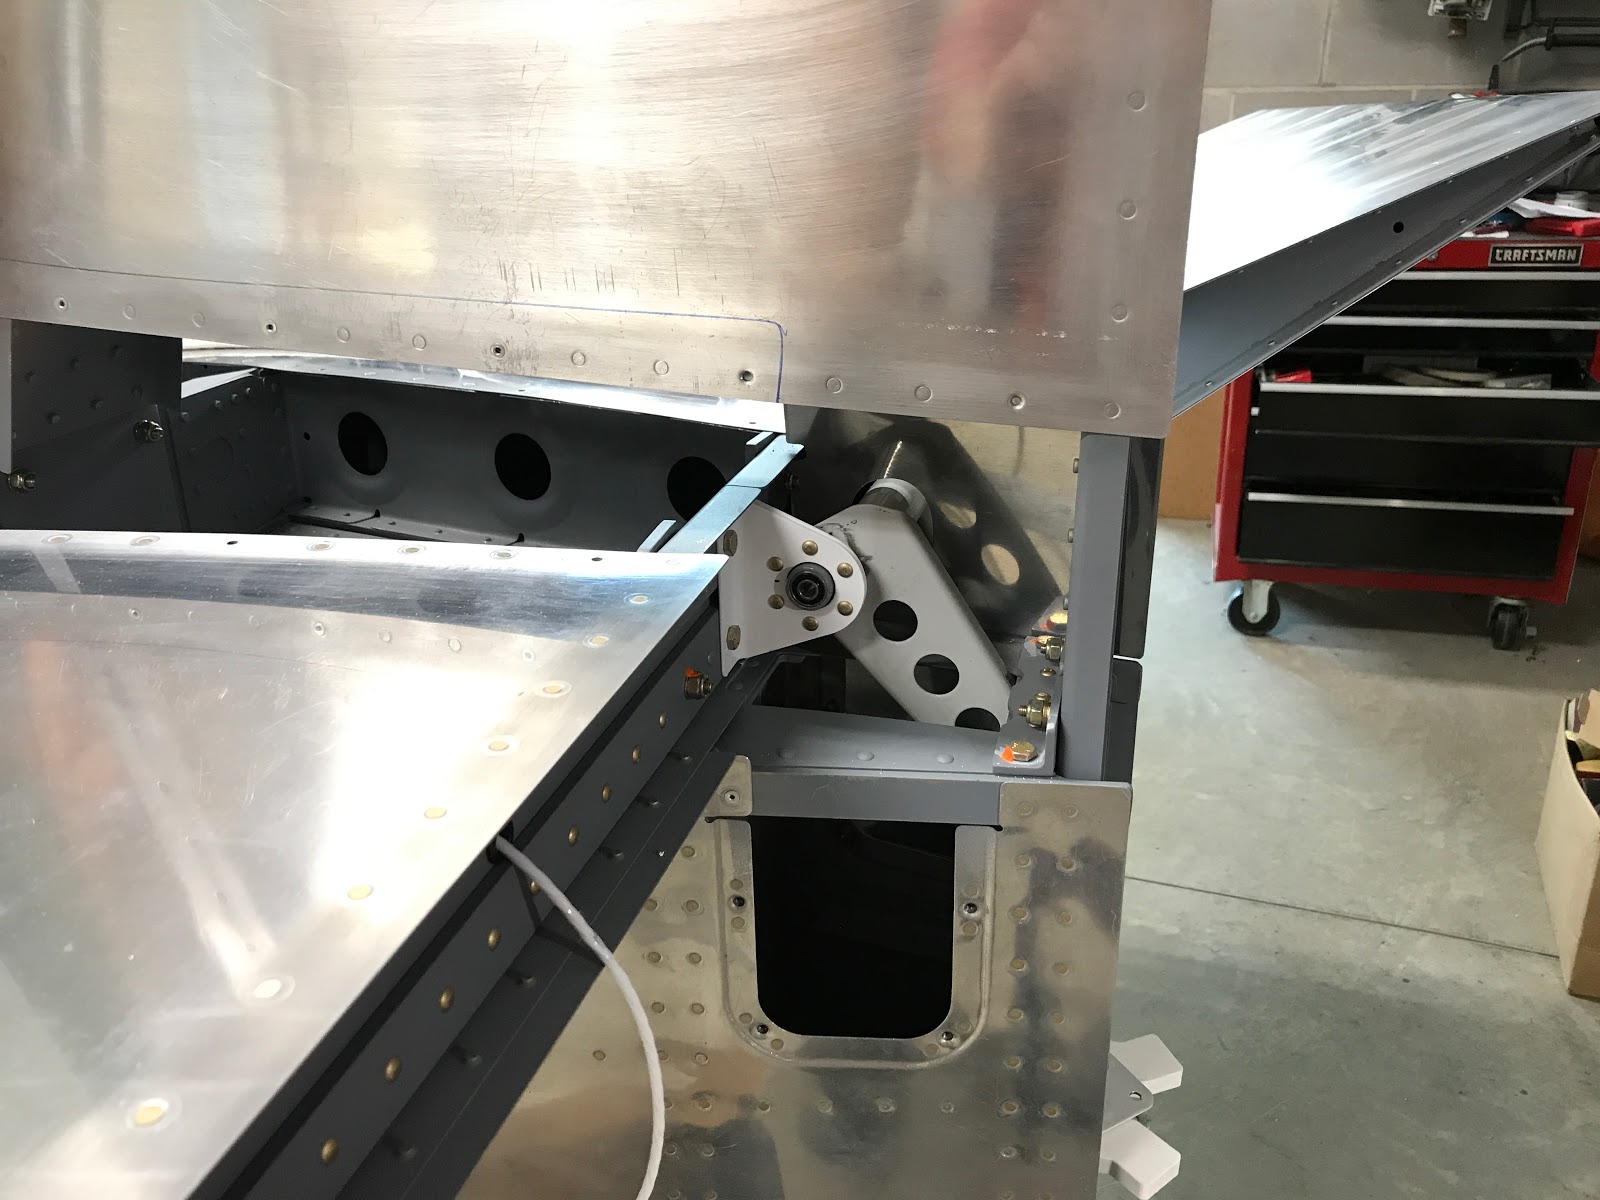
View of the right horn and main bearing from the left:
Both new panels done, doing a flox gap filler layup on the vertical portion:
