Labels

Aileron (31) Avionics (72) Canopy (80) Cowl (28) Electrical (40) Elevators (36) Empennage (94) fiberglass (22) Firewall Forward (58) Flap (43) Fuel System (23) Fuel Tank (4) Fuselage (156) Horizontal Stabilizer (25) Interior (27) Landing gear (10) Paint Schemes (2) Parachute (30) prop (2) Rudder (13) Vertical Stabilizer (14) Wing (133) Wing tip (2) Wiring (18)
Showing posts with label Rudder. Show all posts

Tuesday, August 24, 2021

More empennage tip work and some BRS parachute updates:

I don't get too many packages with this label!

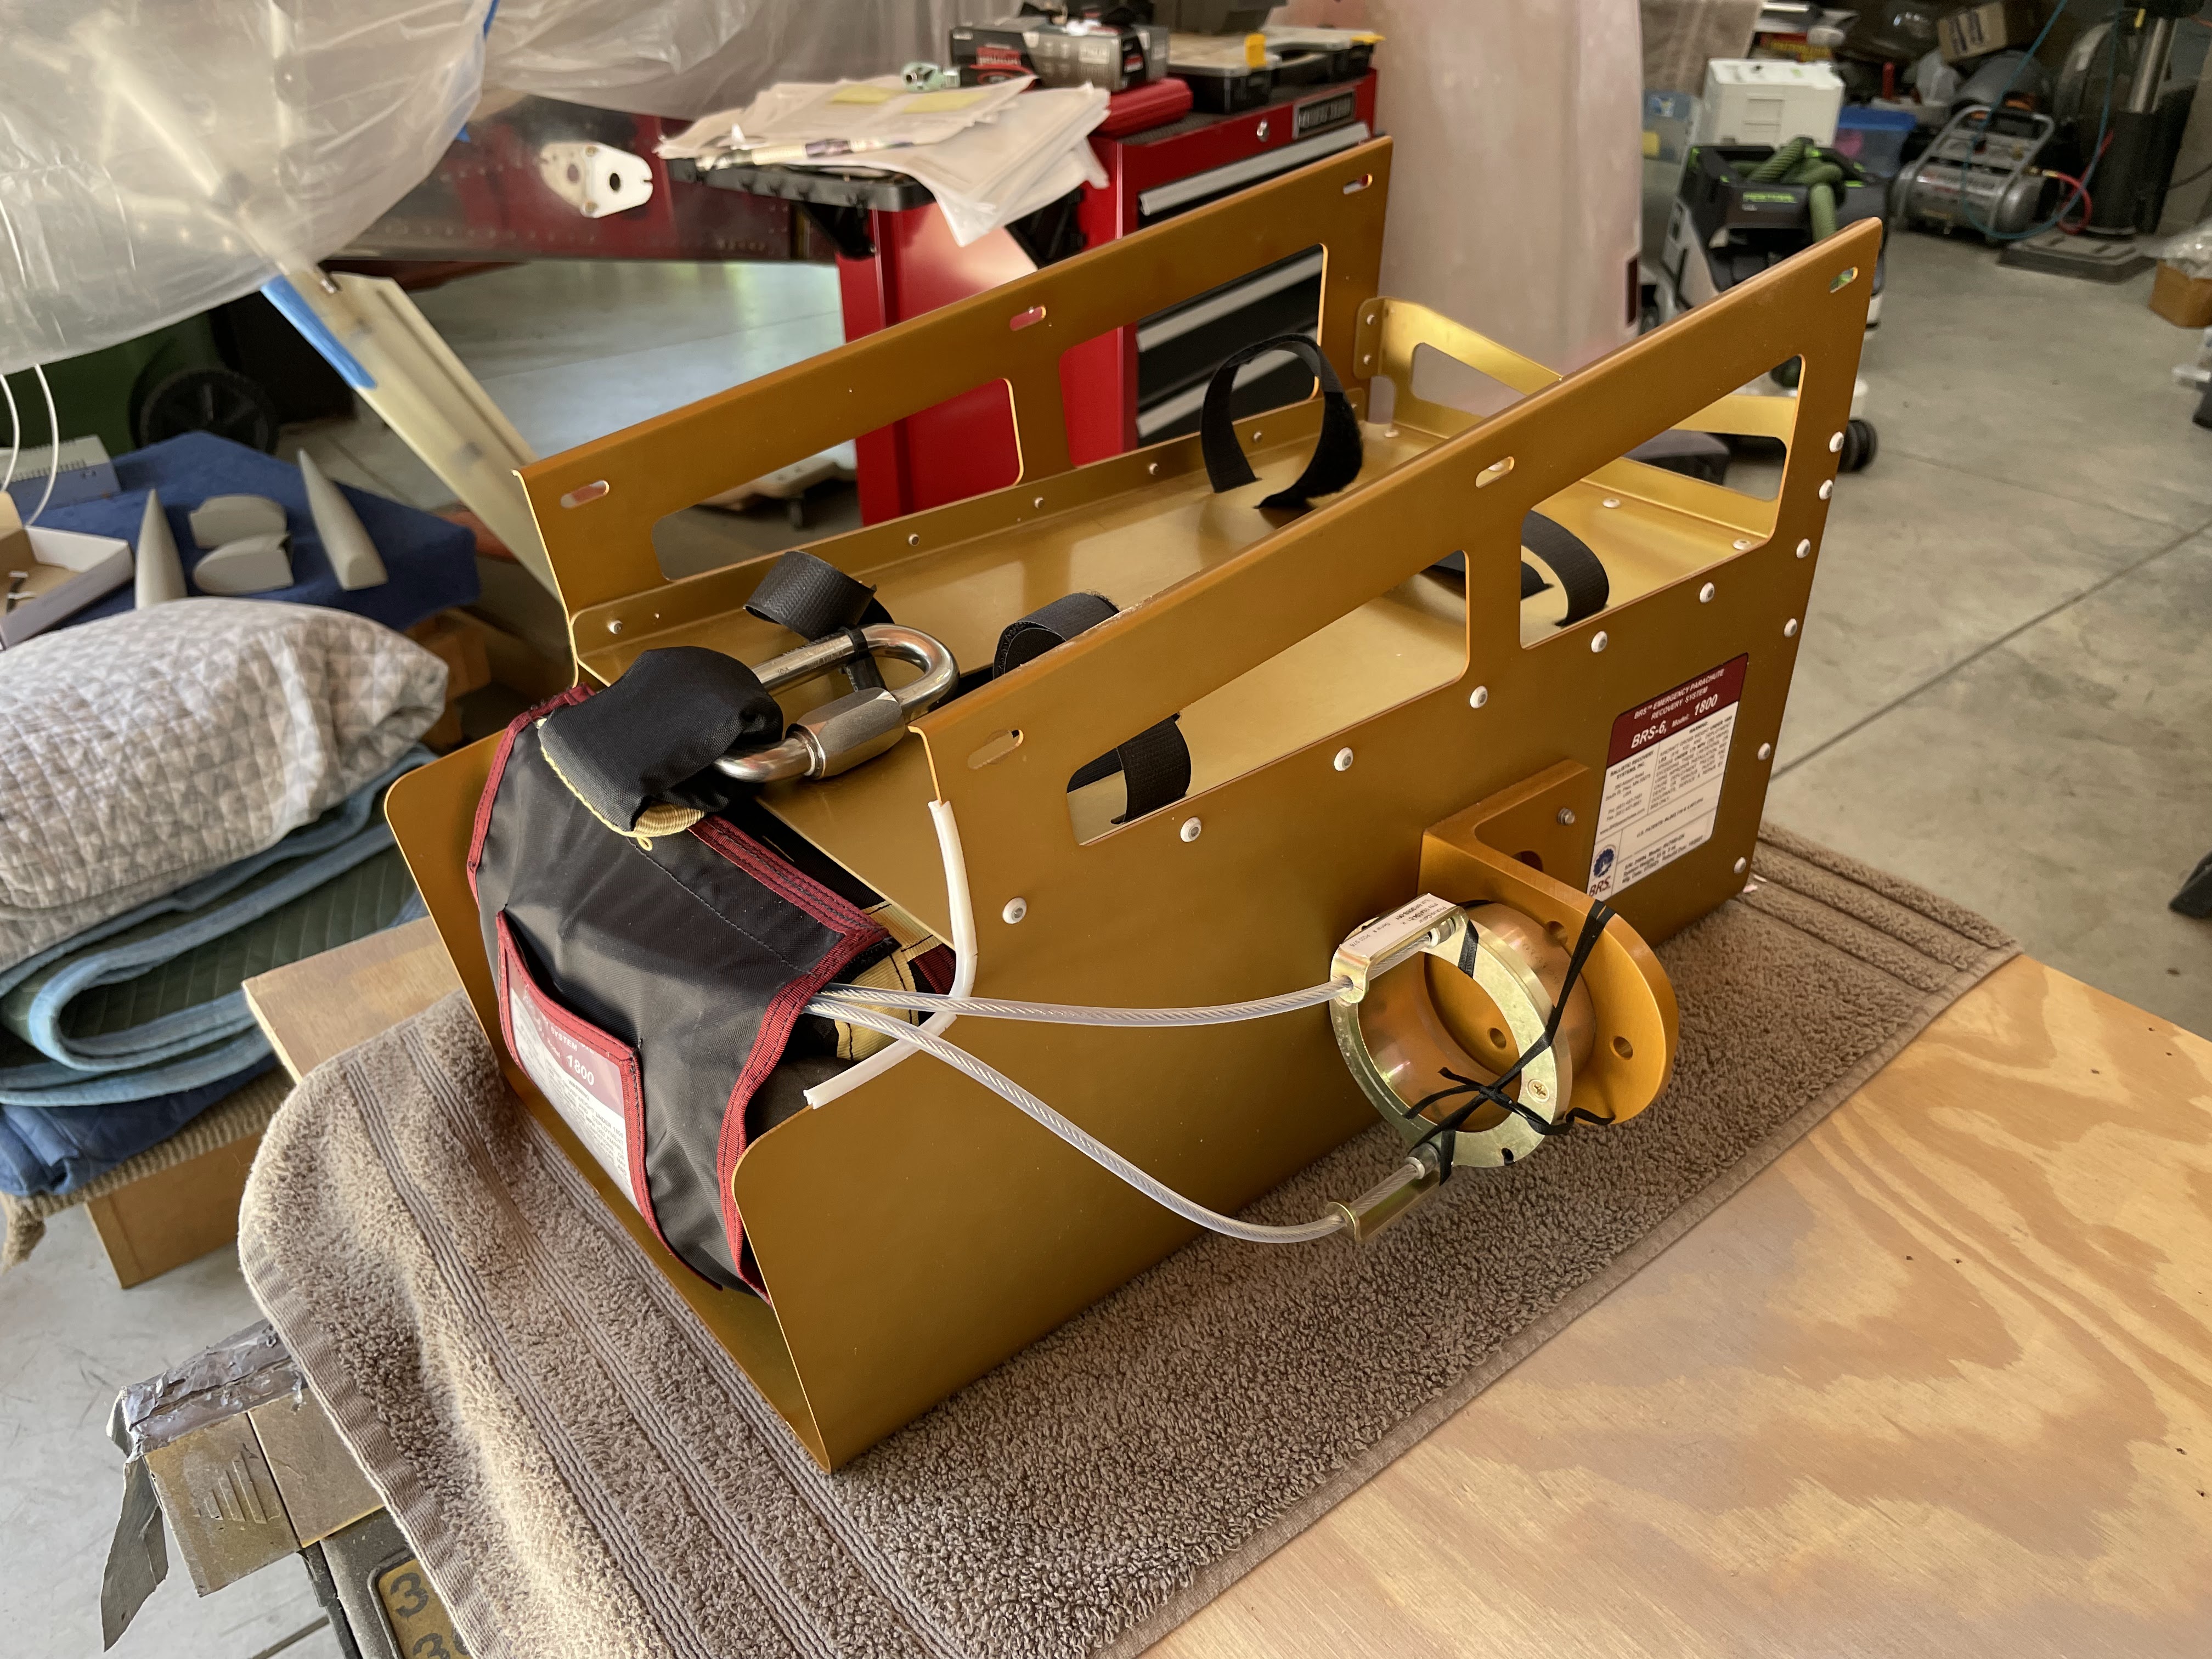
Inside were all the parts that make up the rocket which pulls the parachute out to deploy as low as approximately 400 feet! (bare minimum demonstrated by a Cirrus)

After doing all the fitting work / supports in the airplane I shipped the parachute container back to BRS and they returned it to me as shown below. Everything is ready to install. The ring is the rocket mount. Looking forward to doing the final install of the system.
I'm not so excited about the quality of Van's fiberglass parts for the RV-7. It's unfortunate because all the structural parts of the airplane are so high quality. The amount of work to make these cosmetic parts look like something you would see on a production plane is disheartening. Hopefully their newer designs like the RV-14 are better. That being said I'm making progress on the vertical stabilizer and rudder tips. However ALL of them require rework.

Here are the tips after getting some primer / filler to see how much more needs to be done.

The foam / fiberglass rib for the vertical stab went faster then the horizontal stab.
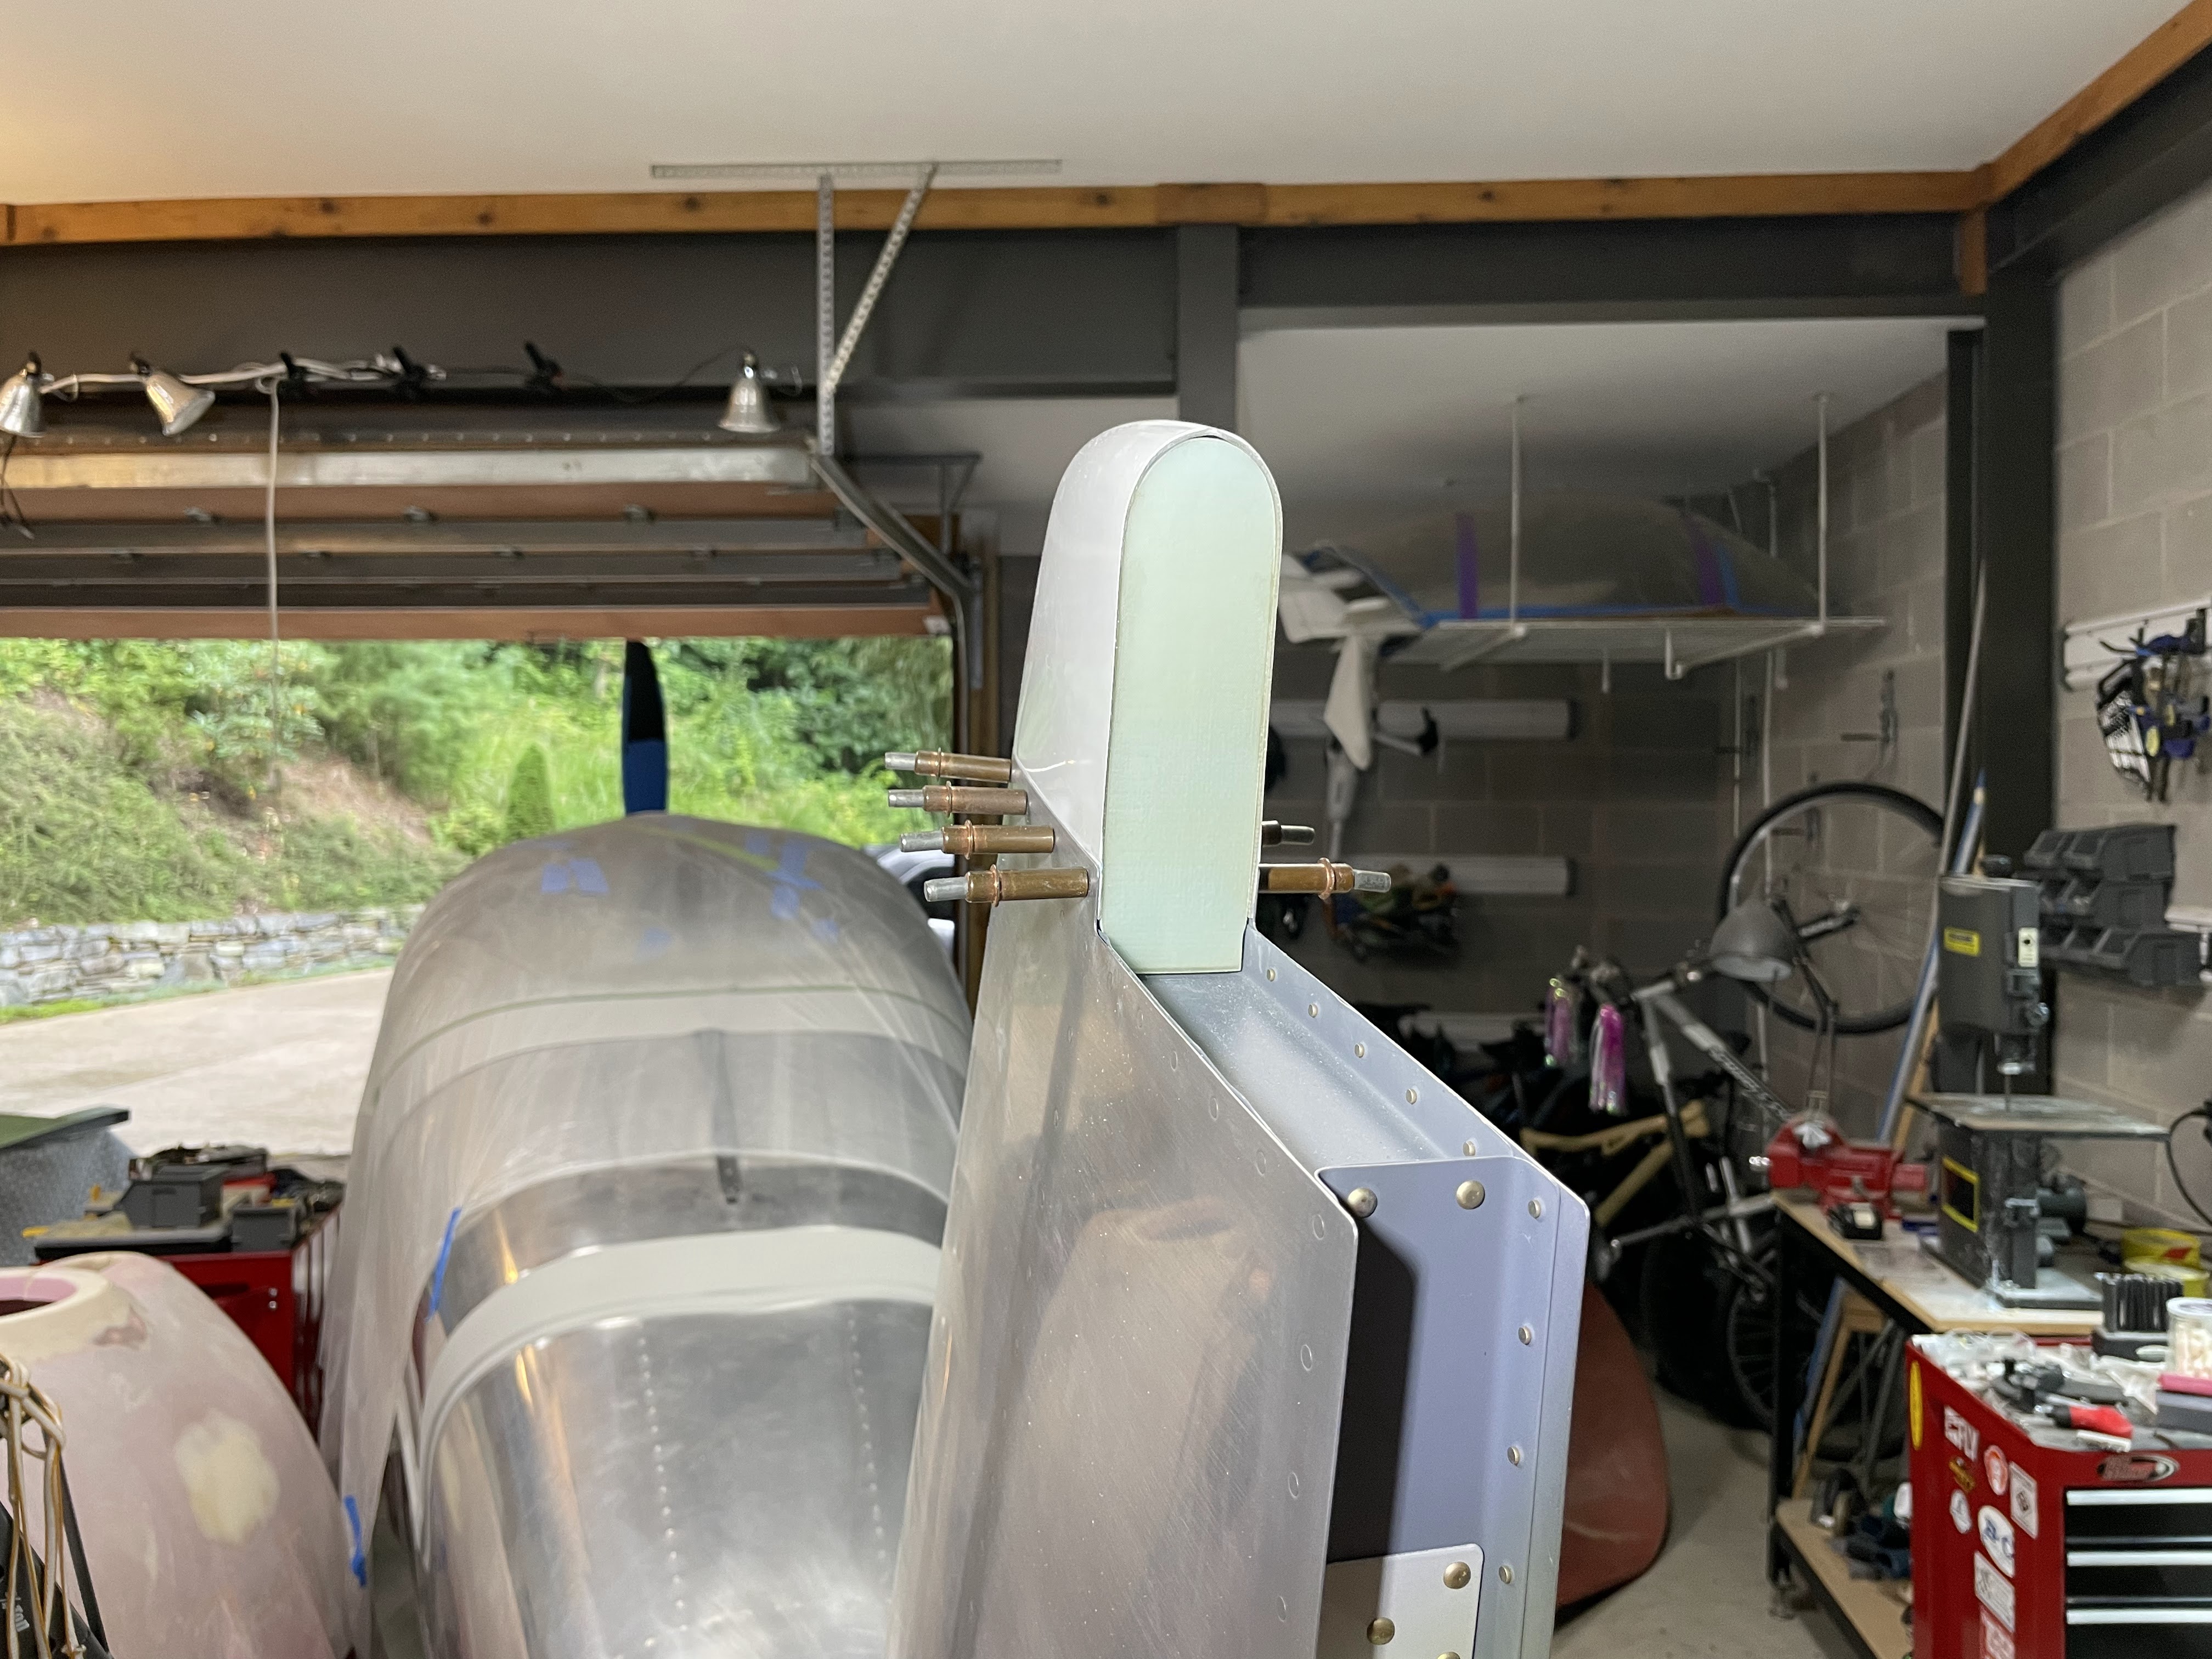
The vertical stab fiberglass tip has a "unique" shape that will require some amount of filling and sanding on every axis to look decent. Again it looks like the lowest bidder won the contract.

The rudder bottom fairing had a significant curve to it that required a lot of fun filling and sanding.

I trimmed the lower fairing to give plenty of clearance with the tail wheel nut. Some builders have had issues when landing on grass strips. 
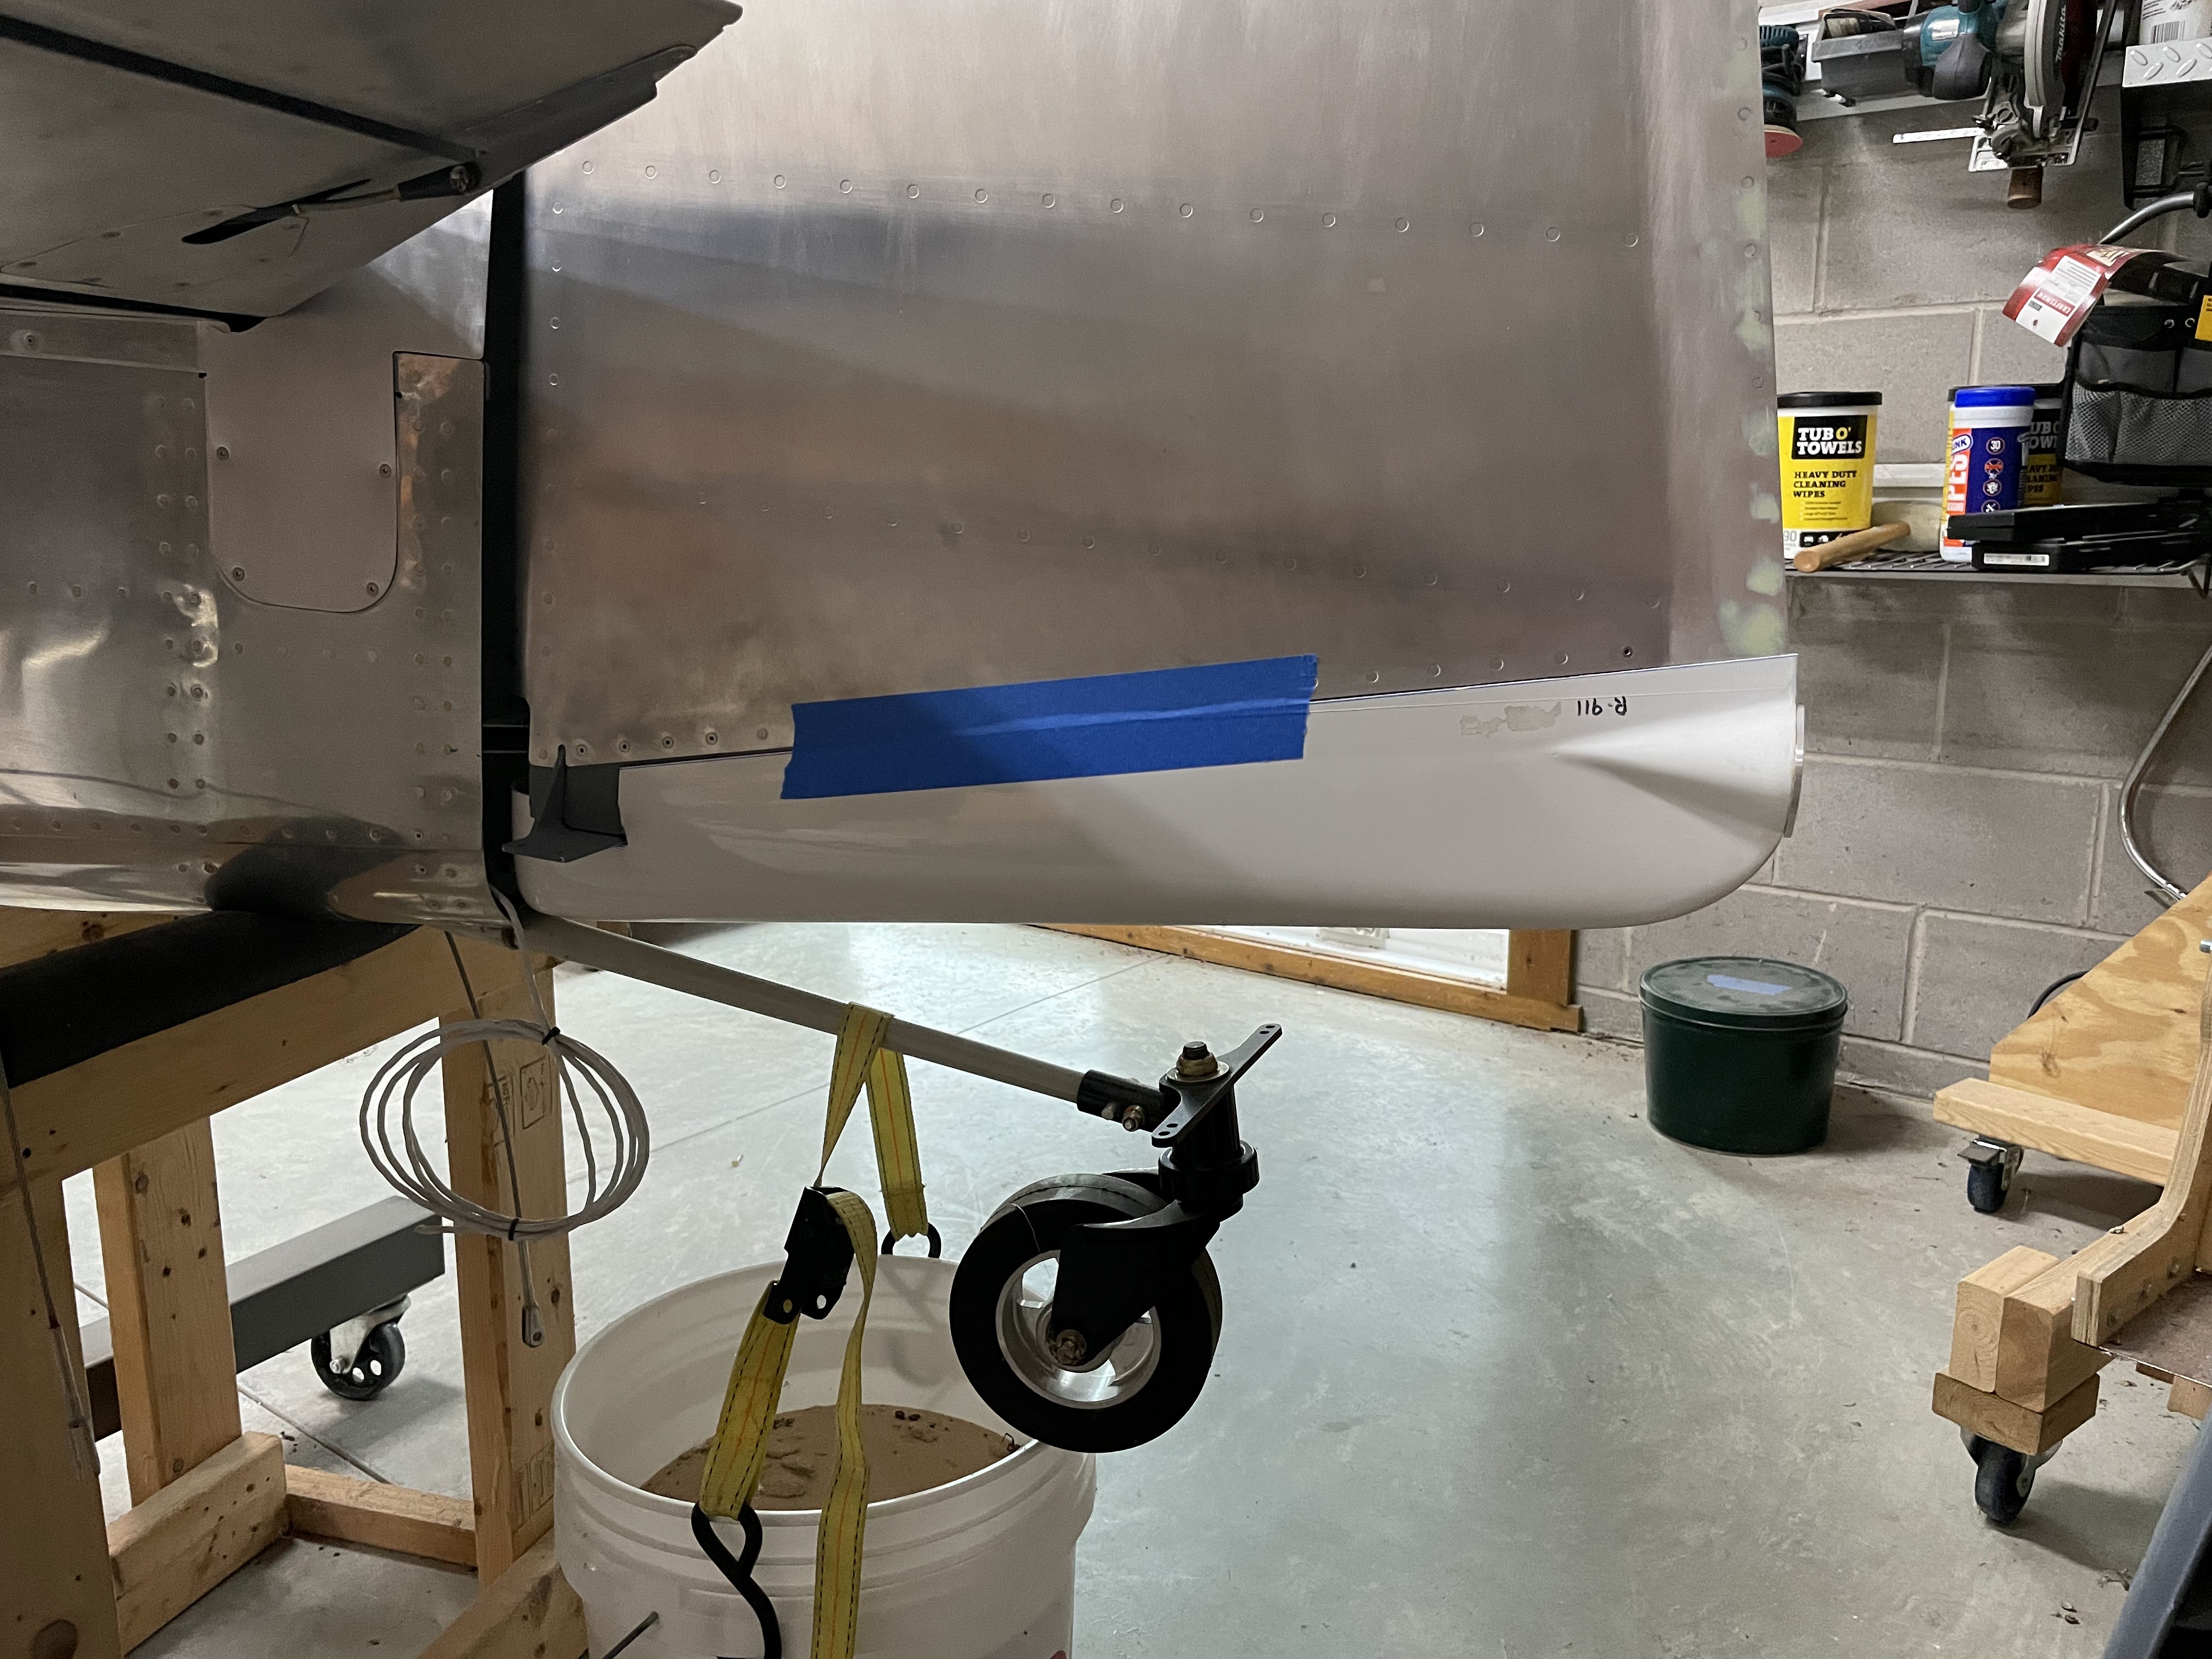
I loaded weight on the horizontal stab to simulate a heavy landing and the clearance was good. 

Of course a lot of trimming etc. This is just getting started:

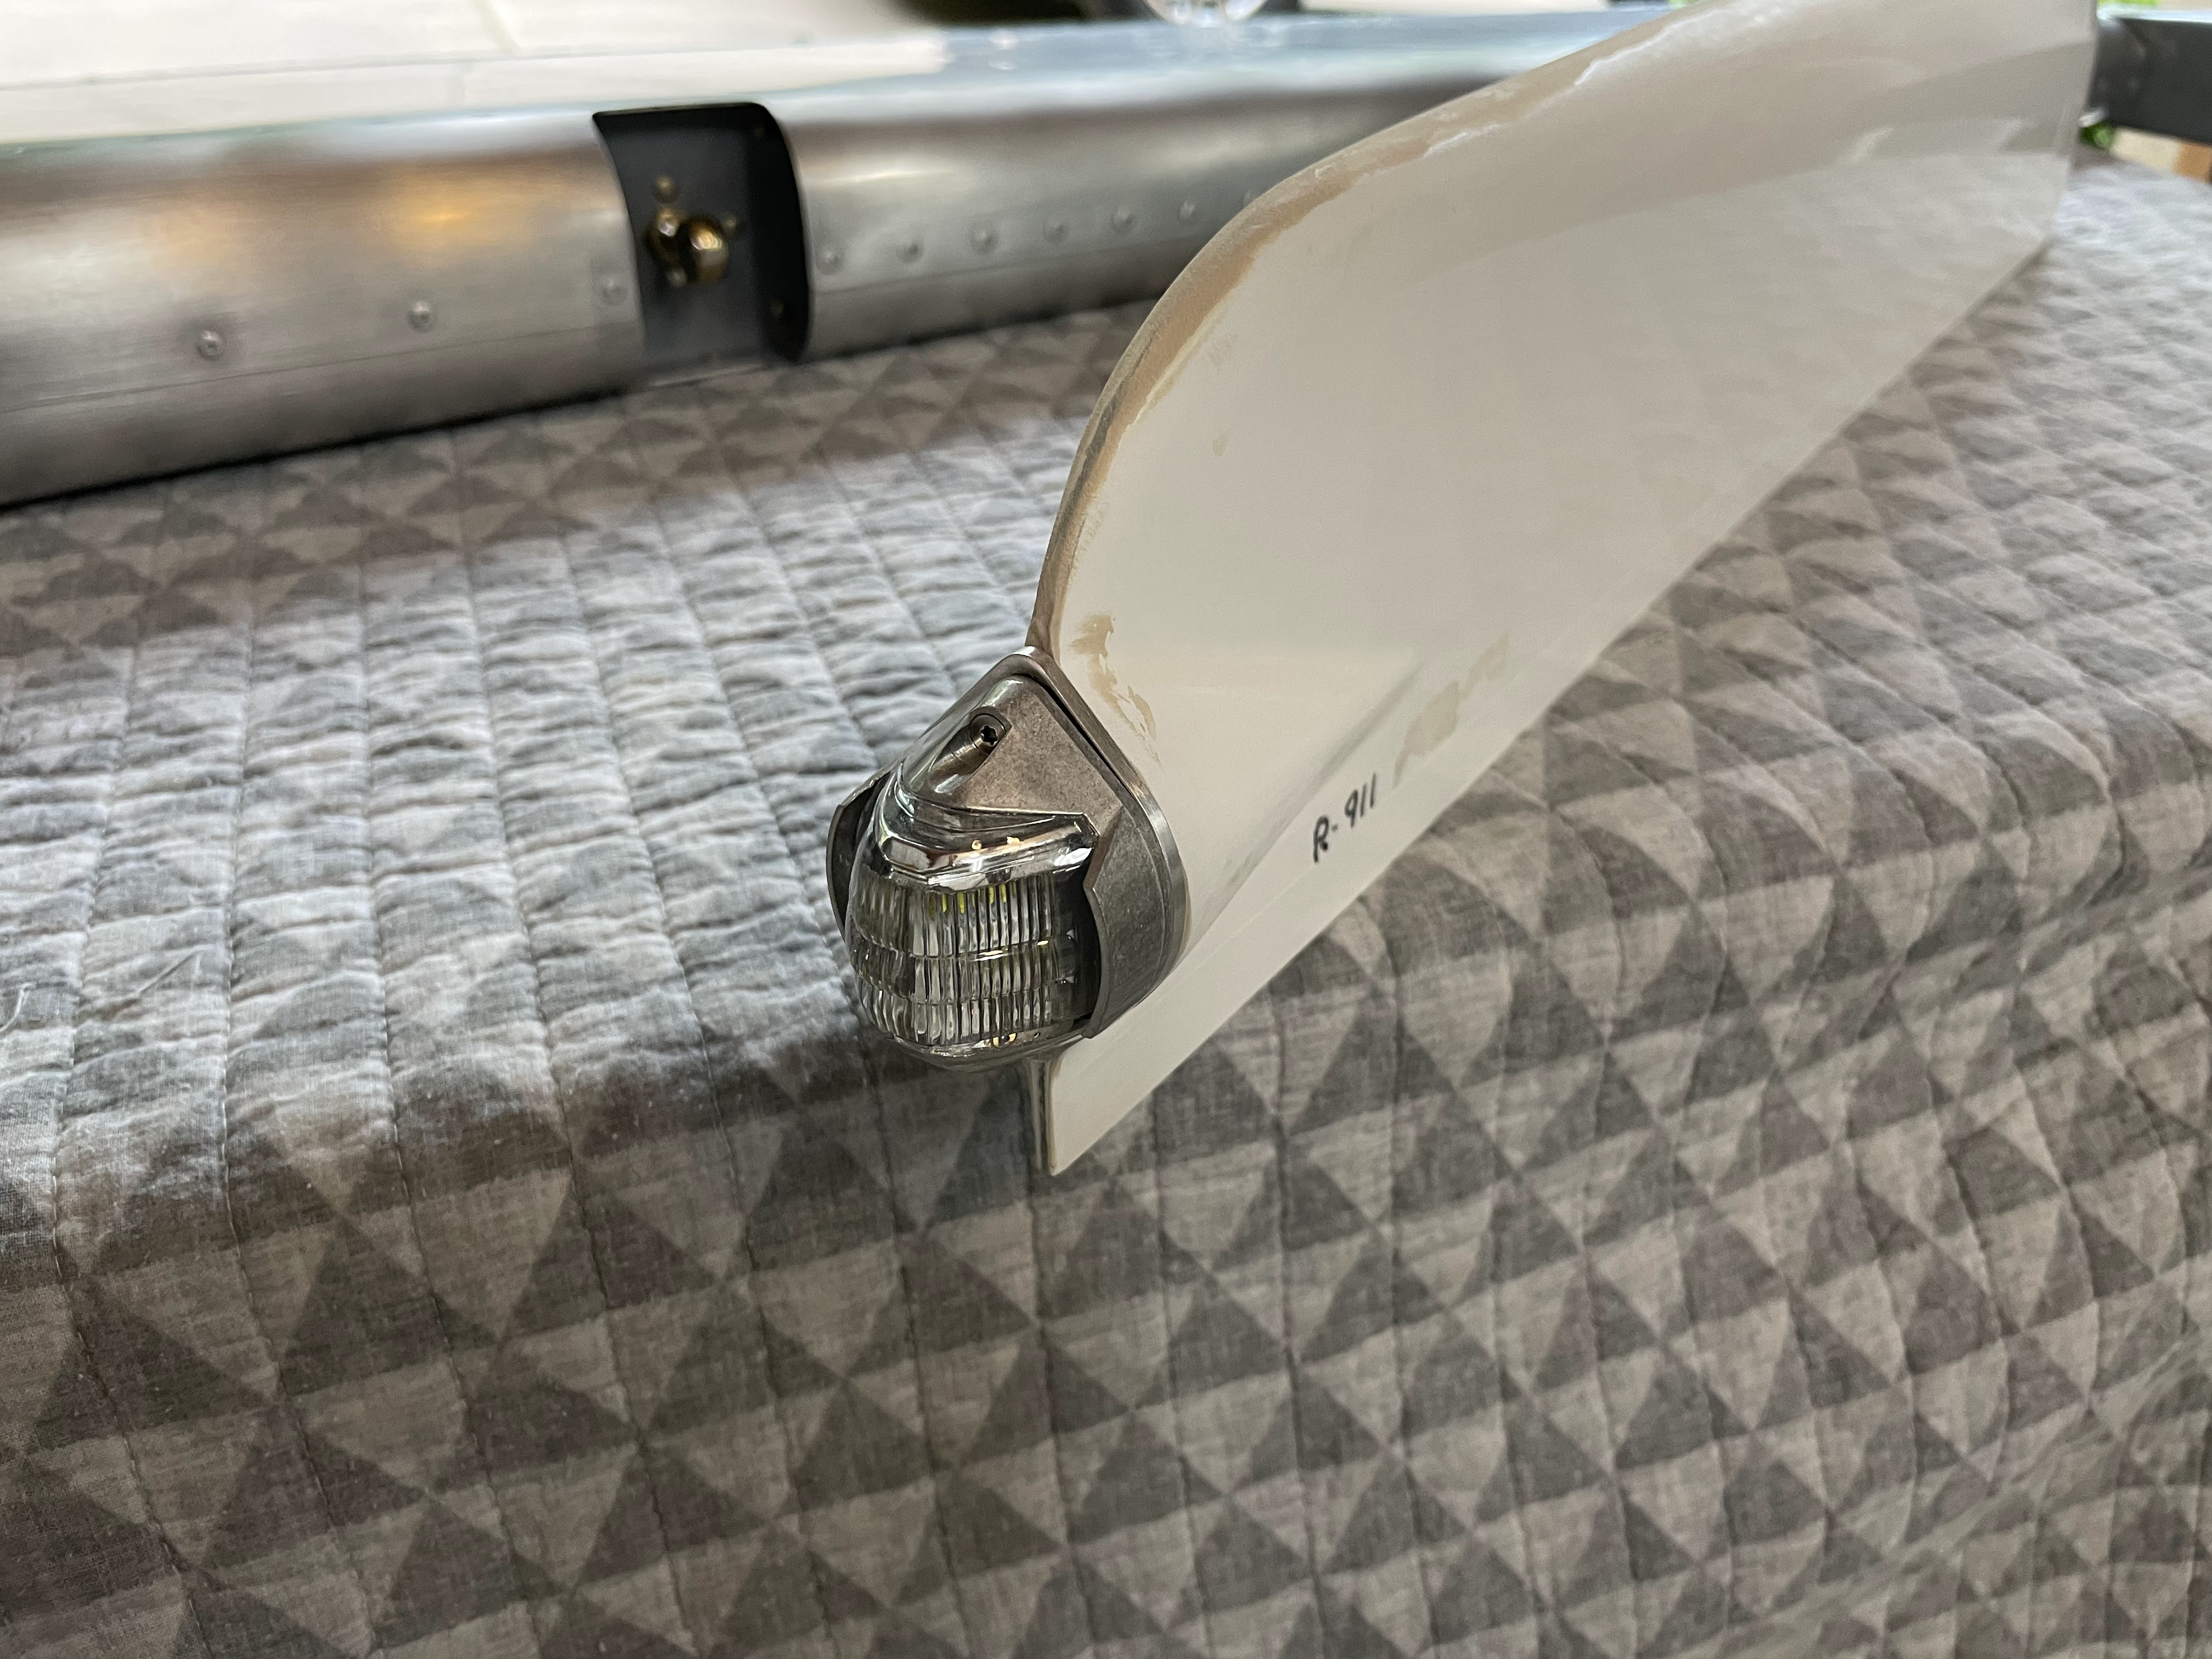
Installed the adapter for the LED tail light and strobe:

Friday, April 14, 2017

Internal rudder stop: 2 hours


  • Drilled and reamed holes for mounting the internal rudder travel stop in between the lower rudder mount brackets.
  • I also temporarily hung the rudder. I need to adjust the rod end bearings then the rudder stop will require trimming to get the correct travel.


Starting rudder rigging:

Internal rudder stop:

Wednesday, August 15, 2012

Rudder finished! 3.5 hours

The metal work for the rudder is done. (Like all of the empennage, the rudder has a fiberglass tip and bottom which will be attached and finished later in the build.) I finished rolling and riveting the leading edge then thoroughly cleaned up the exterior skins of the rudder.

I also installed the ball bearing rod ends that will attach the rudder to the vertical stabilizer. These will act as ball bearing hinges and they are a large part of why the RV-7 has such responsive and light touch controls.

Once I got the rudder safely stored I started getting the parts for the right elevator together.


Rudder rod end bearings:
 

Rod end bearing installed in rudder:
 

Rudder hanging below vertical stabilizer in storage:


Tuesday, August 14, 2012

Started rolling rudder leading edges: 2.5 hours

The rudder and other control surfaces have rolled leading edges. Rolling these edges causes a lot of consternation among builders.

I have done a lot of research on the web forums and other builder's blogs. I ended up trying several different techniques.

The process is very subjective and involves bending then checking then bending more, etc.


This is a popular technique with wood brackets to hold the bending tube. The skin is taped to the tube with duct tape.
 

After the bends are made there is a good bit of effort involved to get the skins lined up for riveting.
 

Monday, August 13, 2012

Riveted trailing edge: 4.5 hours

This took a little longer than expected but turned out good. I spent a good bit of time cleaning the epoxy out of every rivet hole.

Keeping the very thin trailing edge straight while riveting was tricky. It involved partially riveting a few rivets then checking with a straight edge then riveting more, etc.


Double flush riveting:
 

Saturday, August 11, 2012

Lots of progress riveting rudder: 7.3 hours

I was able to do all riveting on the rudder with the exception of the trailing edge. I also installed the counterweight. Assembling the components with the pneumatic squeezer goes fast and is the most fun part of the building process.

The last thing I did was fine tune the fit of the trailing edge pieces then epoxy it together on my aluminum angle template.

Next steps will be riveting the trailing edge then rolling the leading edge.


Finishing the counterweight skin:
 

The installed counter weight. The orange dots (torque seal) are to indicate that the bolts have been torqued to the correct value.
 

My beautiful assistant with the squeezer. That long yoke on the squeezer made it possible to reach every rivet without having to use the rivet gun.
 

All riveted except for the trailing edge.
 

Trailing edge epoxied and curing.
 

Friday, August 10, 2012

Primed skeleton and started riveting: 4.9 hours

Got everything primed then riveted the skeleton together. There were some difficult rivets in several places. I used my hand rivet squeezer for the first time for some of these. It gives you more control but it takes a lot of effort to squeeze the 1/8" rivets. I'm glad to have the pneumatic squeezer for the majority of rivets. I also riveted the bottom of the counterweight skin on. I used the rivet gun but it's a very tight space and took a long time.


Riveting the reinforcement plates to the spar:
 

The rudder brace was challenging. The squeezer had to be fitted into the hole and carefully positioned.
 

More challenging riveting on the counterweight skin:
 

Skeleton complete, ready for skins!
 

Wednesday, August 8, 2012

Countersunk trailing edge strip, more deburring etc: 4.8 hours

There is a lot of prep work on the rudder. Thankfully I finished all prep work other than dimpling the skins and priming everything. So just a few more hours and I should be riveting everything together.

I spent a fair amount of time today working on the rudder trailing edge. It will use a special "double flush" rivet technique and there is a strip between the skins that has to be countersunk. This seems to give a lot of builders trouble so I'm taking extra time with it.

There's a lot of hole drilling. To keep everything straight I bought a piece of aluminum angle and match drilled it to the trailing edge wedge. Before the riveting is done I will bond the railing edge with epoxy (per the plans) with the rudder attached (with clecos) to the angle then carefully rivet so as not to introduce a bend in the thin trailing edge.

Match drilling the aluminum angle straight edge:
 

Fitting the lead rudder counterweight:
 

Rudder parts dimpled and ready for priming!
 

Wednesday, August 1, 2012

Deburring, smoothing and edge finishing: 3.9 hours

I was able to get all the rivet holes in the rudder skeleton deburred. I also got all the edges finished and generally prepped for dimpling and priming. In the evening I got a little extra time and got one of the skins ready to go.

This work is grungy and unexciting but necessary.

Thinking about all the high tech avionics available for homebuilt aircraft helps keep me motivated. Garmin's G3X is a great system and a bargain compared to avionics for the certified aircraft market. The glass cockpits that are common now have fantastic capabilities, no moving parts, are easier to install and are lighter than the old mechanical gauges.

The Garmin G3X:


Tuesday, July 31, 2012

Finished riveting skins and prepped structure: 8.6 hours

Pulled a fairly long work session today to reach my 60 hour per month goal.

I was able to get the other set of stiffeners back riveted on to the skin. I also temporarily assembled the rudder and match drilled all rivet holes. I then spent some time trimming and fitting the rudder brace and making some attachment strips to attach fiberglas pieces later in the build.

After all that I disassembled the rudder and started deburring all the rivet holes. I have several more hours of this then I will be dimpling the holes so they will be ready to rivet.


Rudder spars, ribs, brace and counterbalance skin (blue).
 
Tip ribs with counter balance skin.
 
Right skin temporarily attached for drilling.
 
Almost all the pieces.
 
Fitting the attachment strips (rudder brace on left).


Monday, July 23, 2012

Prep rudder skins and started riveting: 3.6 hours

I got both rudder skins dimpled and primed then started back riveting the stiffeners on. I was able to get all the stiffeners done on the right skin then we headed to the lake!


Dimpling the skin.
 

The back riveting technique is an easy way to get high quality flush rivets quickly. The down side is that you have to be able to access the back side of the piece with the rivet gun. Back riveting is used on the rudder and elevators and I also plan on using it on the top wing skins.

To back rivet you use a special rivet set and put the gun on the tail of the rivet. Riveters tape holds the rivets in place until riveted. Underneath the work piece I have a large, heavy steel back rivet plate that the front or flush side of the rivet and work piece rests on.


Back rivet plate and riveters tape, ready to flip the skin over and rivet.