Labels

Aileron (31) Avionics (72) Canopy (80) Cowl (28) Electrical (40) Elevators (36) Empennage (94) fiberglass (22) Firewall Forward (58) Flap (43) Fuel System (23) Fuel Tank (4) Fuselage (156) Horizontal Stabilizer (25) Interior (27) Landing gear (10) Paint Schemes (2) Parachute (30) prop (2) Rudder (13) Vertical Stabilizer (14) Wing (133) Wing tip (2) Wiring (18)
Showing posts with label Aileron. Show all posts

Sunday, December 31, 2023

Update for 4th quarter 2023:

A lot of good work accomplished. I'm slowly ticking off the seemingly endless details...

ELT on it's mounting plate.

Mounting plate complete.

Drilling ELT mounting plate to floor.

A friend from work who had sold his plane gave me a very nice switcheon unit that allows remote control of things like an engine pre heater from an app on your phone. Very nice.

Plate nuts installed for ELT mount.

ELT antenna installed.

ELT installed and tested. Color is a little different but everything will be covered with carpet.


ELT plug including very loud buzzer.

Roll servo installed and wiring connected.

Roll servo plug ... a lot of wires :)

Installed fuzzy velcro strip under the wing skin where the flap could contact it.

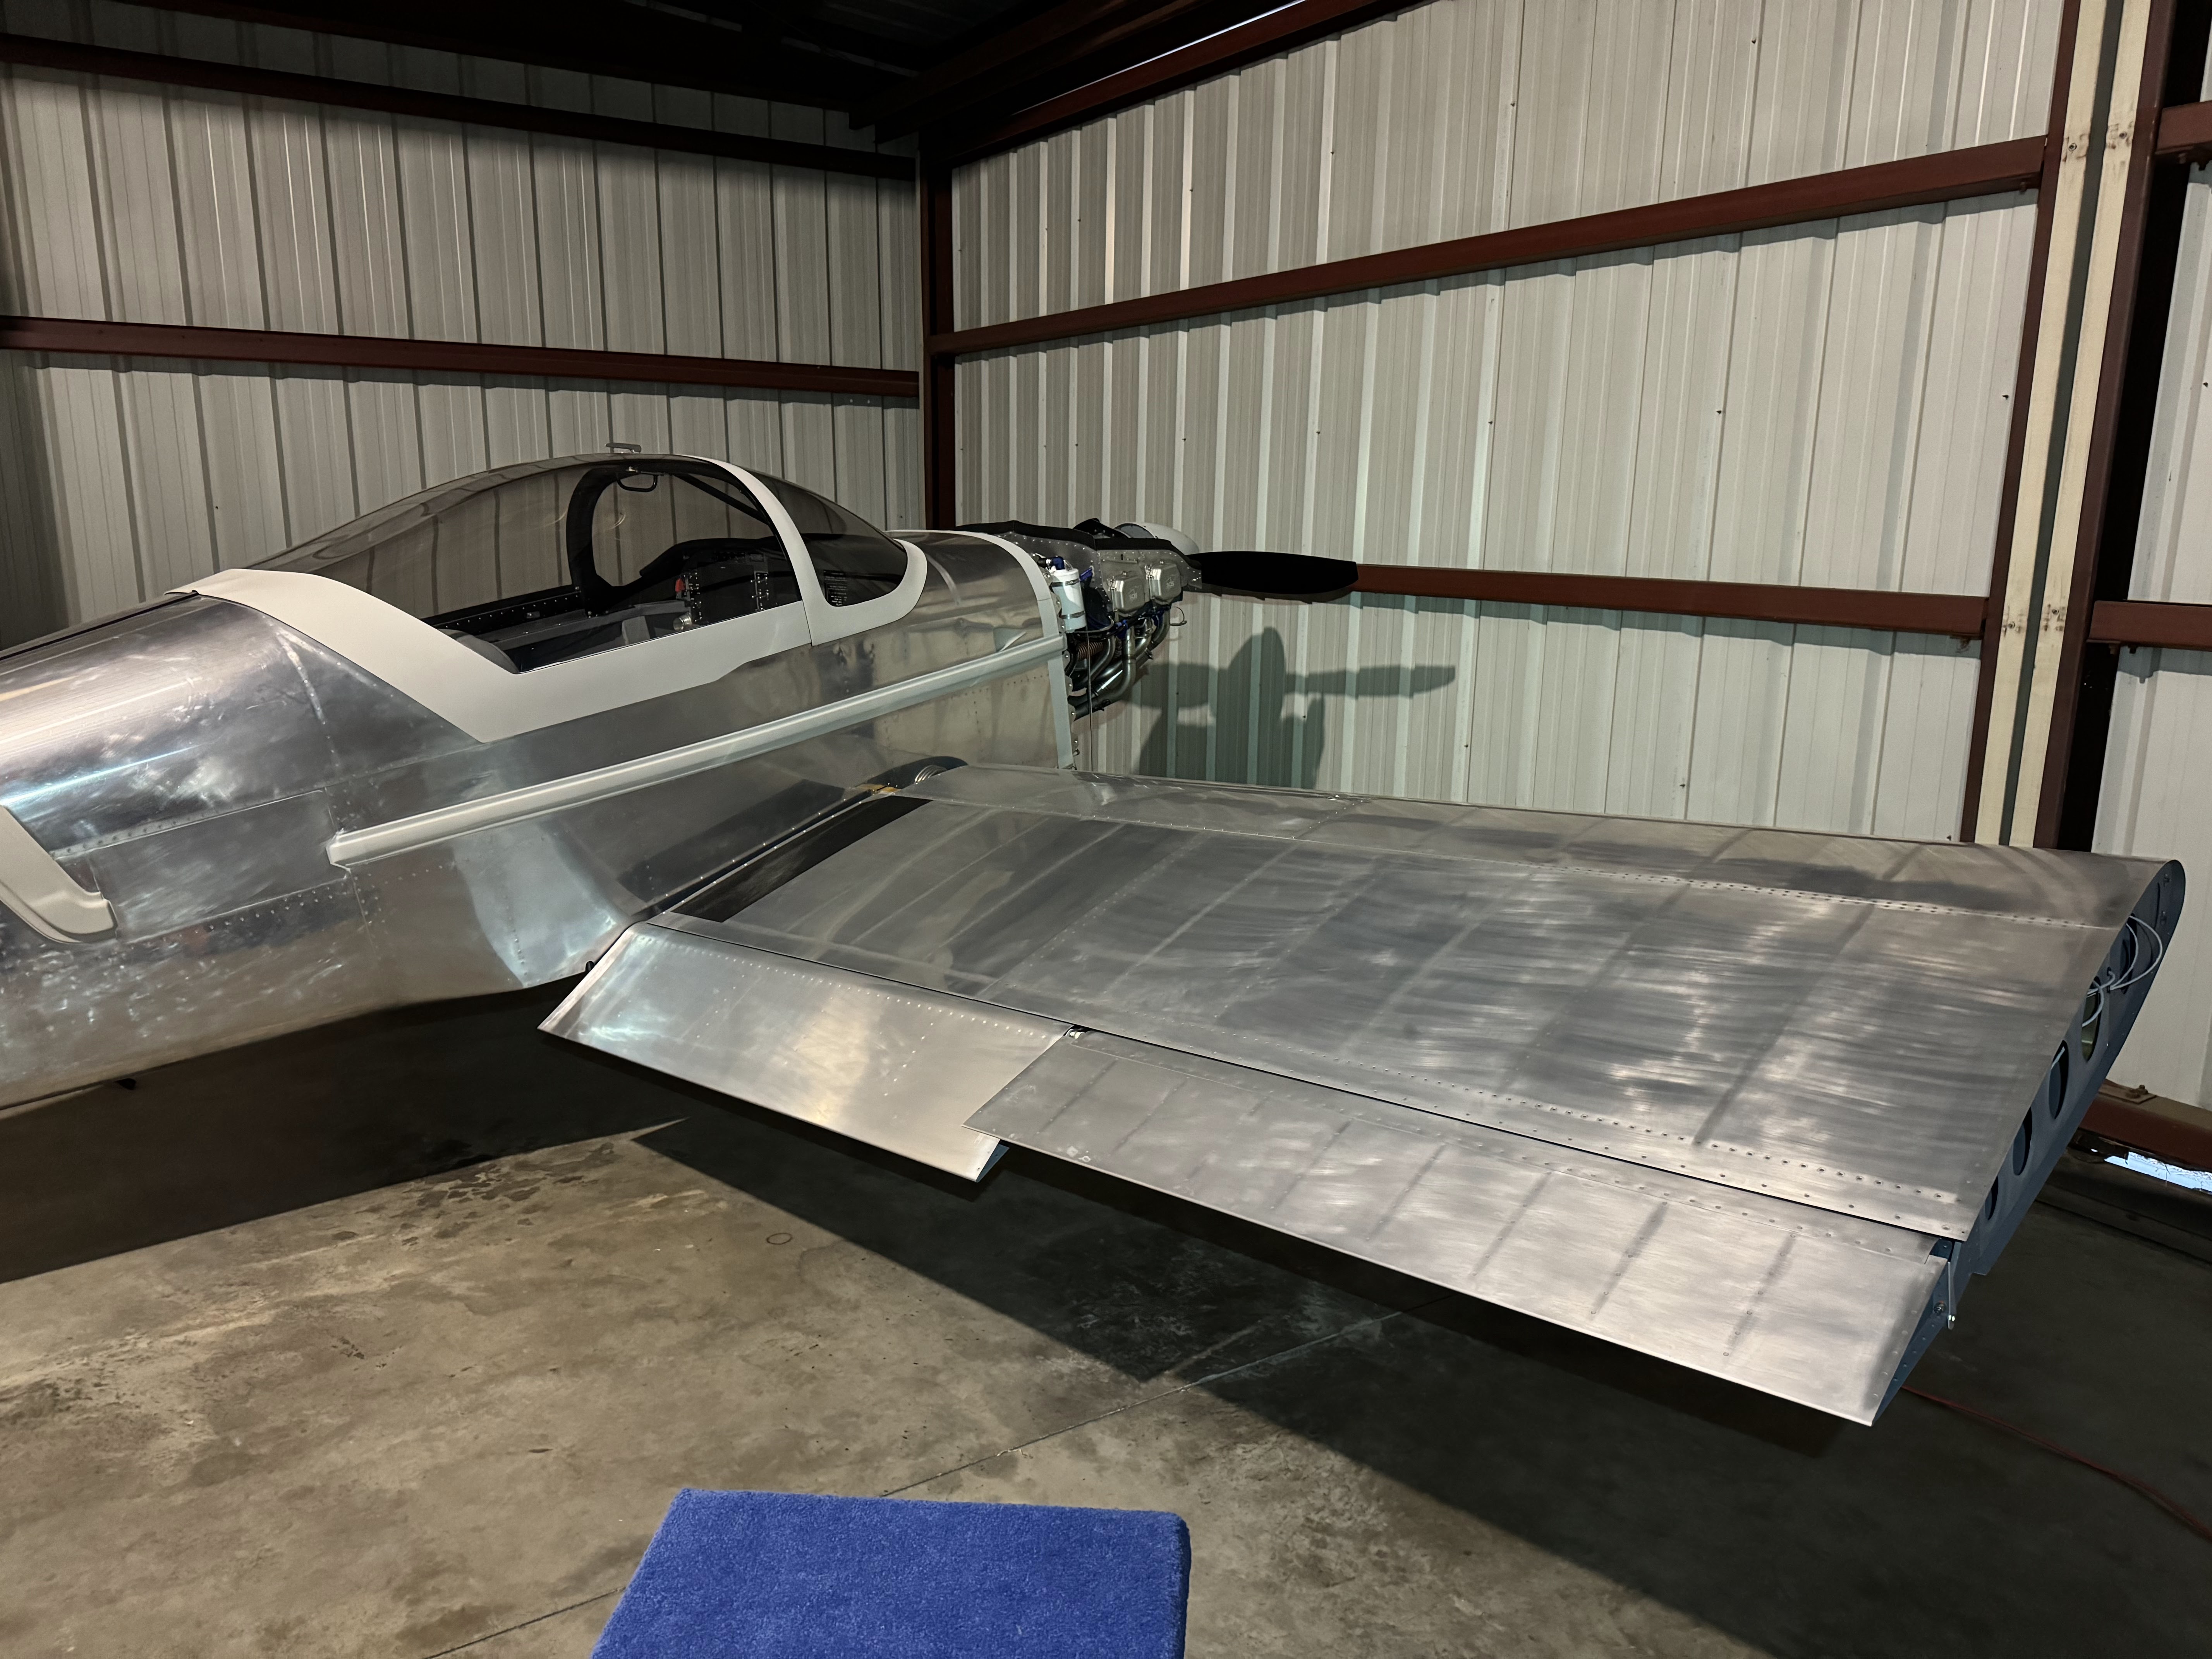
Working on hanging and fitting the flaps.


Programming the VPX pro for flap travel limits,

The small heater helped a lot.

Working on the flap fit.


Installing the Skybolt 1/4 turn fasteners in the bottom cowl.

Nice Christmas present from Paul!

Right aileron and roll servo all hooked up and aligned.

Starting on left wingtip.

Bonding nut plate reinforcement strips.

Archer wingtip nav / ils antenna installed.

I reinforced the wing tip by laying two layers of 3" fiberglass tape over 3/8" foam backer rod.

Left wing tip drilled to wing. Trailing edge may need some tweaking.


Friday, December 1, 2023

Update for 2nd quarter 2023:

 2nd quarter was a little slow due to a big trip to Europe for paragliding in April and May!


Got the Garmin outside air temp probe installed and wired (small probe on the left with the orange washer)

I couldn't resist the sky designs ball bearing aileron bellcrank kit It's really a nice upgrade and not bad to install versus the stock bushings. Smooth and no slop!

Continued working on the cowling. The cowling has probably taken more hours than anything on the plane including the canopy. However it's way more fun to work on and not stressful.

The epoxy primer makes it look a lot nicer ... from a distance!

The canopy looks great with the plastic removed. There is still a lot of tape residue that needs to come off though.

Prepping for primer


Thursday, October 10, 2013

Finished right aileron fitting, started skin prep: 3.7 hours

After a few more adjustments I had the aileron and push pull tubes all set up with the proper clearance and travel.

Once that was done I started deburring and prepping the inboard bottom wing skin.


Working on the skin:


Monday, September 30, 2013

More aileron and autopilot servo work: 2 hours

I did the following: modified a stop bracket for the servo that limits movement in case of a failure, fabricated one more aileron spacer, and temporarily installed the aileron push pull tube and the bellcrank using the autopilot bracket to check the fit and movement.

It looks like I will have to make one more adjustment to get the clearance I need for the push pull tube.


My Garmin roll servo with the stop bracket installed.


Aileron bellcrank and push pull tube temporarily installed with Garmin mounting bracket.


Saturday, September 28, 2013

Worked on right aileron install: 3.8 hours

I did the following: prepped and primed the various autopilot servo brackets and linkages, fabricated a spacer required for the aileron bracket, and installed the aileron with the various washers and spacers called out in the plans.

Fitting the aileron is a fairly slow process involving adding and removing washers to get the spacing right so the control push pull tubes can move through the full range with good clearance.


Wednesday, September 18, 2013

Finished flap, started mounting aileron: 5.8 hours

The final riveting on the flap went smoothly.

I then spent time organizing the parts for the aileron install and researching how the autopilot servo is mounted.

I have the aileron temporarily in place now.


Riveting the flap hinge:


All finished:


Saturday, August 17, 2013

Aileron brackets and gap seal installed: 7 hours

I got the outboard aileron bracket parts prepped and primed. While that was drying I worked on prepping the gap seal. When everything was dry I got it all riveted on. It went very well. I only used the rivet gun on a few spots I couldn't reach with the hand squeezer.


Duct tape is essential! (Keeps the long rivet set from rotating and reduces scratches)


Aileron brackets installed:


Ready to rivet gap seal:


Done for the night:


Friday, August 16, 2013

Right wing aileron brackets: 3 hours

The inboard bracket is ready to mount on the rear spar. I also worked on the outboard bracket and the aileron gap seal.


Inboard aileron bracket in progress: