Labels

Tuesday, December 23, 2014

Fuel system and fire extuinguisher mount: 8 hours


  • Riveted fire extinguisher doubler to front spar cover.
  • Riveted firewall fuel fitting doubler to firewall
  • Many hours of fuel tubing research and practice
  • Made one fuel tube (later remade!)
  • Modified fuel tube bender (later replaced with better 180 degree bender!)
Firewall fuel fitting and doubler:

Mocking up electric fuel pump to determine tube requirements:

Fuel pump with 1st generation 180 degree fuel line:

1st generation filter to pump line - this turned out to be too large to fit under the pump doghouse so it was later scrapped.

I went though a lot of tubing practicing but I want the fuel lines perfect.

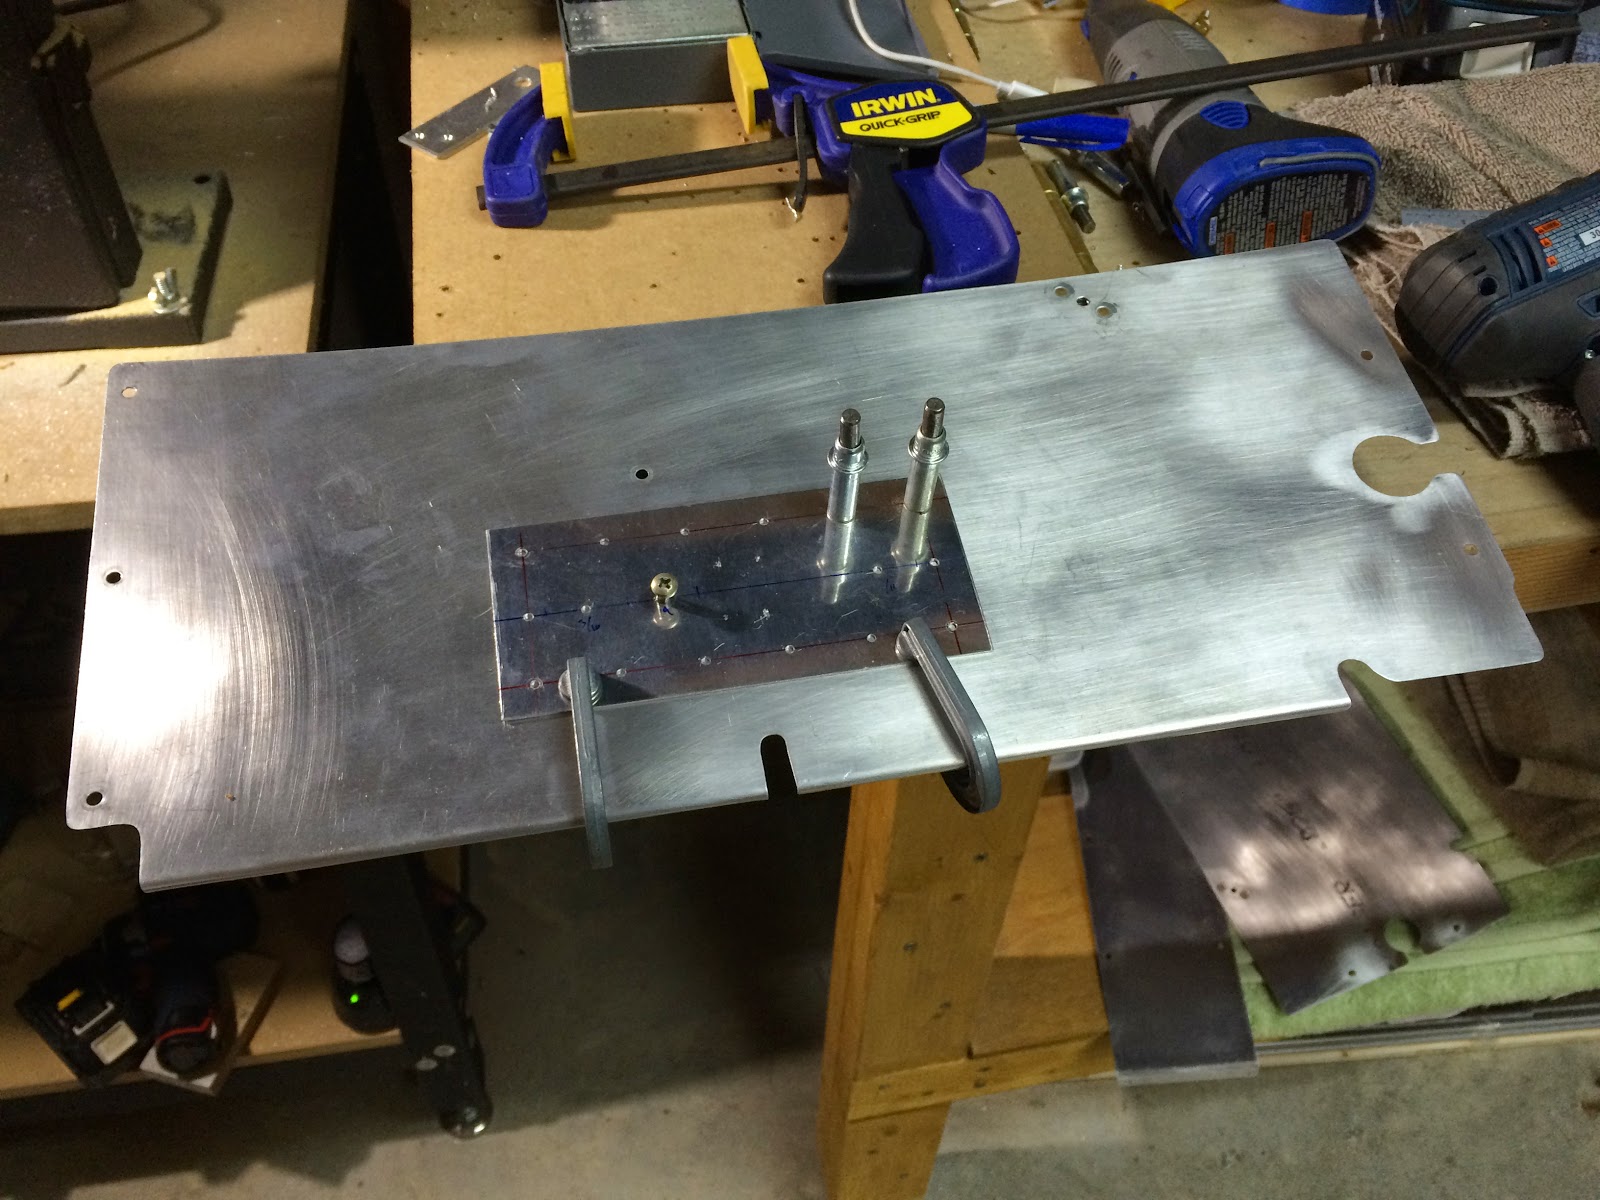
Riveting this doubler was trickier than I expected:

Monday, December 22, 2014

Fuel system, firewall, misc. 4.3 hours

  • Made firewall doubler for fuel line fitting
  • Moved fuel fitting position 1/4" as recommended to give solenoid more room
  • Drilled doubler to firewall
  • Primed doubler
  • Enlarged 3 rivet holes in firewall for oil line clamps
  • Made fire extinguisher mount cover, drilled to left front spar cover, deburred, dimpled, primed
Drilling fire extinguisher doubler to spar cover:

Sunday, December 21, 2014

Forward cover and firewall: 4.2 hours


  • Riveted heat distribution baffle to center tunnel cover
  • Riveted 11 plate nuts to center tunnel cover
  • Used dremel to cut 2" hole in firewall for cabin heat valve
  • Temporarily installed cabin heat valve
  • Researched fuel line and other firewall penetrations
  • Removed rivet from firewall for fuel fitting doubler
Riveting platenuts to tunnel cover / heat baffle:

More riveting:

Locating 2" cabin heat hole on firewall:

Fine tuning the heat opening:

Cabin heat valve temporary install:

Saturday, December 20, 2014

Still more forward cover work: 5.7 hours


  • Riveted plate nuts for forward cover to stainless firewall recess assembly - tight spacing and tricky
  • Deburred / cleaned up floor angles and firewall gusset
  • Drilled tunnel cover for plate nut rivets
  • Modified tunnel cover to allow for large wire bundles
  • Edge finished tunnel cover - this took a long time - lot's of small protrusions and different angles
  • Fitted and drilled cabin heat baffle to tunnel cover
  • Bent cabin heat tabs out on tunnel cover
  • Deburred, cleaned up, dimpled and primed tunnel cover
  • Riveted plate nuts to fuel pump mount and fuel valve cover
Tricky riveting on firewall recess:

Drilling heat baffle to tunnel cover:

Tabs bent out for heat distribution:

Riveting plate nuts to fuel pump mount:

Friday, December 19, 2014

More fuel system covers and forward cover work: 3.8 hours

  • Trimmed forward tunnel cover and heat baffle to fit fuel pump mount
  • Located holes for tunnel cover plate nuts then drilled floor angles and tunnel cover with angle drill
  • Drilled fuel pump mount and valve cover for plate nut rivets
  • Deburred, dimpled and countersank the above parts for plate nut rivets and primed
Fitting forward tunnel cover / heat baffle:

Drilling cover to floor angles:

More priming:

Saturday, December 13, 2014

Inventory baggage interior panels and firewall forward kit: 7 hours

I inventoried, inspected and organized ALL the parts and pieces of the firewall forward kit from Van's and my interior panels for the baggage compartment from Classic Aero Designs.

Classic Aero does nice work! I had to mock up the baggage compartment interior:

Firewall forward kit - a lot of expensive parts...

Exhaust system and other parts:

Thursday, December 11, 2014

Fuel system covers and mounts: 7 hours


  • Riveted fuel pump cover together
  • Edge finshed and deburred fuel pump mount plate (complicated - a lot of curve and protruding edges)
  • Modified fuel valve cover per plans for electric boost pump
  • Edge finished and deburred valve cover
  • Made 15/16" spacers for drilling pump mount and forward cover to floor angles
  • Tweaked spacers to get thicker pump mount and thinner forward cover to line up
  • Fine tuned fit of pump cover, valve cover, etc.
  • Drilled fuel pump mount to floor angles with angle drill
  • Drilled fuel pump cover to valve cover for plate nuts
  • Deburred everything
  • Did initial trimming of forward cover to fit flush with fuel pump mount
  • Also figured out the location for the handheld fire extinguisher mount (going to mount on left spar cover)
Initial fit of fuel valve cover:

Riveting pump cover:

More pump cover riveting:

Trimmed fuel valve cover:

Cutting spacers:

Checking fit of valve cover and pump cover:

Drilling fuel pump mount to floor angles:

Measuring forward cover for trimming:

Wednesday, December 10, 2014

Fuel pump cover and forward cover prep: 1.6 hours

  • Match drilled, deburred, edge finished, edge rolled, dimpled, scuffed, cleaned and primed pump cover parts
  • Laid out forward cover parts
No photos today.


Thursday, December 4, 2014

Fuel selector valve and misc: 3.5 hours

  • Used Cherry nut plate pop rivets to attach nut plates to outboard forward spar cover brackets - this was a very tight fit and took some time
  • Unpacked and inspected Plane Power 30 amp back up alternator! Since I'm going with dual electronic ignitions this extra alternator will be a nice thing to have.
  • Inspected Andair fuel valve and used a punch to secure 90 degree an fittings to valve per instructions
  • Trimmed manual trim extension off of fuel valve mount plate
  • Enlarged hole in plate for valve
  • Drilled valve to plate
  • Installed #8 nut plates on valve
  • Researched valve install
  • Prepped and primed valve plate
  • Riveted plate nuts to valve plate

Very high quality valve:

This 30 amp back up alternator mounts to the pad where a vacuum pump (to power old school mechanical gyros) would have gone. 

Wednesday, December 3, 2014

Spar cover work and interior repaint panel prep: 5.5 hours


  • Drilled left spar cover bracket to gear attach web
  • Fitting work on left spar cover
  • Primed spar cover bracket
  • Riveted left spar cover bracket in place
  • Riveted plate nuts on left and right forward spar covers
  • More paint removal and prep on interior pieces to be repainted
Left spar cover fitting:

Monday, December 1, 2014

Right forward spar cover: 2 hours

  • Worked on fitting right spar cover
  • Drilled outboard bracket to gear support web
  • Drilled bracket for plate nuts
  • Trimmed bracket for fuel line
  • Prepped and primed bracket
No photos today.

Sunday, November 30, 2014

Gusset install, spar carry bolts, etc: 3.4 hours


  • Installed left and right gussets (used drift pins to line them up with spar), torqued and sealed bolts
  • Installed twelve an4 bolts in spar carry through, torqued and sealed. (These are bolts that are left off on the quick build fuselage to give the builder the option of tricycle landing gear.)
  • Worked on right forward spar cover

Left gusset and six an4 bolts installed:

Right forward spar cover:

Right gusset installed:

Thursday, November 27, 2014

Pitot / aoa line bracket, forward covers, fuel fittings and misc: 7 hours


  • made bracket for mounting pitot / aoa connectors for tubes from left wing
  • primed and installed above bracket
  • installed safeair1 elbow connectors for pitot / aoa tubes
  • made left and right f-782d brackets for forward spar covers
  • started fitting forward spar covers
  • enlarged pre-punched hole on right side of fuselage for fuel line grommet
  • enlarged hole on left side for bulkhead elbow fuel fitting for inverted fuel pick up
  • installed left elbow fitting for fuel line (positioning the spacer between the skin and gear attach web took a very long time)
  • did some practice fuel tube work including bending, cutting and flaring
  • spent time throughout the day researching all of the above items online

Pitot / aoa line connector mounted in fuselage:

F-782D forward spar cover brackets:

Forward spar cover work:

Fuel fitting for line to inverted pickup:

Grommet for right fuel line to wing tank:

Interior view of inverted fuel pickup elbow fitting:


Wednesday, November 26, 2014

Wiring and pitot / aoa research: 1.5 hours


  • Researched wiring plans
  • Started switching out snap bushings in fuselage to a type with a larger opening to allow larger wiring bundles
  • Researched pitot and aoa line routes from wing to instrument panel
No photos today.

Tuesday, November 25, 2014

Spar carry through and fuselage gussets: 6.2 hours

In working on fitting the fuselage gussets I found that there was some interference with the wing fit drift pins with some of the supporting sheet aluminum around the spar carry through bars. After doing some research I found that this is a common problem as the parts can shift a bit during riveting.

The fix is to very carefully enlarge the supporting aluminum sheet with out touching the spar carry through bars. This took a long time but turned out very well. I used a dremel tool to do the adjusting and some wood dowels to protect the spar carry through.

Also:

  • Finished left gusset after tweaking the spar carry through
  • Primed both fuselage gussets
  • Did some grinding and polishing of the seat floor rib connector pieces to allow full control travel (also primed these pieces)
  • Very carefully drilled and deburred two additional holes for wiring in the spar carry through structure


Fine tuning gusset and spar carry through fit:

Opening up floor rib connectors to allow full control travel:


Monday, November 24, 2014

Right fuselage gusset: 1.7 hours


  • fitted right gusset using drift pins
  • drilled through fuselage skin and gusset for an3 bolts
  • started on left gusset
Fitting left gusset:

Sunday, November 23, 2014

Misc. forward fuselage: 2.2 hours


  • with Britt's help I used rivets to fill four holes relating to tricycle gear brake lines and Van's standard fuel vent (I'm using the coiled vent design that keeps the vents out of the cabin)
  • worked on prepping and fitting the f-7114 fuselage gusset which in the taildragger takes the place of the main gear mount on the tricycle gear planes
No photos today

Thursday, November 20, 2014

Right seat and fuel tank brackets: 1.5 hours


  • riveted hinge to right seat back
  • temporarily installed right seat and checked for interference with BRS parachute handle - everything fits well
  • prepped and riveted left and right fuel tank attach bracket supports to the fuselage
Riveting hinge to seat back:

Checking right seat fit - looks good!

These fuel tank support brackets were a lot of work:


Monday, November 17, 2014

Fuselage stand and wing mount drift pins: 3 hours


  • finished fuselage stand - mounted adjustable leveling feet and carpet to protect fuselage skin
  • switched fuselage to new stand and removed the legs that were mounted in the spar carry through
  • made 6 drift pins for temporary wing mounting -  these are large hardware store bolts the I cut the threads off of then tapered the ends with a grinder (also sanding and polishing, etc.)
  • painted test pieces to determine the best paint for repainting the area around the rudder pedals that I had previously painted Ford Tractor Gray
New fuselage stand:

Drift pins and bolts ready to be made into drift pins: