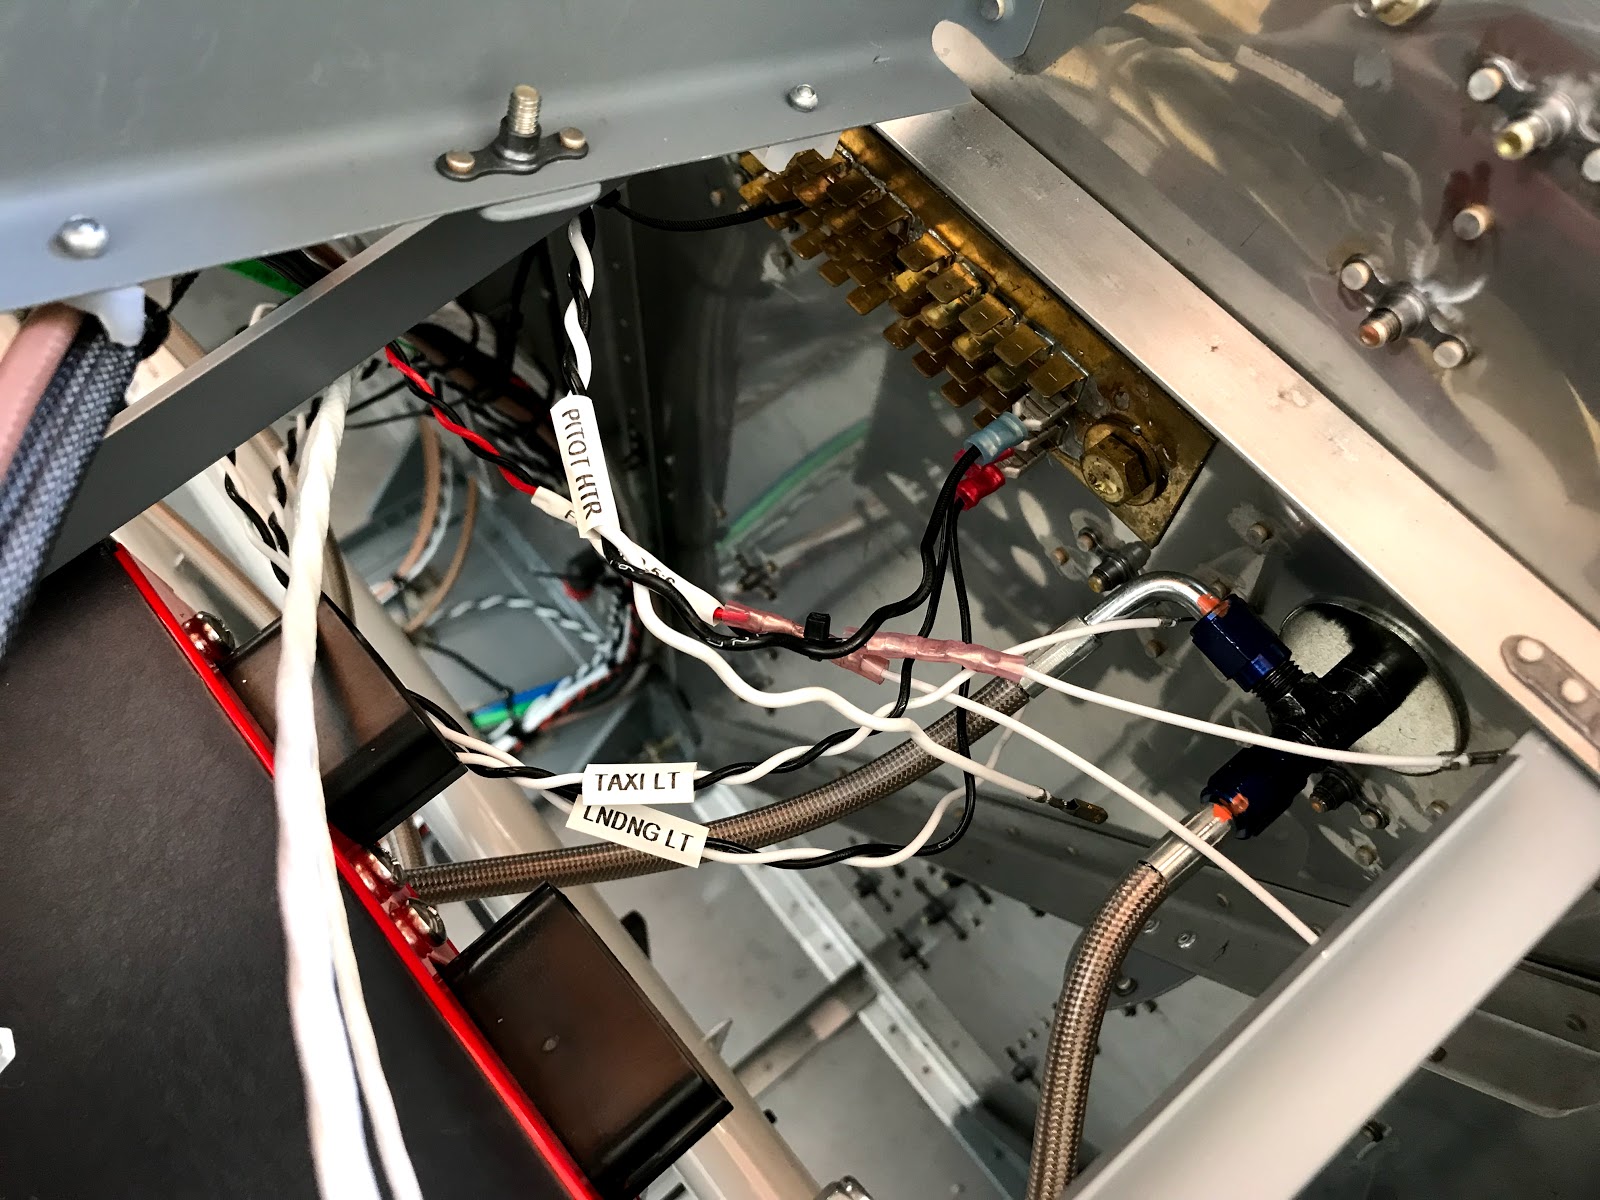
Labels

Monday, October 30, 2017

Wiring: 8 hours

The following work was done over the last two days:

  • Drilled two new wire pass throughs in the sub panel
  • Ran the wiring for the two instrument panel 12 volt outlets. They will get usb power adapters when we are ready to fly.
  • Researched wiring required for ELT instrument panel control
  • Tested the reversing cowl flap switch and ran the wire to power the switch
  • Ran power wires for defog fans
  • Added a micro molex connector to the oil cooler servo controller
  • Replaced connectors on seat heater switches with micro molex - all seat heater wiring will be replaced with aircraft quality wire
  • Fabricated recessed mounts for under panel led lights. These are controlled by the cabin lights dimmer (which also controls the baggage lights) and should provide good light for getting in and out of the airplane at night or for use in flight.
  • Ran wires and assembled connectors for under panel lights. Lights and dimmer tested good!

Testing cabin lights (now I'm tempted to put them all over the bottom of the wings!):

Under panel recessed light mount:

Drilling the panel for the lights:

Light mounts and led strip:

New wire pass through for panel 12 volt outlet:

12 volt panel outlet wiring:
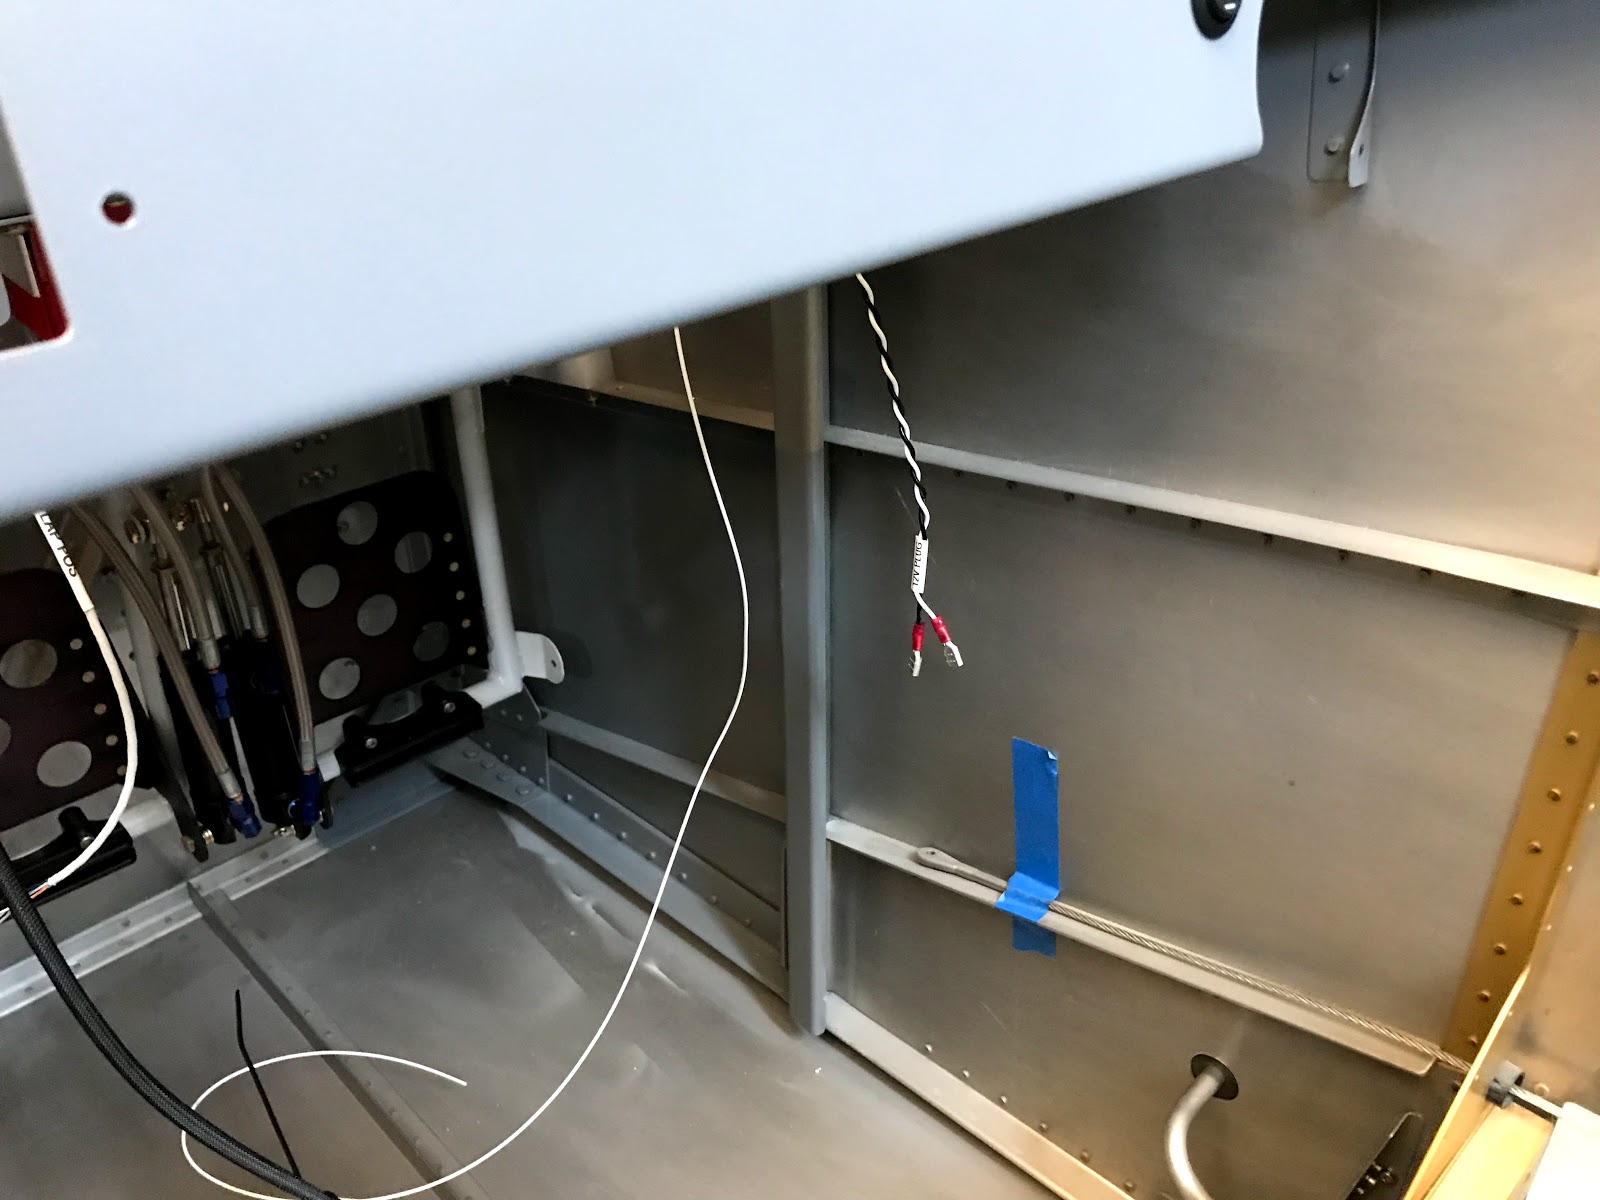
12 volt outlet test fit:

Saturday, October 28, 2017

Instrument panel work: 6 hours


  • Paul and I got most all of the switches, breakers and placards "permanently" mounted to the instrument panel. The only exception was the 4 locking toggles switches for the electronic ignition. I ran out of circular trim fittings for the toggle switches so we tried using hex nuts but we did not like the look of them. I will place an order with Steinair.
  • We did a trial fit of the panel and only had to adjust the 2 led dimmers to clear the left cockpit rib. However when we went to do a trial fit of the G3X Touch units we found that the center cockpit rib was interfering with the MFD.
  • It was useful to have another set of hands and we were able to quickly put a clearance notch in the rib to allow the MFD to fit properly.

Very happy with the look of the panel!

Circuit breakers and elt control:

Time to run more wires!

After the top skin is on pulling out the G3X units will make it easier to work behind the panel.

Thursday, October 26, 2017

Wiring and instrument panel: 4 hours


  • My brother Paul was in town for a visit and he helped me run some wires and start organizing the instrument panel.
  • We twisted and ran the wires for the taxi and landing lights, and the pitot heat. We also labeled the wires and crimped connectors on.
  • We ended up drilling another wire pass through to keep the pass through for the left stick grip wiring from filling up.
  • A good deal of time was spent using small files and the dremel to clean paint out of ALL the openings on the instrument panel.
  • We also pop riveted the ELT control to the panel and started installing the backup circuit breakers.


Circuit breaker placard and ELT control:

Taxi light and pitot heat wires (new pass through hole is under control stick mount):

Tunnel is filling up!

Landing light wires:

More wires ready to connect to VPX:

Using the new Shorai battery balancer / charger (thanks Paul!) to put the batteries in "storage" mode:

Tuesday, October 10, 2017

Wiring: 8+ hours

The following work was done over several days:

  • Finished drilling wire pass through holes in cockpit floor ribs
  • Did a fair amount of research and planning for wiring the G3X and VPX
  • Ran wires for Aeroled nav / strobe lights back from VPX to cockpit floor terminal block. I also crimped on ring terminals and used my solder sleeves for the first time to connect the wire shield to the terminal block.
  • Ran RG-400 for left wingtip nav antenna connection, also crimped on fitting
  • Ran flap position sensor wire, connected to sensor and secured sensor and motor wires


The central tunnel is starting to get crowded:

Flap motor power wiring ready for VPX connector (I like the heat shrink label printer but I almost prefer the labels on the wire but not shrunk - you can see each example here):

Wiring connected and secured for flap motor and position sensor:

Nav radio antenna connector (on the right):

Terminal block for Aeroled nav / strobe lights (the wing nav / strobe lights will also connect here):

The Garmin G3X Touch wiring diagram looks fairly simple:

Wiring pass through holes in floor ribs:

Thursday, September 14, 2017

Cockpit and wiring: 3 hours


  • Started drilling some additional wiring pass through holes in the fuselage floor to accommodate the wiring that will go out to the wings.
  • Drilling the inner wiring holes through the floor ribs is tricky and requires the angle drill.
  • I opened up the holes slightly then used some e6000 to glue the engine control label placard to the control bracket. 


Engine control cables in place to hold the label placard on:

The placard turned out nice:

One fuselage floor rib wiring hole complete:

The left and right wiring pass throughs are new:

Wednesday, September 13, 2017

ADAHARS plumbing and misc avionics: 8 hours

The following items were done over several days. We lost power on Tuesday and Wednesday due to Hurricane Irma.

  • Crimped on coax antenna connectors for ADSB receiver, transponder, GTN-650 communication radio, and one end of the GTN-650 nav receiver. I need to drill some holes before I can run the nav antenna cable to the left wing root. I also spent a good deal of time planning wiring runs.
  • Finished ADAHRS plumbing using a combination of Safeair1 and Steinair pneumatic connectors.
  • Installed about 16 click-bond wire tie anchors in the area under the seats for routing wires and securing connectors near the wing roots.
  • Used some click-bond acrylic adhesive to bond on two terminal blocks (10 positions total) for connecting stick grip wiring. 
  • I started working with the instrument panel label placards - there are a few I have that are only held in place by one switch or button so in order to keep them from rotating I bonded them on with a tiny amount of e6000 adhesive.


GDL-39R (adsb-in) antenna connection:

Remote transponder antenna connection:

Nav and comm antenna connections to GTN-650 tray:

More click-bonds bonding:

ADAHRS plumbing (orange plug is for line going to alt static switch on instrument panel):

Tungsten bucking bar holding down terminal blocks while click-bond adhesive cures:

Misc: I glued on this little rubber channel to protect the angle brace in the cabin:

Placards being glued in place (fuel fittings are just there to keep everything tight):

Glued down emer static placard:

Wednesday, September 6, 2017

Installed sub-panel avionics and worked on wiring: 4 hours


  • Installed EFII engine computers using some cap head screws I ordered from Aircraft Spruce. The units are stacked so I added a washer in between the two to allow for a little airflow. I'm just using these units for ignition but they are also capable of electronic fuel injection if I want to upgrade down the road.
  • Installed the following components: EFII manifold pressure sensors, GEA-24 Garmin engine interface module (EGT, CHT, fuel flow, pressures, etc), GAD-29 Garmin arinc 429 interface (let's the GTN-650 navigator talk to the G3X Touch system), and the GMA-245R Garmin remote audio panel.
  • Fabricated a standoff for the right co-pilot brake reservoir line.
  • Primed and installed standoff and adel clamp for brake line
  • Installed VPX pro
  • Started working on wire / tube routing. I ran the pitot, static and aoa pneumatic lines up to the adahrs. I also ran the adsb antenna coax and the right headset wiring up to the sub-panel.


Pitot, aoa, static lines coming out the left side of the sub-panel, on the right is the right headset wiring and the adsb coax. (The GTN-650 tray is temporarily there to check wire clearance.)

VPX Pro now has plenty of clearance:

Standoff with brake line in adel clamp:

Standoff ready to install:

Sub-panel progress (left silver box is GMA-245R remote audio panel, right silver box is GAD-29 arinc interface):

Small black boxes are manifold pressure sensors, silver box is GEA-24 engine interface:

Dual EFII engine computers installed: