Labels

Sunday, October 25, 2020

More baffles and miscellaneous engine details


Oil filler installed. I used the aftermarket neoprene gasket that is well liked on the VAF forum:

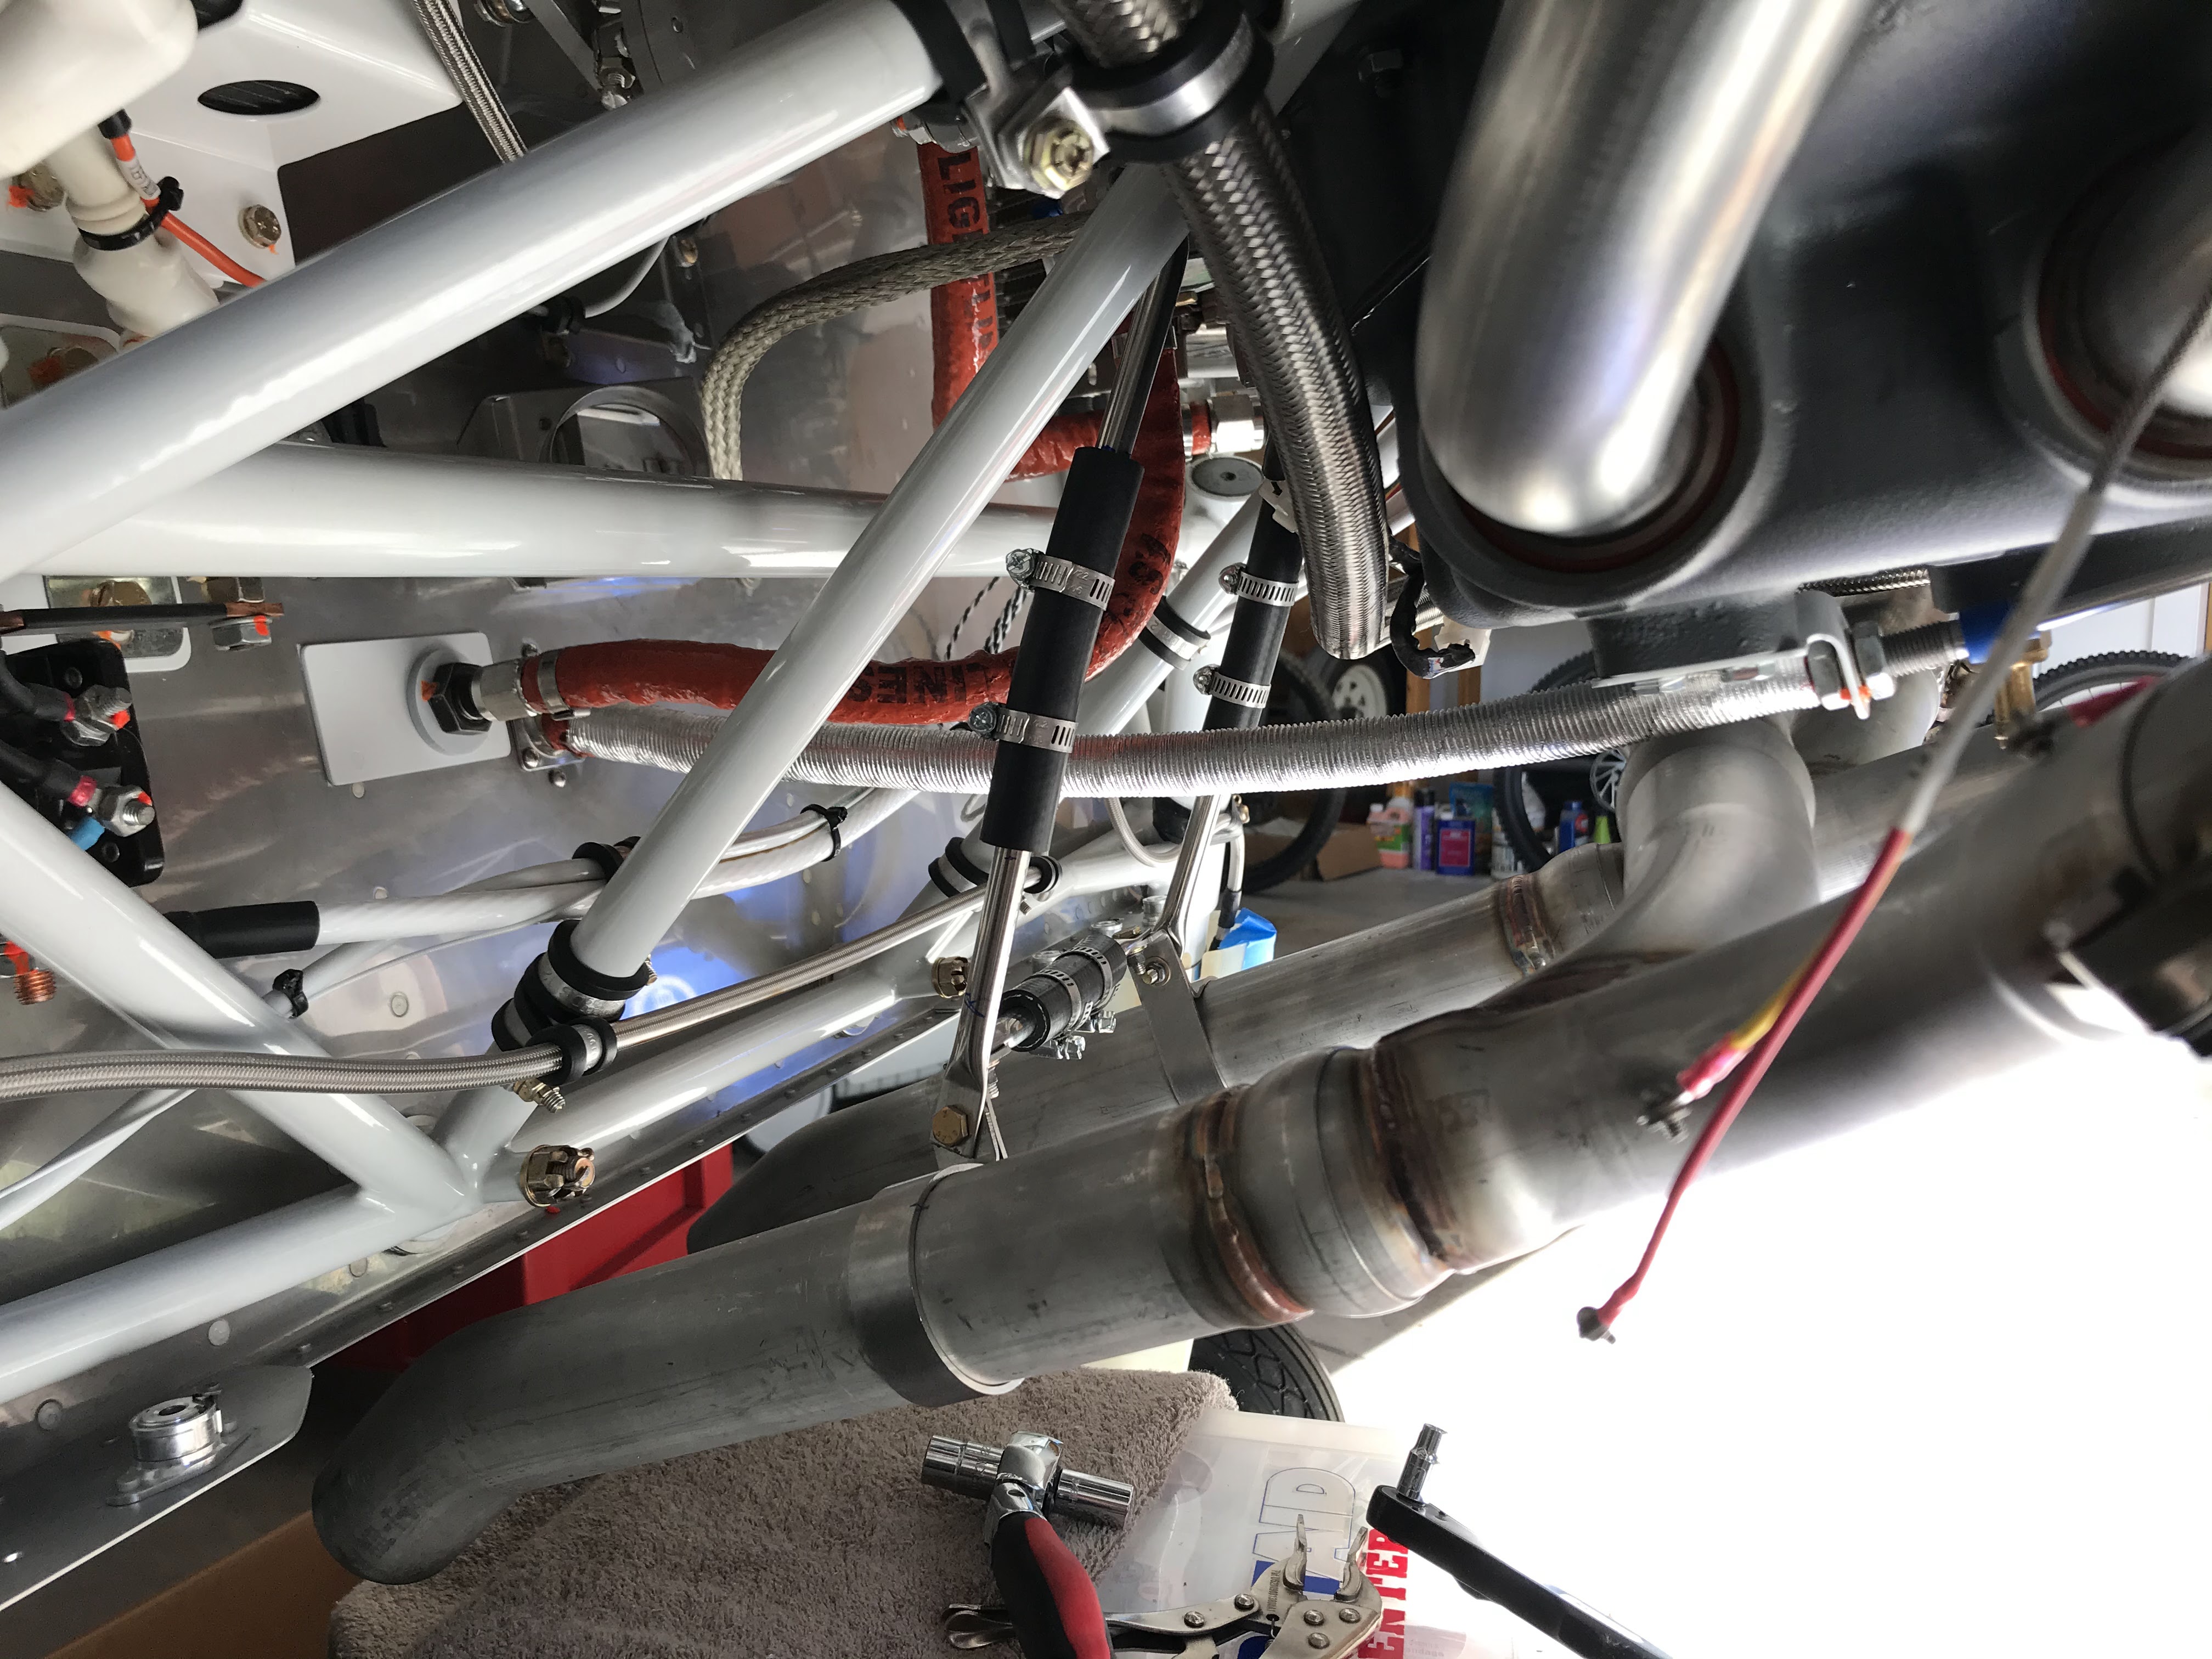
Finished the exhaust pipe supports. I used a thicker piece of hose to form the flexible part of the supports:

Installed the intake ducting and finalized the heat muff position. I like the scat duct from aircraft spruce much better than what is supplied by vans.

Getting ready to install the 4” scat duct to the oil cooler:


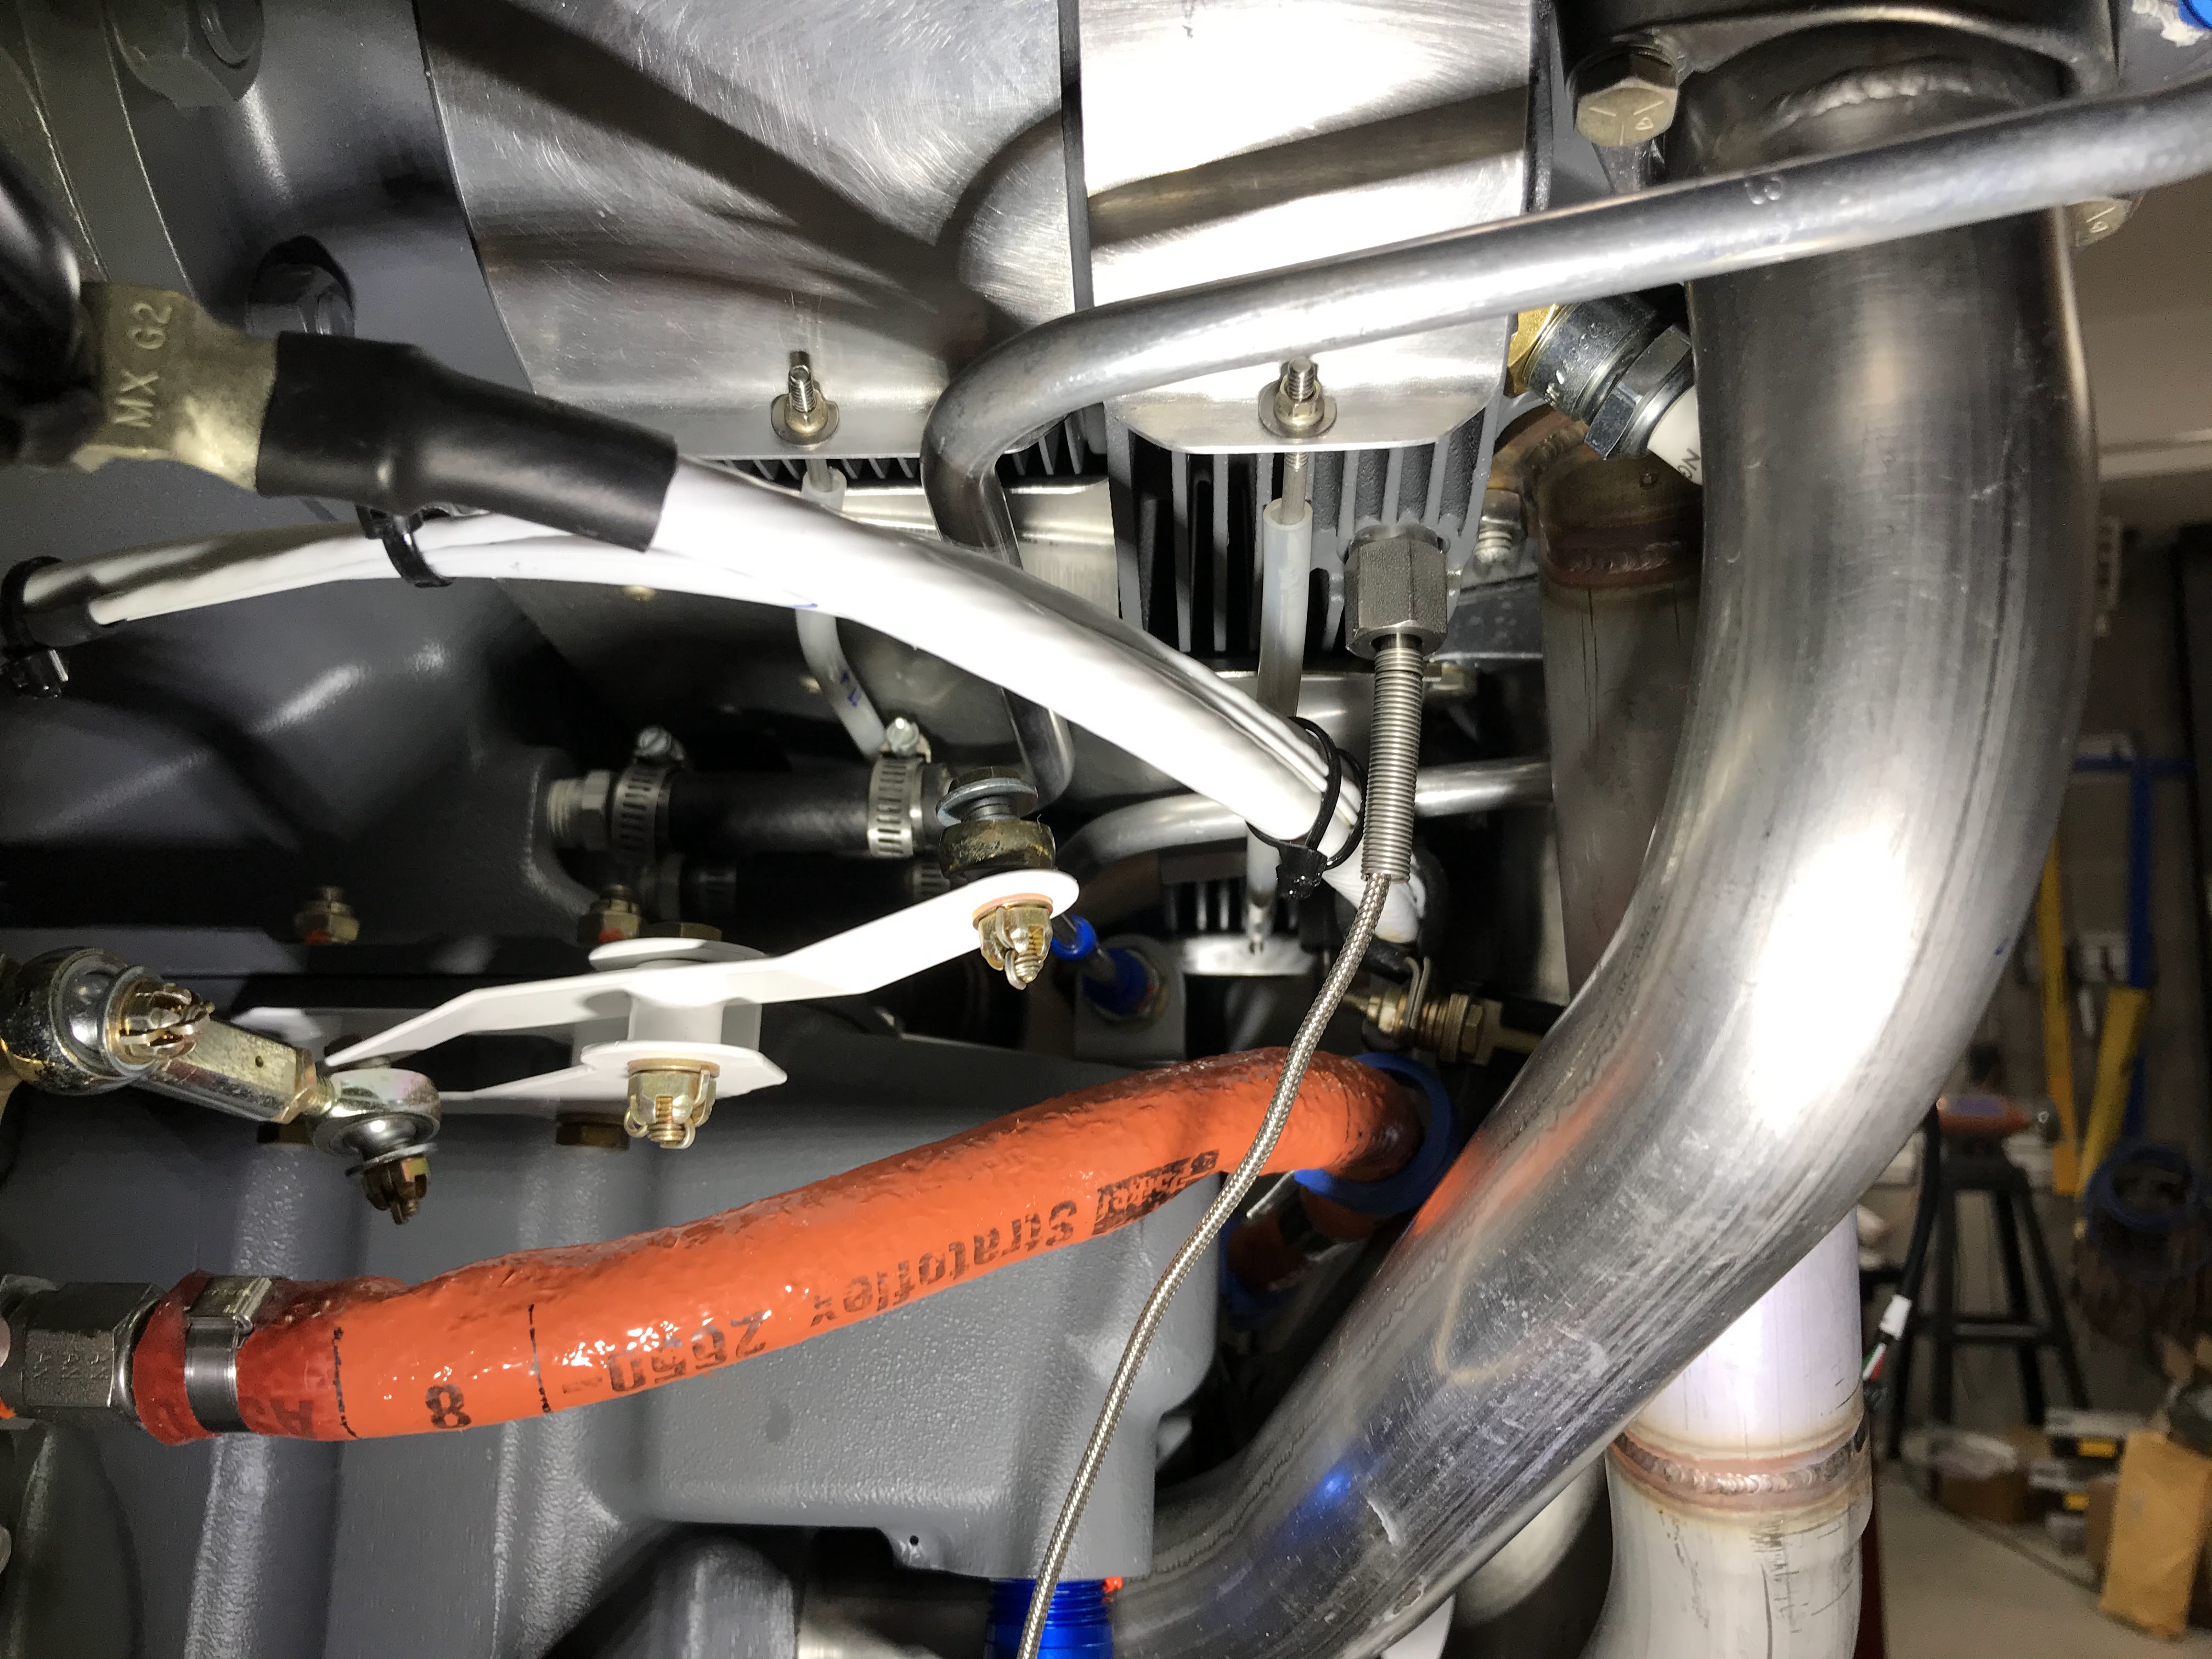
To protect the oil return tubes, cht probe and scat duct I used ptfe high temperature spiral wrap from aircraft spruce:

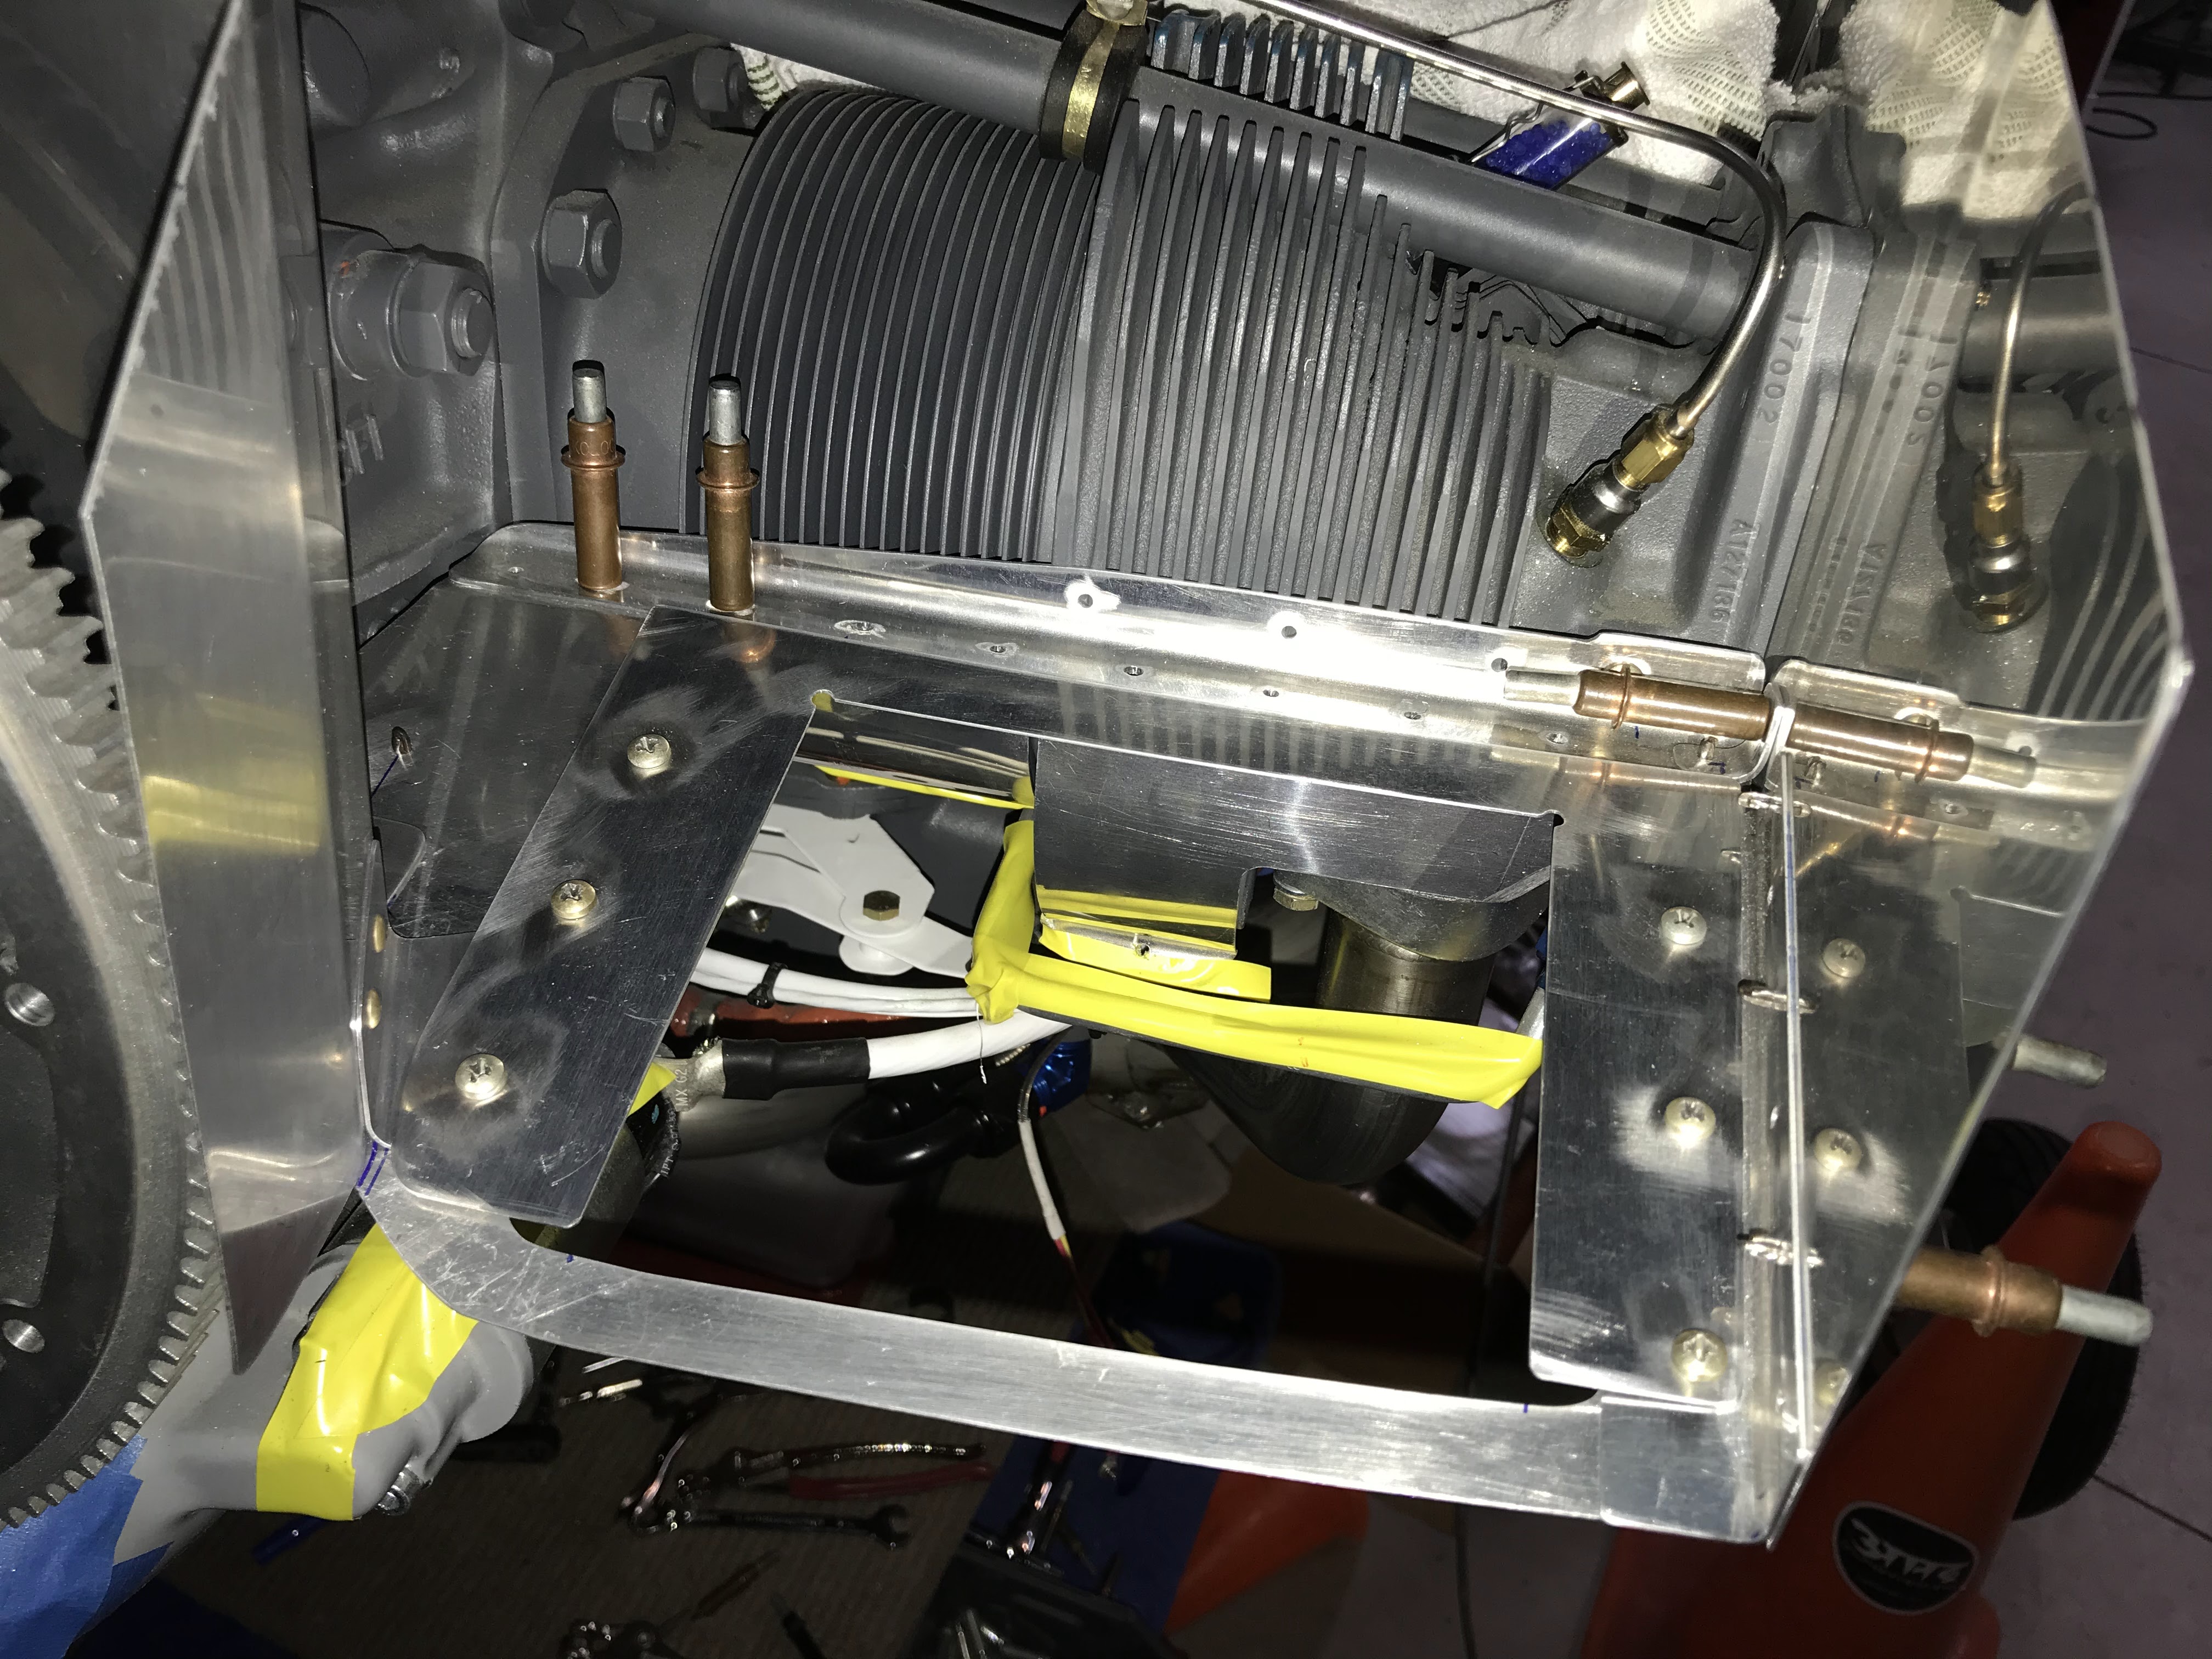
Baffle metal “permanently “ installed:


Baffle connector rods turned out good:


Pushed her outside for a clean and rinse before I installed the baffle metal pieces:

A lot of riveting to get a the pieces ready for installation:

Drilling the cowl for the side skybolt fasteners:


Tuesday, September 15, 2020

Cowl, snorkel and baffles


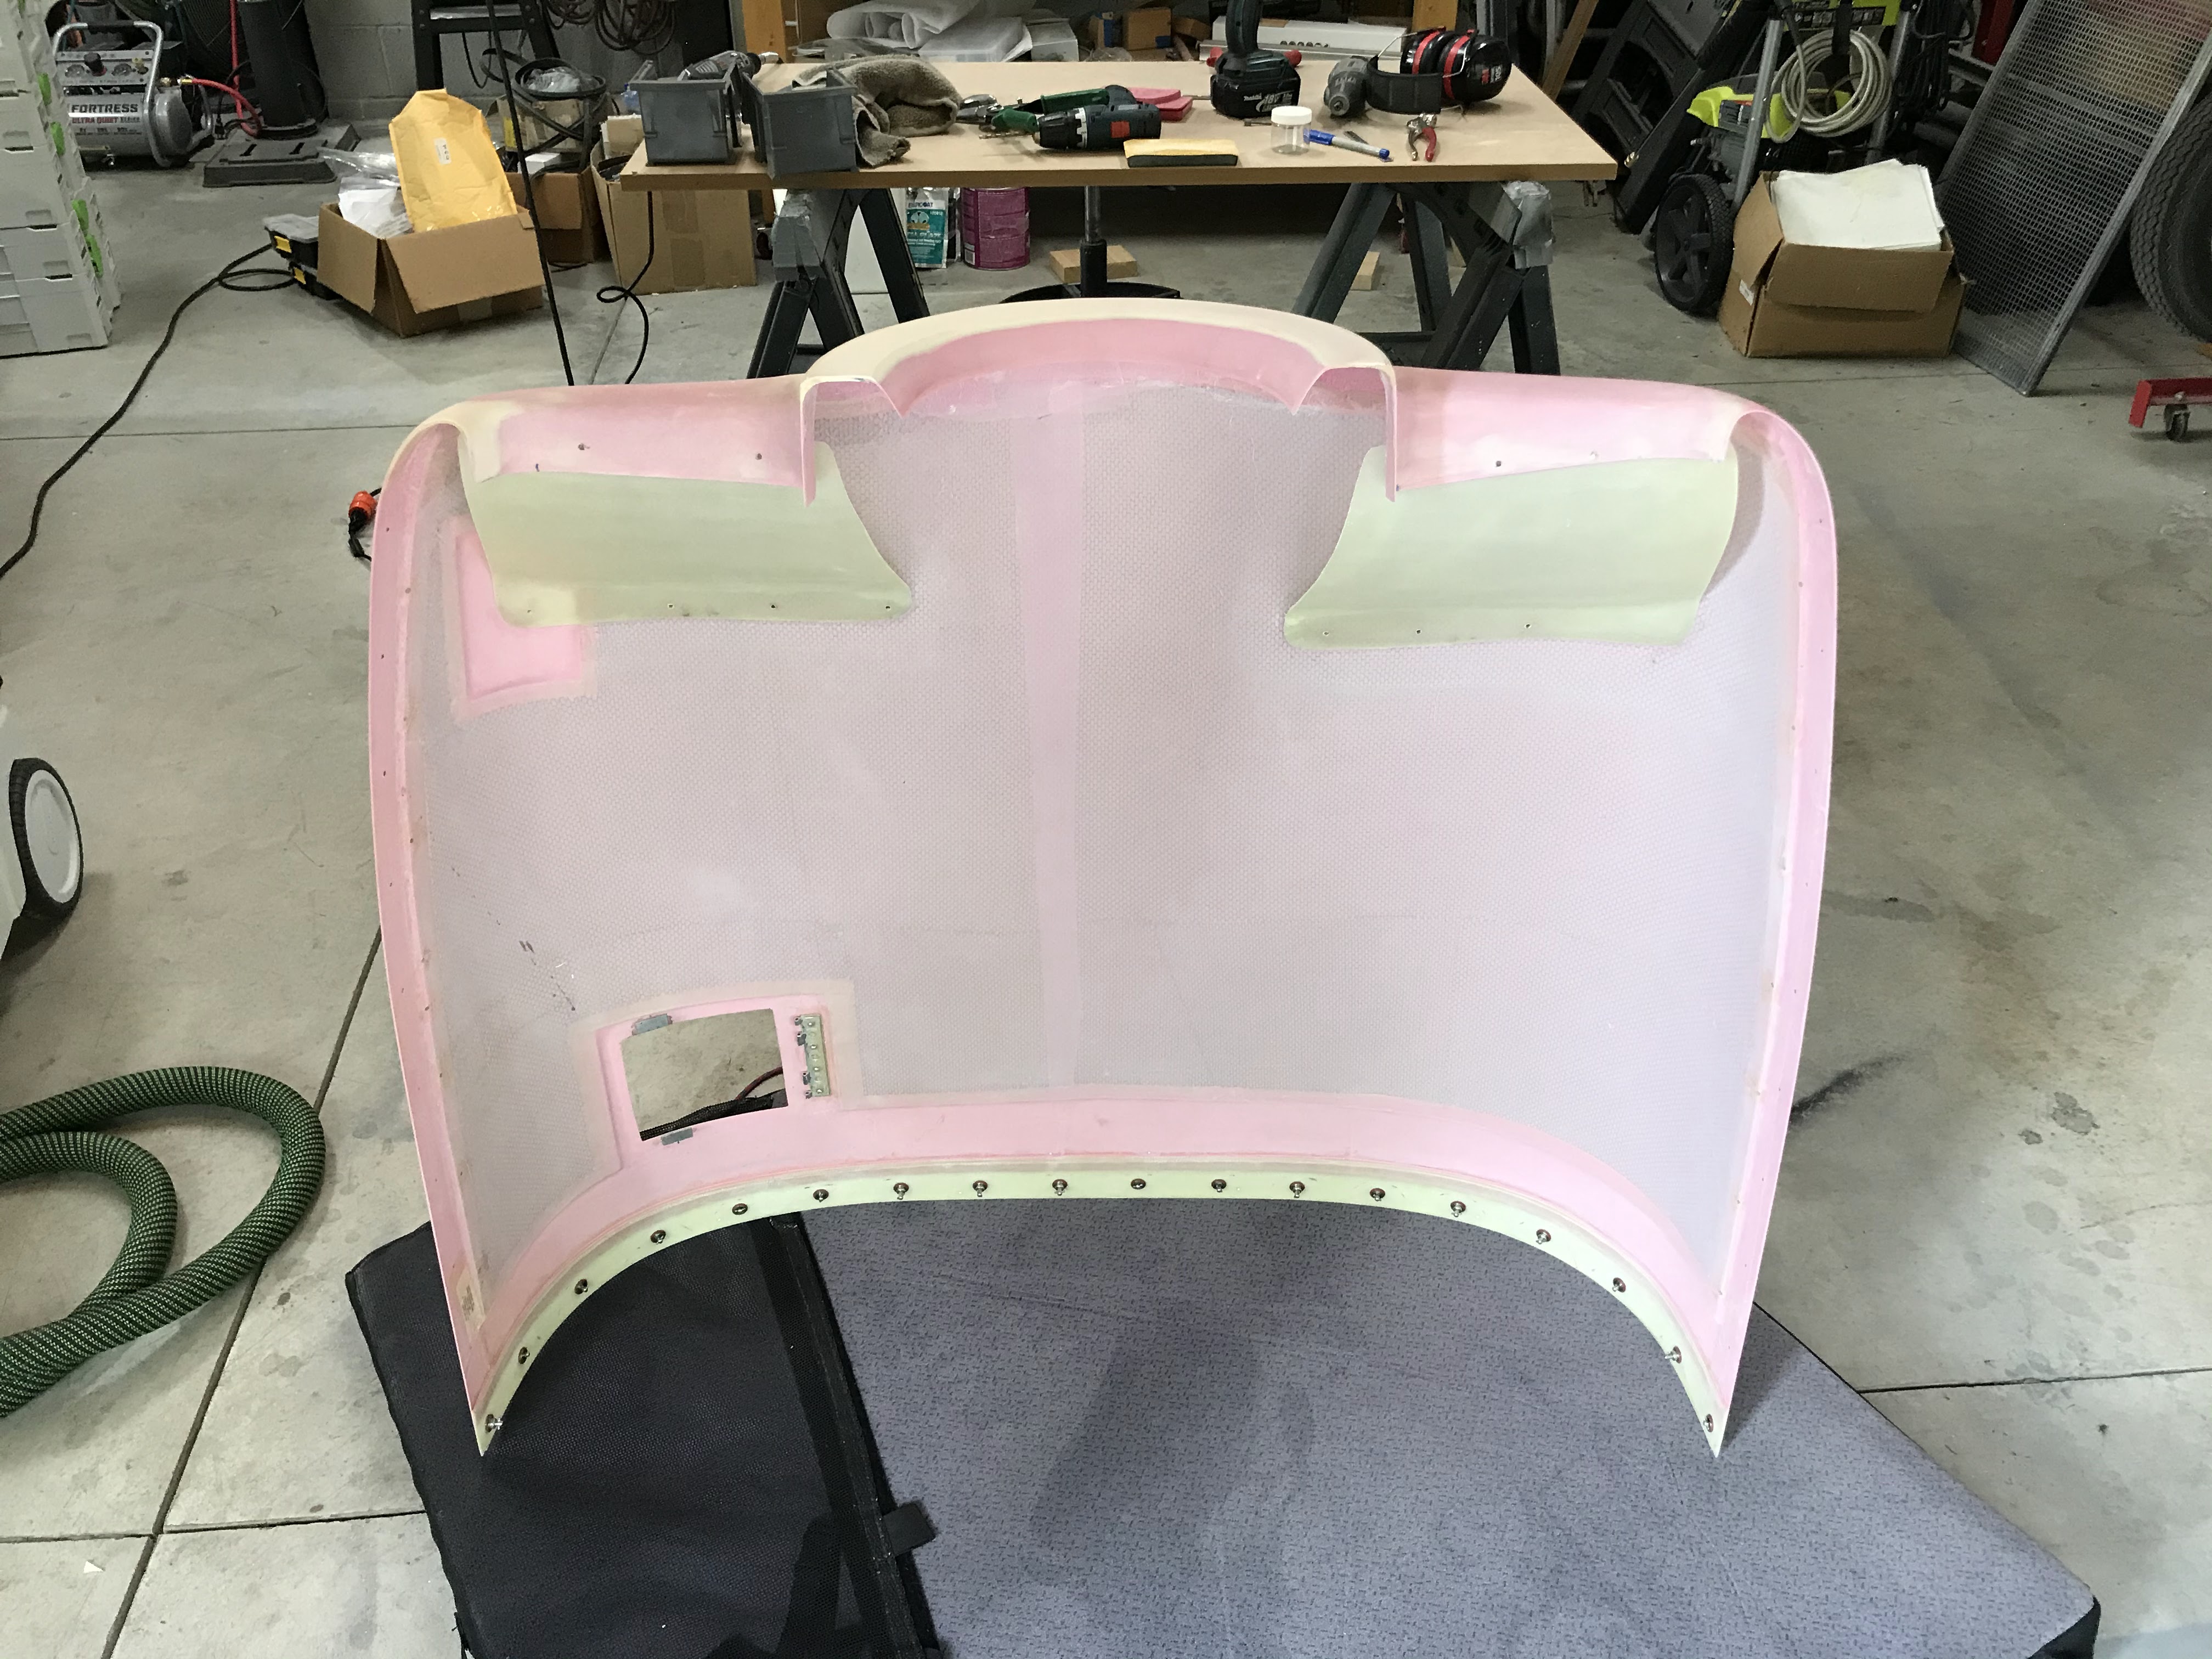
Cowl ramps with a thin layer of micro filler over the seams and new close out layups. The layups give the baffle material something solid to seal against:

Using paper clips to finish trimming the baffles:

Foam forms for closing the inboard cowl ramps opening with fiberglass:


Snorkel after much filling, sanding, primer and coats of rustoleum hammered finish silver:

Ramps in place and trimmed:

Getting ready to fine tune the baffle fit using the paper clip method (one of many iterations):

Cowl ramps being bonded on:

Positioning the cowl air ramps:

Positioning the top cowl to scribe the trim line on the baffles:


Wednesday, June 24, 2020

Snorkel and baffles


Snorkel prep for more reinforcing fiberglass:


Positioning the alternate air door:

Initial bonding done:

Drilling to baffle opening:

Cosmetic filler for snorkel:

Cabin heat air inlet:

Checking air filter retainer fit:

Threading baffle connector rods:

These took a significant amount of time (par for the course!):

Helper cat:


Monday, May 11, 2020

Snorkel bonding:

I pulled the snorkel off of the engine to finish the initial rough fiberglass re-connection. The first pass turned out great. Very stiff even with the partial fiberglass.

The aft gap on the snorkel was definitely easier to work with:

This section went much more quickly than the first:

I used the fast hardener in the epoxy (reddish tint) on this section. I will be able to do some sanding on it tomorrow morning.

Friday, May 8, 2020

Baffling mega post:

The following is a big post with all the baffle work I have done since March. The baffles combined with the front cowling are a huge amount of work!

Here is the snorkel after the initial fiberglassing to reconnect the two pieces. This should be enough to lock it in position. When I get back from work I will remove it, reinforce it, and do the finishing including painting. 

After prepping the pieces I used electrical tape as a rough form to lay the wetted out fiberglass strips on. 

Trimming the lower piece for a slightly smoother transition. 

Getting the filter opening trimmed just right took a while. I also had to trim the left lower cowl nostril to clear the air filter. I will be making a removable hold down piece for the left and right side of the filter. 


My fancy cnc machined o-ring valve covers have a slightly different profile from the stock ones so the baffles need to be trimmed a bit more....

A lot of baffles on / lower cowl on and off to get the fit dialed in. 

The right conical gusset was really a hassle. The third try turned out good. 


I used paper patterns, research on VAF and several attempts to work out the gusset. 

To get the snorkel opening to work I cut it into three pieces then riveted the aluminum brackets to it. In this photo I’m getting ready to glass it back together. 

Playing with snorkel alignment. The baffles, induction system and cowl are like a big jigsaw puzzle. 

Snorkel after drilling, squaring off and sanding the front face level around the bolts. 

Locating the holes precisely for the snorkel was involved but that’s normal for all of these parts. I used a stubby drill bit through the back side of the fuel servo to mark the holes. 

Vans has you removing the prop oil line to take the baffles on and off. I think that is a bad plan so I came up with this mod. It was inspired by similar mods from the internet. 

I used two number 8 screws, nut plates and a cover plate that allow the oil line to stay in place. 

 Just getting started on fitting the left baffle ramp with the cowl:


Drilled the 4” hose flange to the rear left baffle wall (after cutting the 4” hole!):


I also spent some time finish sanding my patched cowl bulge. It’s turning out good. I don’t think it will be visible at all after primer.