Labels

Saturday, July 16, 2016

Canopy work and cockpit / cabin painting: 9 hours

The following work was done over several days:


  • Prepped and bonded on canopy exterior latch plate using sikaflex. Also filled in a small gap on either side of the skirt.
  • Removed all hardware from cockpit to get ready for painting.
  • Cleaned cockpit / cabin and taped for painting. The area to be painted is actually very small because I'm focusing on painting areas that are left exposed after the interior panels are installed.
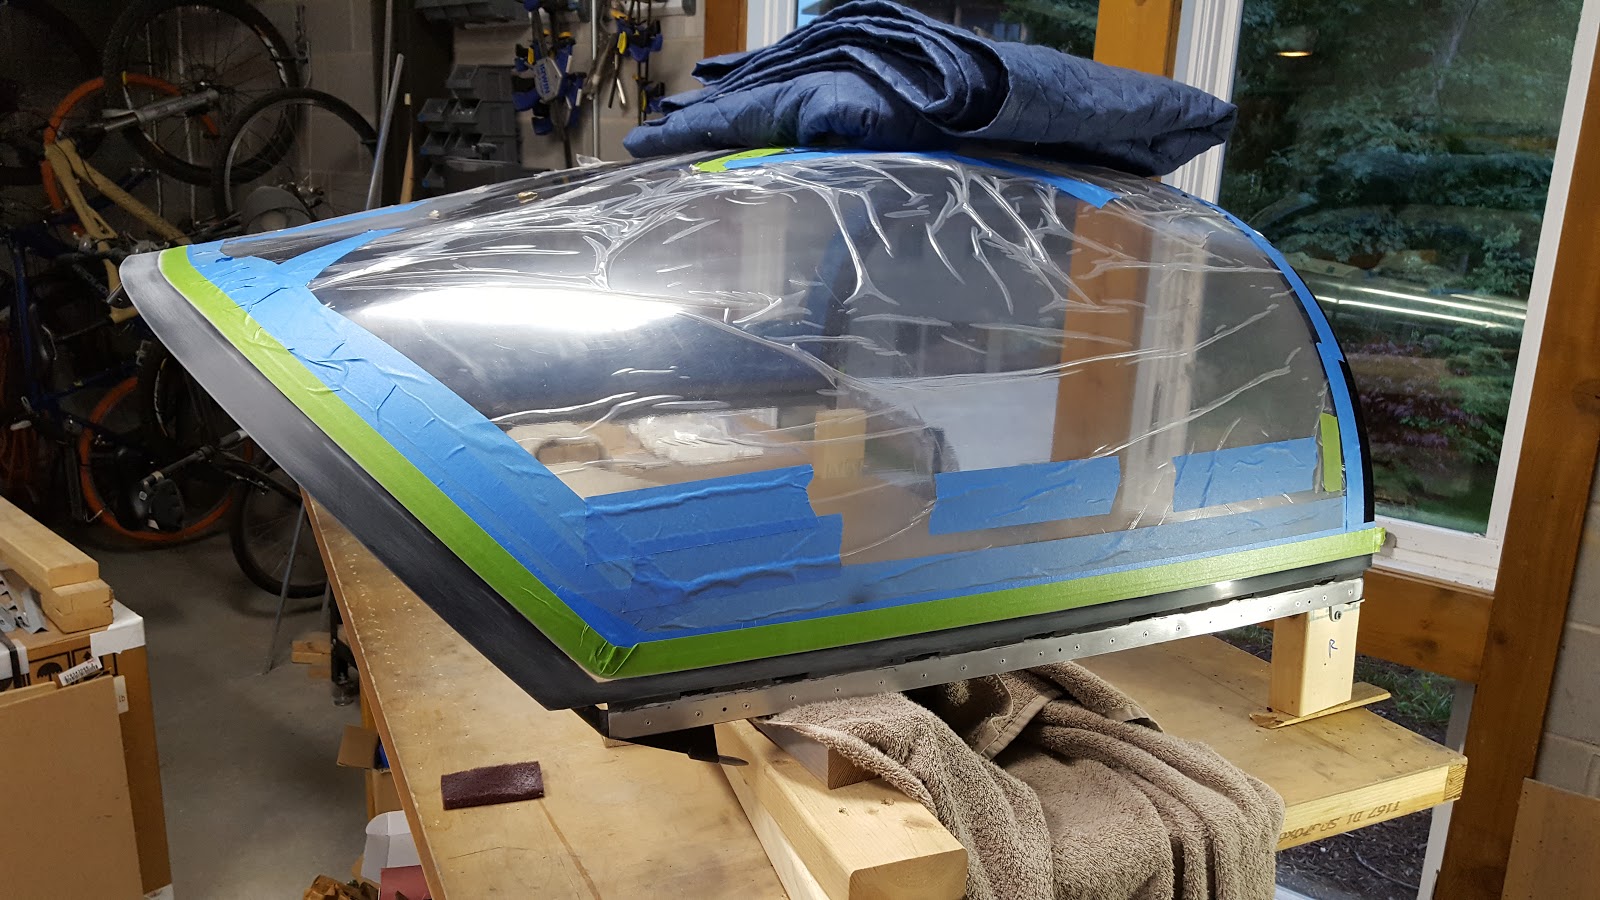
  • More cleaning. Protected outside of fuselage from overspray. Carefully wrapped canopy in plastic.
  • Like almost all the other metal interior parts the cabin will be painted with Napa 7220 primer then Eastwood 2k clear epoxy.
  • I initially tried spraying the floor and the upper parts of the cabin with primer all at once but did not get good results. I decided to do the floor first.
  • Cleaned up the overspray with scotch brite pads, cleaned, vacuumed and sprayed the floor with primer then epoxy. I went ahead and sprayed the baggage floor even though it will be covered by carpet.
  • Once the floor had cured I taped plastic over it and repeated the process on the upper parts of the cockpit / cabin.
Interior painting complete - now I can start permanently installing systems and wiring!

Upper sections coated with primer and epoxy.

Floor complete. I concentrated on the exposed forward areas since the baggage floor will have carpet.

Cleaned and taped:


All canopy hardware removed:

The tear drop shaped plate got bonded to the canopy:


Monday, June 27, 2016

Riveted inside and outside skirt: 3 hours

  • Attached inside skirts to frame with pull rivets
  • Riveted inside skirt to outside skirt with soft rivets and hand squeezer
  • As recommended on the vaf forum I went over all the exterior soft rivets with thin CA glue. This is supposed to lock the rivets into the fiberglass.
  • I also attached the track and the velcro tabs for the Koger sunshade.


Getting there!

Left side inside skirt riveted to frame:

Left side inside skirt in progess:

Saturday, June 25, 2016

Canopy skirt work: 4 hours

  • Modified inside skirts to clear pin blocks
  • Drilled inside skirts to outside skirt
  • Repainted inside skirts
  • Countersinked holes for soft rivets in outside skirt
  • Removed canopy from fuselage


Ready to rivet:

Drilling right side:

Drilling left side:

Bonding went well:

Thursday, June 16, 2016

Finished prep and skirt bonding: 3 hours


  • Riveted on the support for the canopy lock and the canopy side handle
  • Taped off inside of skirt for bonding
  • Went over area to be bonded with scotchbrite pad
  • Did a practice fit with Britt - this was a good move because I discovered that the slot for the canopy side handle did not fit because of the clear epoxy and paint - fixed with a small file
  • Cleaned dust off of area to be bonded, wiped with sika 205 then after 10 minutes painted on sika 206 primer
  • After 30 minutes for the primer to dry Britt and I attached the skirt
  • We applied a lot of pressure around the edges to squeeze out any excess sika 295
  • We then tipped up the canopy and pulled the interior tape, then closed and latched the canopy and pulled the top layer of exterior tape
  • I taped down the skirt and weighted the top to minimize any gaps
  • Later I pulled the final layer of outside tape. Next time I would do this sooner because the Sika had already cured somewhat so I will have to go back and trim it.
Curing, before I pulled the final tape layer:

Skirt primed with Sika 206:

Taped off:

Canopy lock support:

Practice fit:

Wednesday, June 15, 2016

Canopy skirt bonding prep: 3 hours


  • Removed paint from canopy pins and applied clear epoxy
  • Applied additional layer of tape to canopy which will get pulled immediately after bonding
  • Scuffed areas to be bonded with red scotchbrite
Almost ready to bond:

Clear epoxy over pin:

Sunday, June 5, 2016

Canopy skirt prep and painting: 6 hours


  • Taped off the canopy for bonding to the skirt
  • Taped off the inside of the skirt for painting
  • Cleaned, prepped and painted inside of skirt with multiple coats of Rustoleum painters choice satin black which is supposed to adhere well to composite surfaces. I'm happy with the results.
  • Primed and painted aluminum skirt supports but ended up with a run in one piece so I will sand and recoat.


Inside of skirt painted:

Area to be bonded taped off:

Canopy taped off for bonding:

Ready for more tape!

Wednesday, June 1, 2016

Canopy skirt prep: 6 hours

I had not done anything to the skirt since applying a thin coat of epoxy to fill pinholes so I spent a significant amount of time sanding and prepping it to be painted and bonded / riveted to the canopy assembly.

I found one area on the skirt that had some cosmetic defects that will be visible after installation so I filled the area with some micro then sanded.

I also started marking the skirt and canopy for taping for the sikaflex primer.

The above activities were accomplished over several days.

More sanding...

More filler...

Marking skirt for tape:

Made some blocks to work on canopy with skirt attached: