Labels

Sunday, August 21, 2022

Cowling work plus several odds and ends:


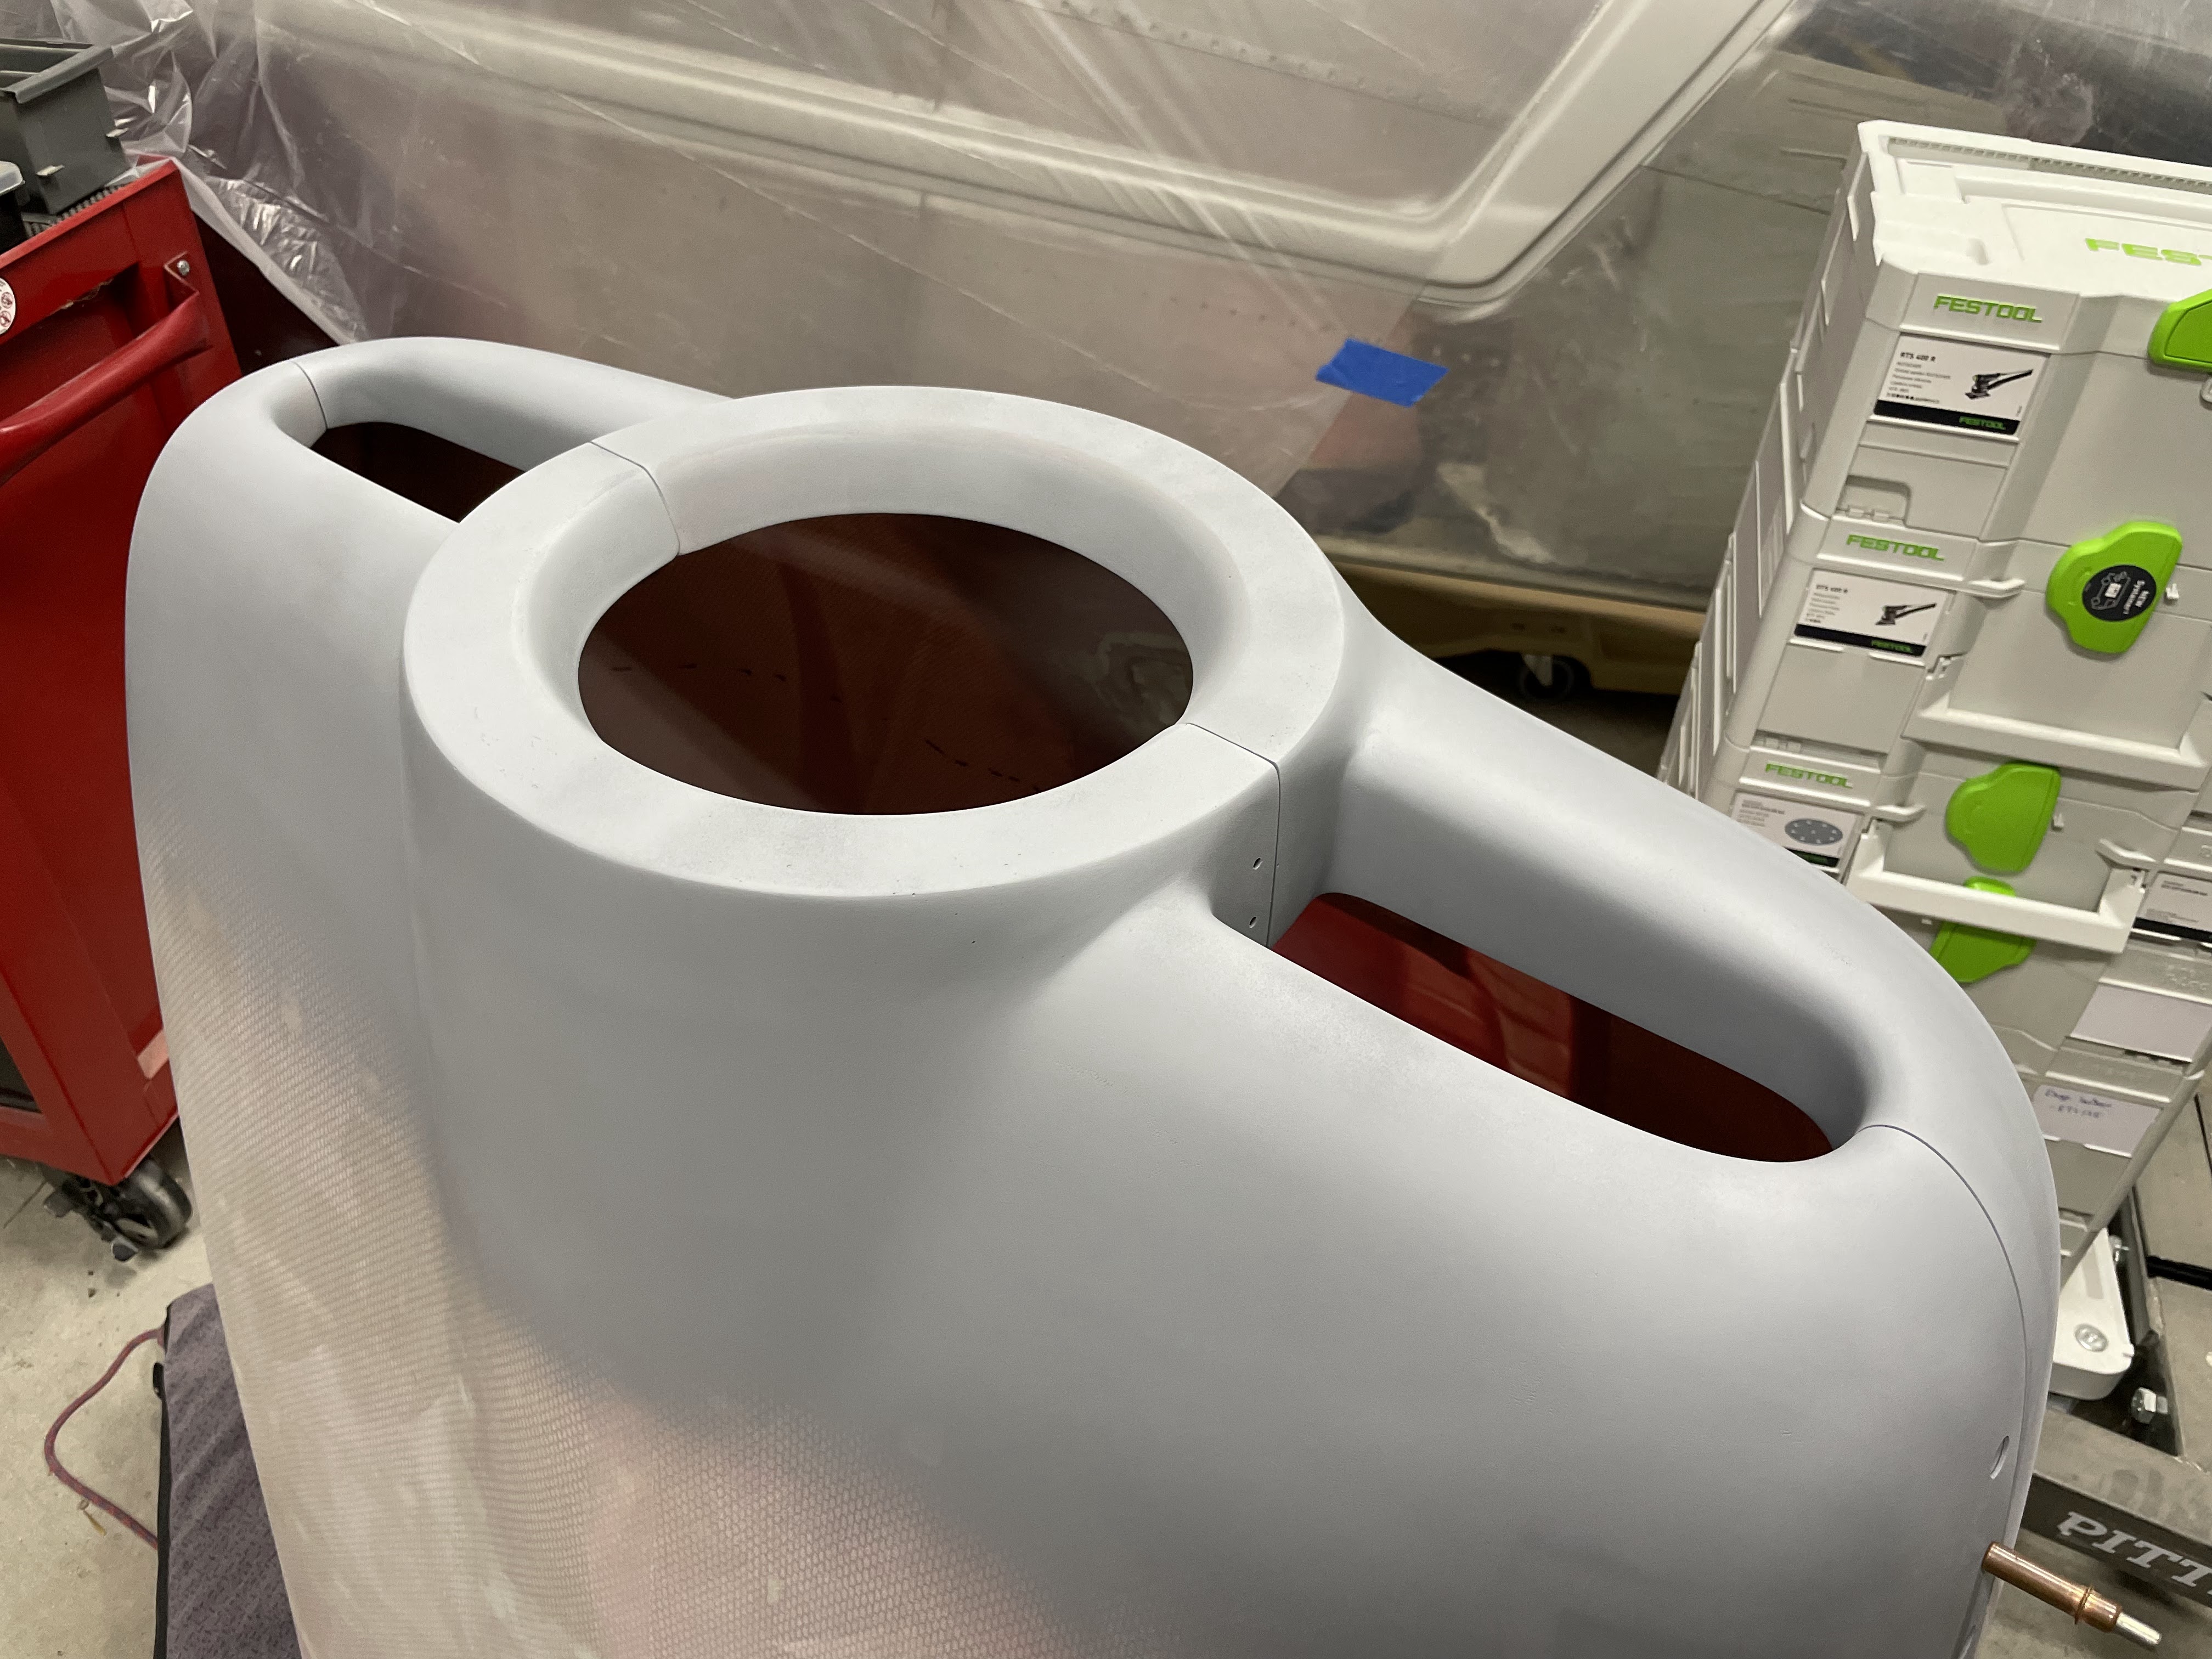
With the mottled pattern of the various fillers it was getting difficult to tell how the front of the cowling was progressing so I sprayed it with spraymax 2k primer filler. It actually looks a lot closer than I originally thought.

The inside of the lower cowl is about ready to be coated with clear epoxy and primed / painted.

Skim coating the cowling with rage to fill the innumerable pinholes and defects in the vans' cowling.

Working on filling the rough parts of the inside of the cowling for better paint adhesion / less nooks and crannies to catch oil once the plane is flying.

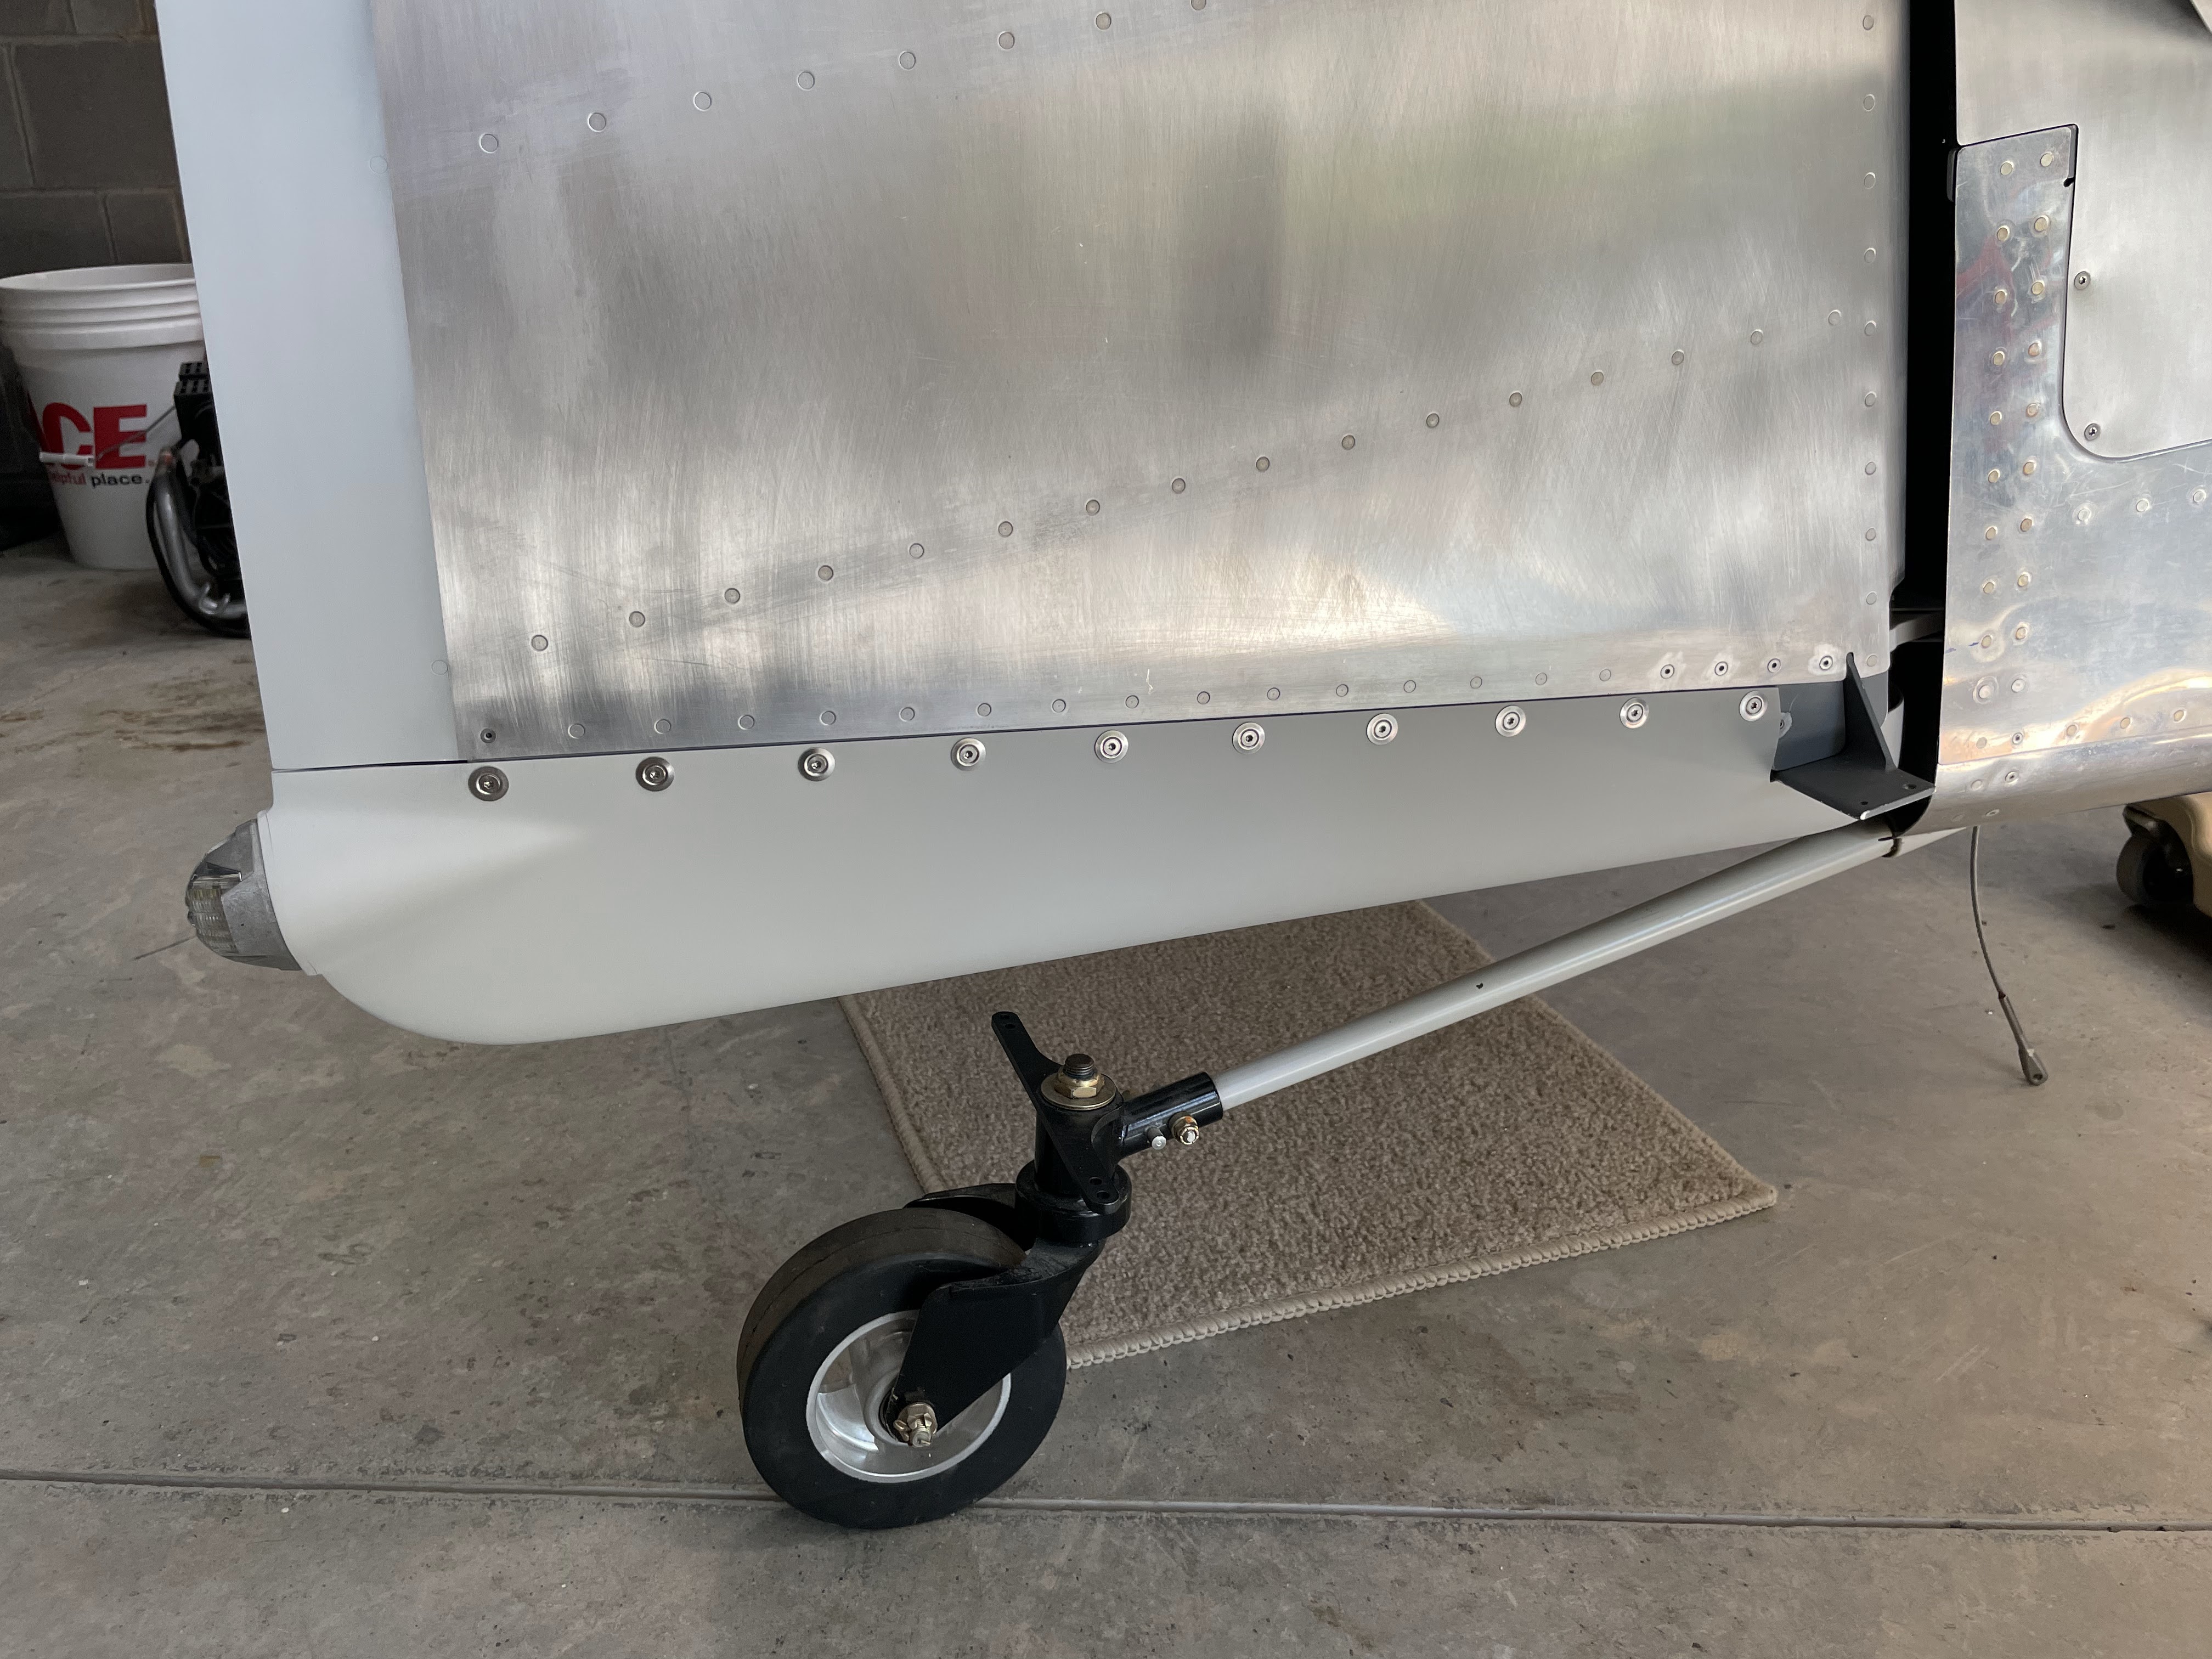
Planning on filling and priming the gear leg fairings but first I decided to reinforce the hose clamp tabs with a layer of carbon fiber followed by one layer of fiberglass:

Filling and sanding continues...

Inside of the top cowl is cleaned up and mostly ready.

The tail lynx springs turned out nice.

Paul and I updated the software on the G3X and the GTN-650:

Working on the rudder pedal to rudder cable links:

The finished links:

Checking the fit on the endless cowling...


All the empennage fairings are done and installed:


New toy: Wiha Speed e2 electric screwdriver - really a nice tool, perfect for the number six screws for all the fairings.

Finishing up the fairings:

I finished filling and priming the interface between the knockout panel and the riser fairing for the BRS parachute

Getting ready to prime the trailing edge of the rudder:

Mounting the BRS parachute knockout panel with the prescribed RTV:

Tuesday, January 18, 2022

BRS parachute install and more empennage tips work:

It’s been a while since my last update and I have not done much work on the RV-7. I have a few excuses though! The main one is I switched aircraft at my full time job and I had to get a new type rating. Also there were and still are some big house projects that I can’t put off. I even have an excuse for the future because we will be on a big ski road trip in February / March. However we have gotten a few interesting things done:

  • Assembled the BRS parachute rocket hardware and installed the actual parachute assembly
  • Made progress on the empennage tips although they are taking much longer and are far more work than I anticipated. 

Here’s my new work ride, the Challenger 650:


The parachute and rocket are now “permanently” installed. The process for all this involved a lot of careful review of instructions and a call or two to BRS for verification. 


Here you can see the final position of the parachute canister and rocket launch tube. The rocket is ready to go but as a precaution we left the firing mechanism safety wired in the disabled position. Once we take the fuselage to the airport we will connect the cable from the parachute deployment  t-handle in the cockpit to the firing mechanism. 

My brother Paul was in town specifically to help on the parachute install.
 

Assembling the rocket and attaching it to the launcher and parachute container was interesting. We were super careful, went very slow and double checked every step. Here we are putting in the ortner key which locks in the bottom part of the rocket . The BRS instructions were very good. 

Earlier in the fall I got the rudder bottom fairing to an acceptable level of finish for the initial flights. I want everything to look good but it’s easy to get carried away.

I also got the wiring done for the aeroled tail strobe / position light:

It’s a super bright light and strobe. 
  

I used some of the glue on nut plates for a reinforcing piece on the rudder bottom fairing:

Seemingly endless amounts of filling and sanding. I don’t think Vans has figured out the fiberglass parts but I bet most builder’s would pay a lot more for decent quality parts that don’t require so much rework.