Labels

Wednesday, April 21, 2021

Avionics reinstalled and updated:


The actual installation part for the G3X Touch and the GTN-650 was easy. The software updates took a little research. As luck would have it Garmin had just released an update for the G3X Touch today!

Instrument panel re-installed:

I finished reconnecting all the switches, installed vents, organized / cleaned up wiring bundles and started testing (so far no magic smoke has been released!).

Panel re-install in progress: (My brother Paul was here to help with the install panel install and having two sets of hands made a huge difference!)

Paul and I spent about half the day making these two frames for the defog fan cutouts. I have decided to go with an ultraleather fabric on the glareshield so I needed a way to trim around the cut outs.


Saturday, April 17, 2021

Windscreen fairing complete! also more work on elevator tips:

Victory shot with the newly attached windscreen fairing:

Very happy with the fit.

The fiberglass turned out great but the paint shop will take it to the final finish.

My brother Paul was instrumental in getting the windscreen fairing attached. We used Sikaflex 295 UV. This is the same product I have used to attach the windscreen, canopy and canopy fairing. The prior experiences definitely made a difference on the canopy fairing. It was still very messy and a lot of work. (The little black pouches around the fairing in the photo are one pound weights from a training vest.)

Here we have applied the Sika primer. You can also see all the precision taping. We used two layers of electrical tape and peeled one off after the primer had dried.

Fairing after first coat of epoxy primer. This revealed a number of pinholes that I went over with Metal Glaze followed by more sanding and another coat of primer.

After a layer of West epoxy using the fast hardener.

Elevator tips after initial coat of West micro:

Sanding the Rage ultra and metal glaze:

It was easier to apply this layer of filler with the fairing in place.

Final fiberglass to close out the elevator tip:


Thursday, April 1, 2021

General Update: Baffles, primed canopy fairing, windscreen fairing, elevator tips and more exciting stuff!


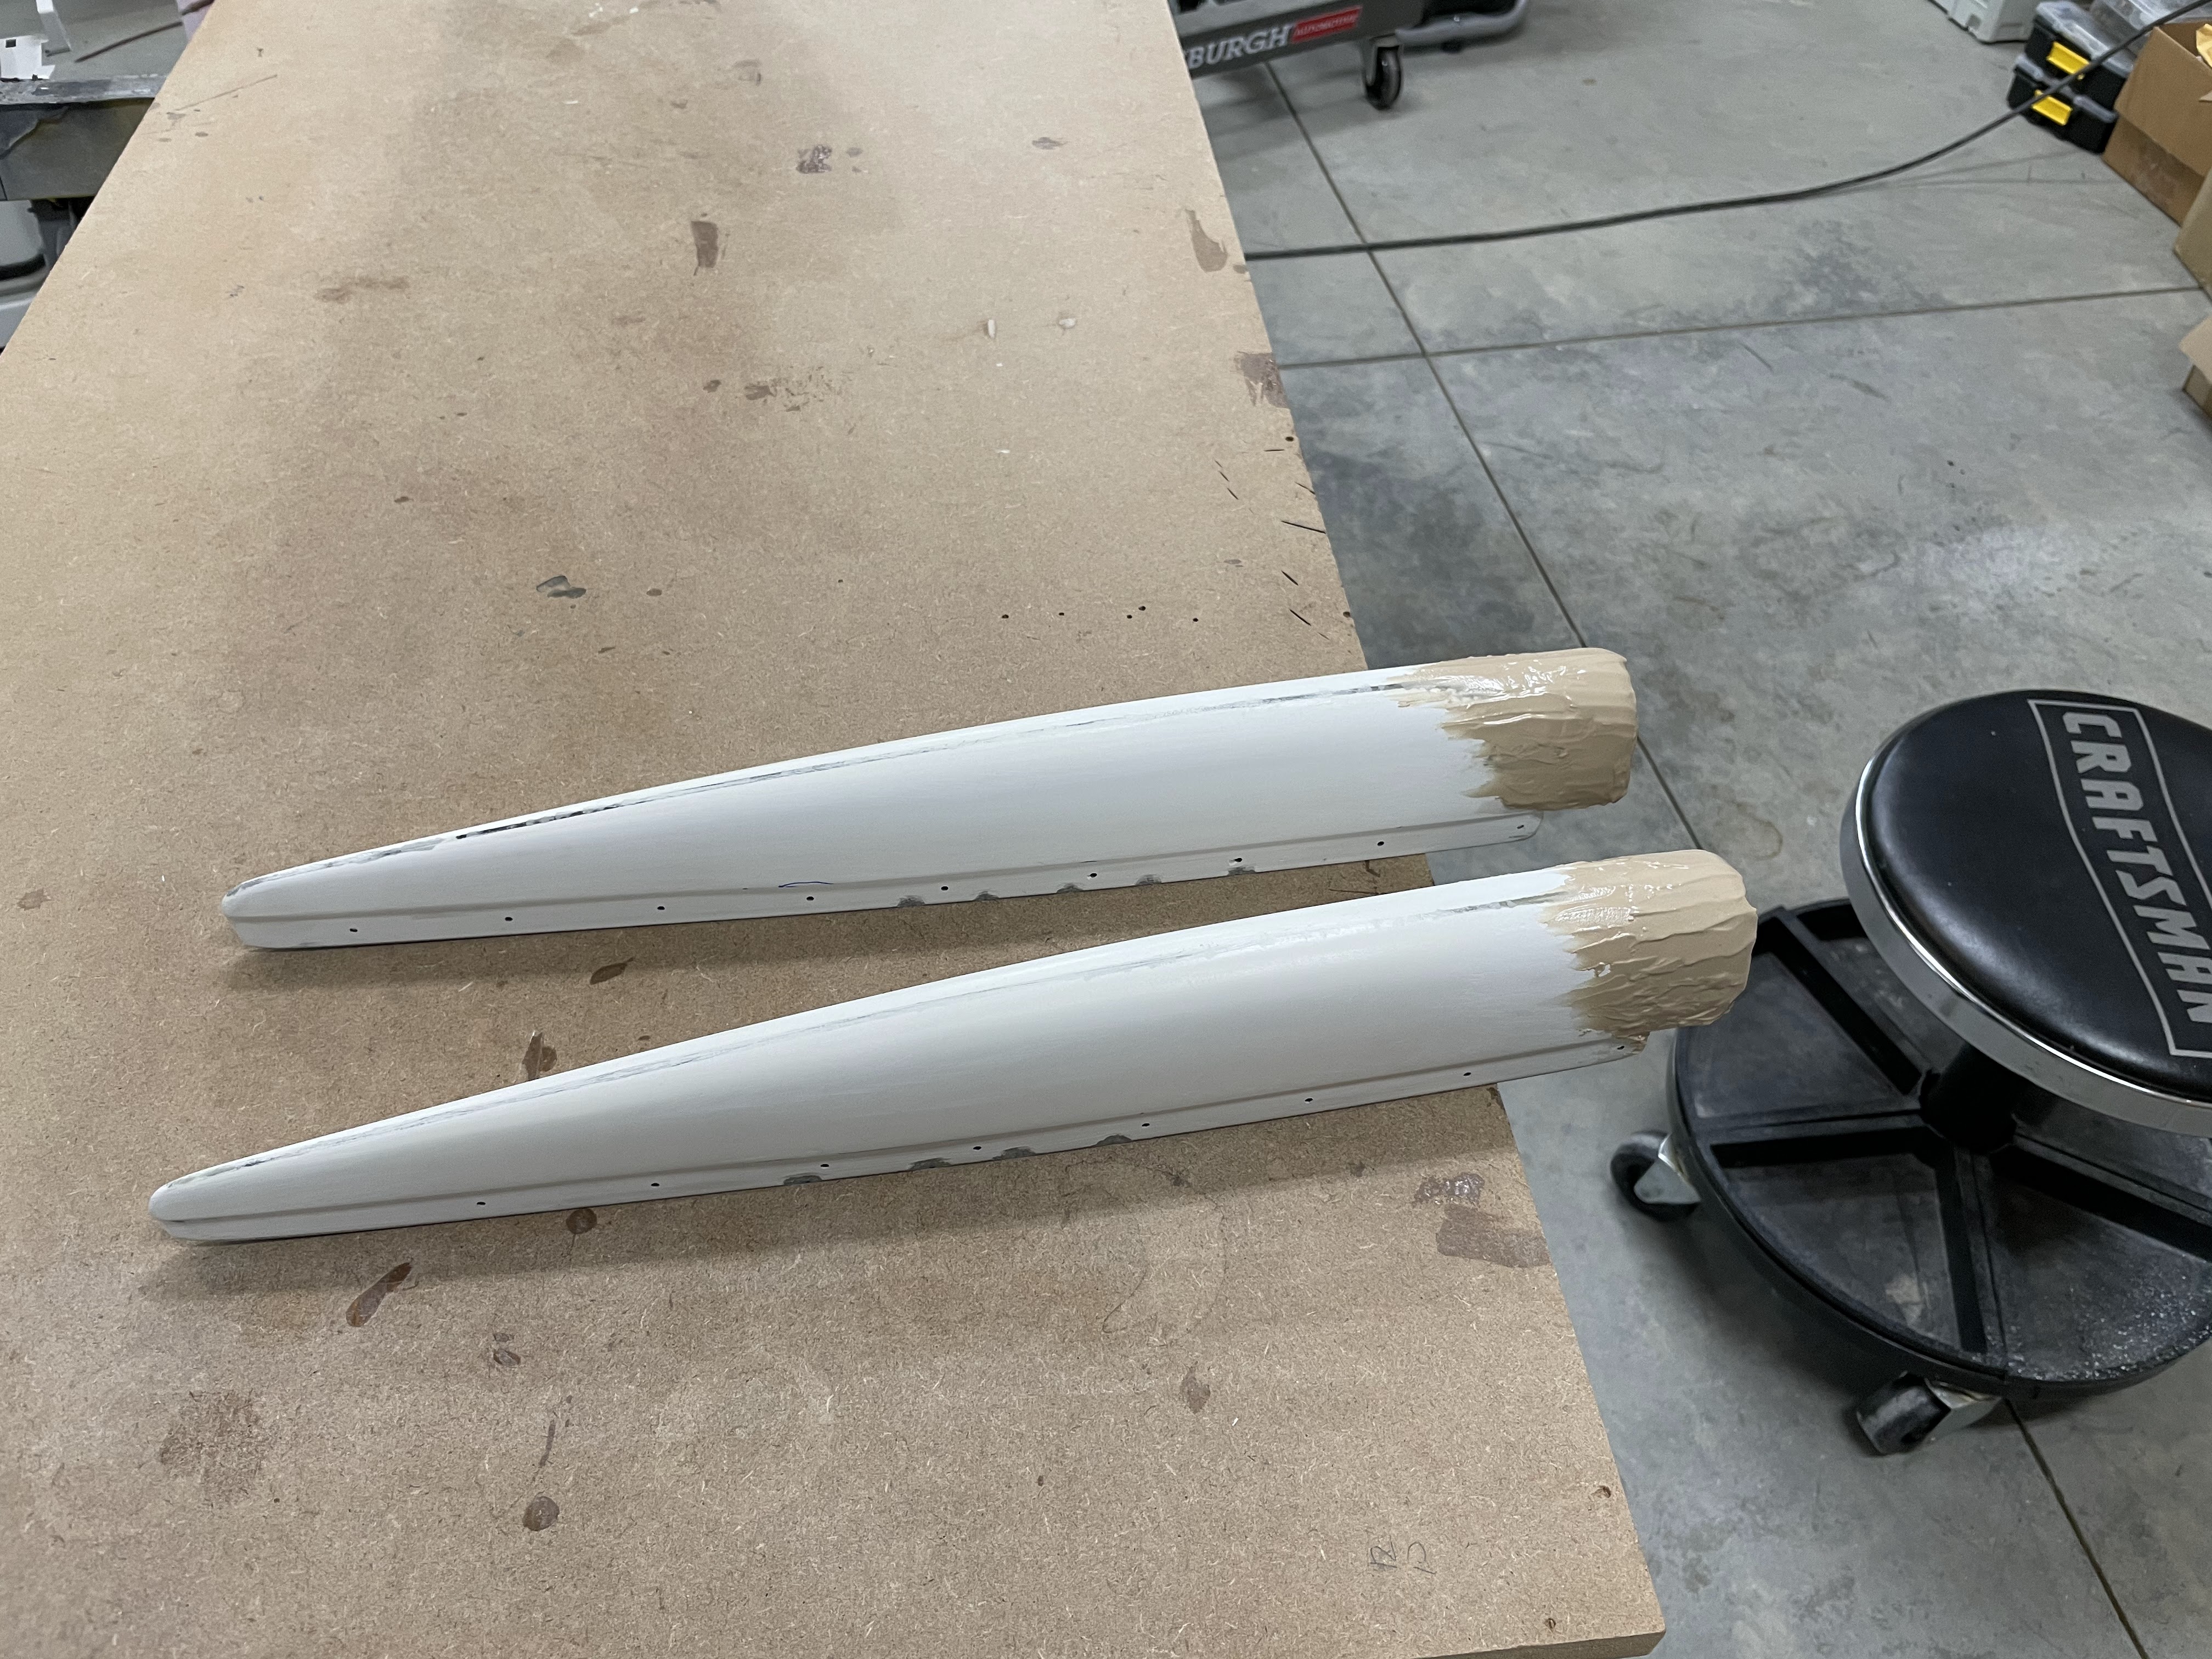
Trimmed right elevator counterweight to balance. The elevators are balanced separately but the left has the trim servo in it so it's much heavier.

Left elevator tip ready for fiberglass to close off the end:

Fiberglass in place:

Drilling left elevator tip:

Windscreen fairing after a lot of sanding of first layer of filler

Thick layer of west microlight fairing filler:

Fairing has been sanded but not filled. Black area is one layer of embedded carbon fiber.

Reinforcing with a bit more fiberglass cloth:

Sanding progress:

Rough trim complete:

Layup done. Four layers of glass plus one layer of carbon fiber over the roll bar area. The short pieces are peel ply for the initial finish.

Ready to start the long process:

Windscreen almost ready for fiberglass. The white strip over the roll bar the the printed area around the front is double sided tape meant to create space for the sika flex adhesive.


Second coat of epoxy primer on canopy fairing turned out great:

First coat of primer revealed a fair number of pinholes which I filled with metal glaze:

First coat complete:

I thought it was ready but there were still a lot of lurking pinholes:

The cowling is so complicated. Still in process. Filling and sanding.

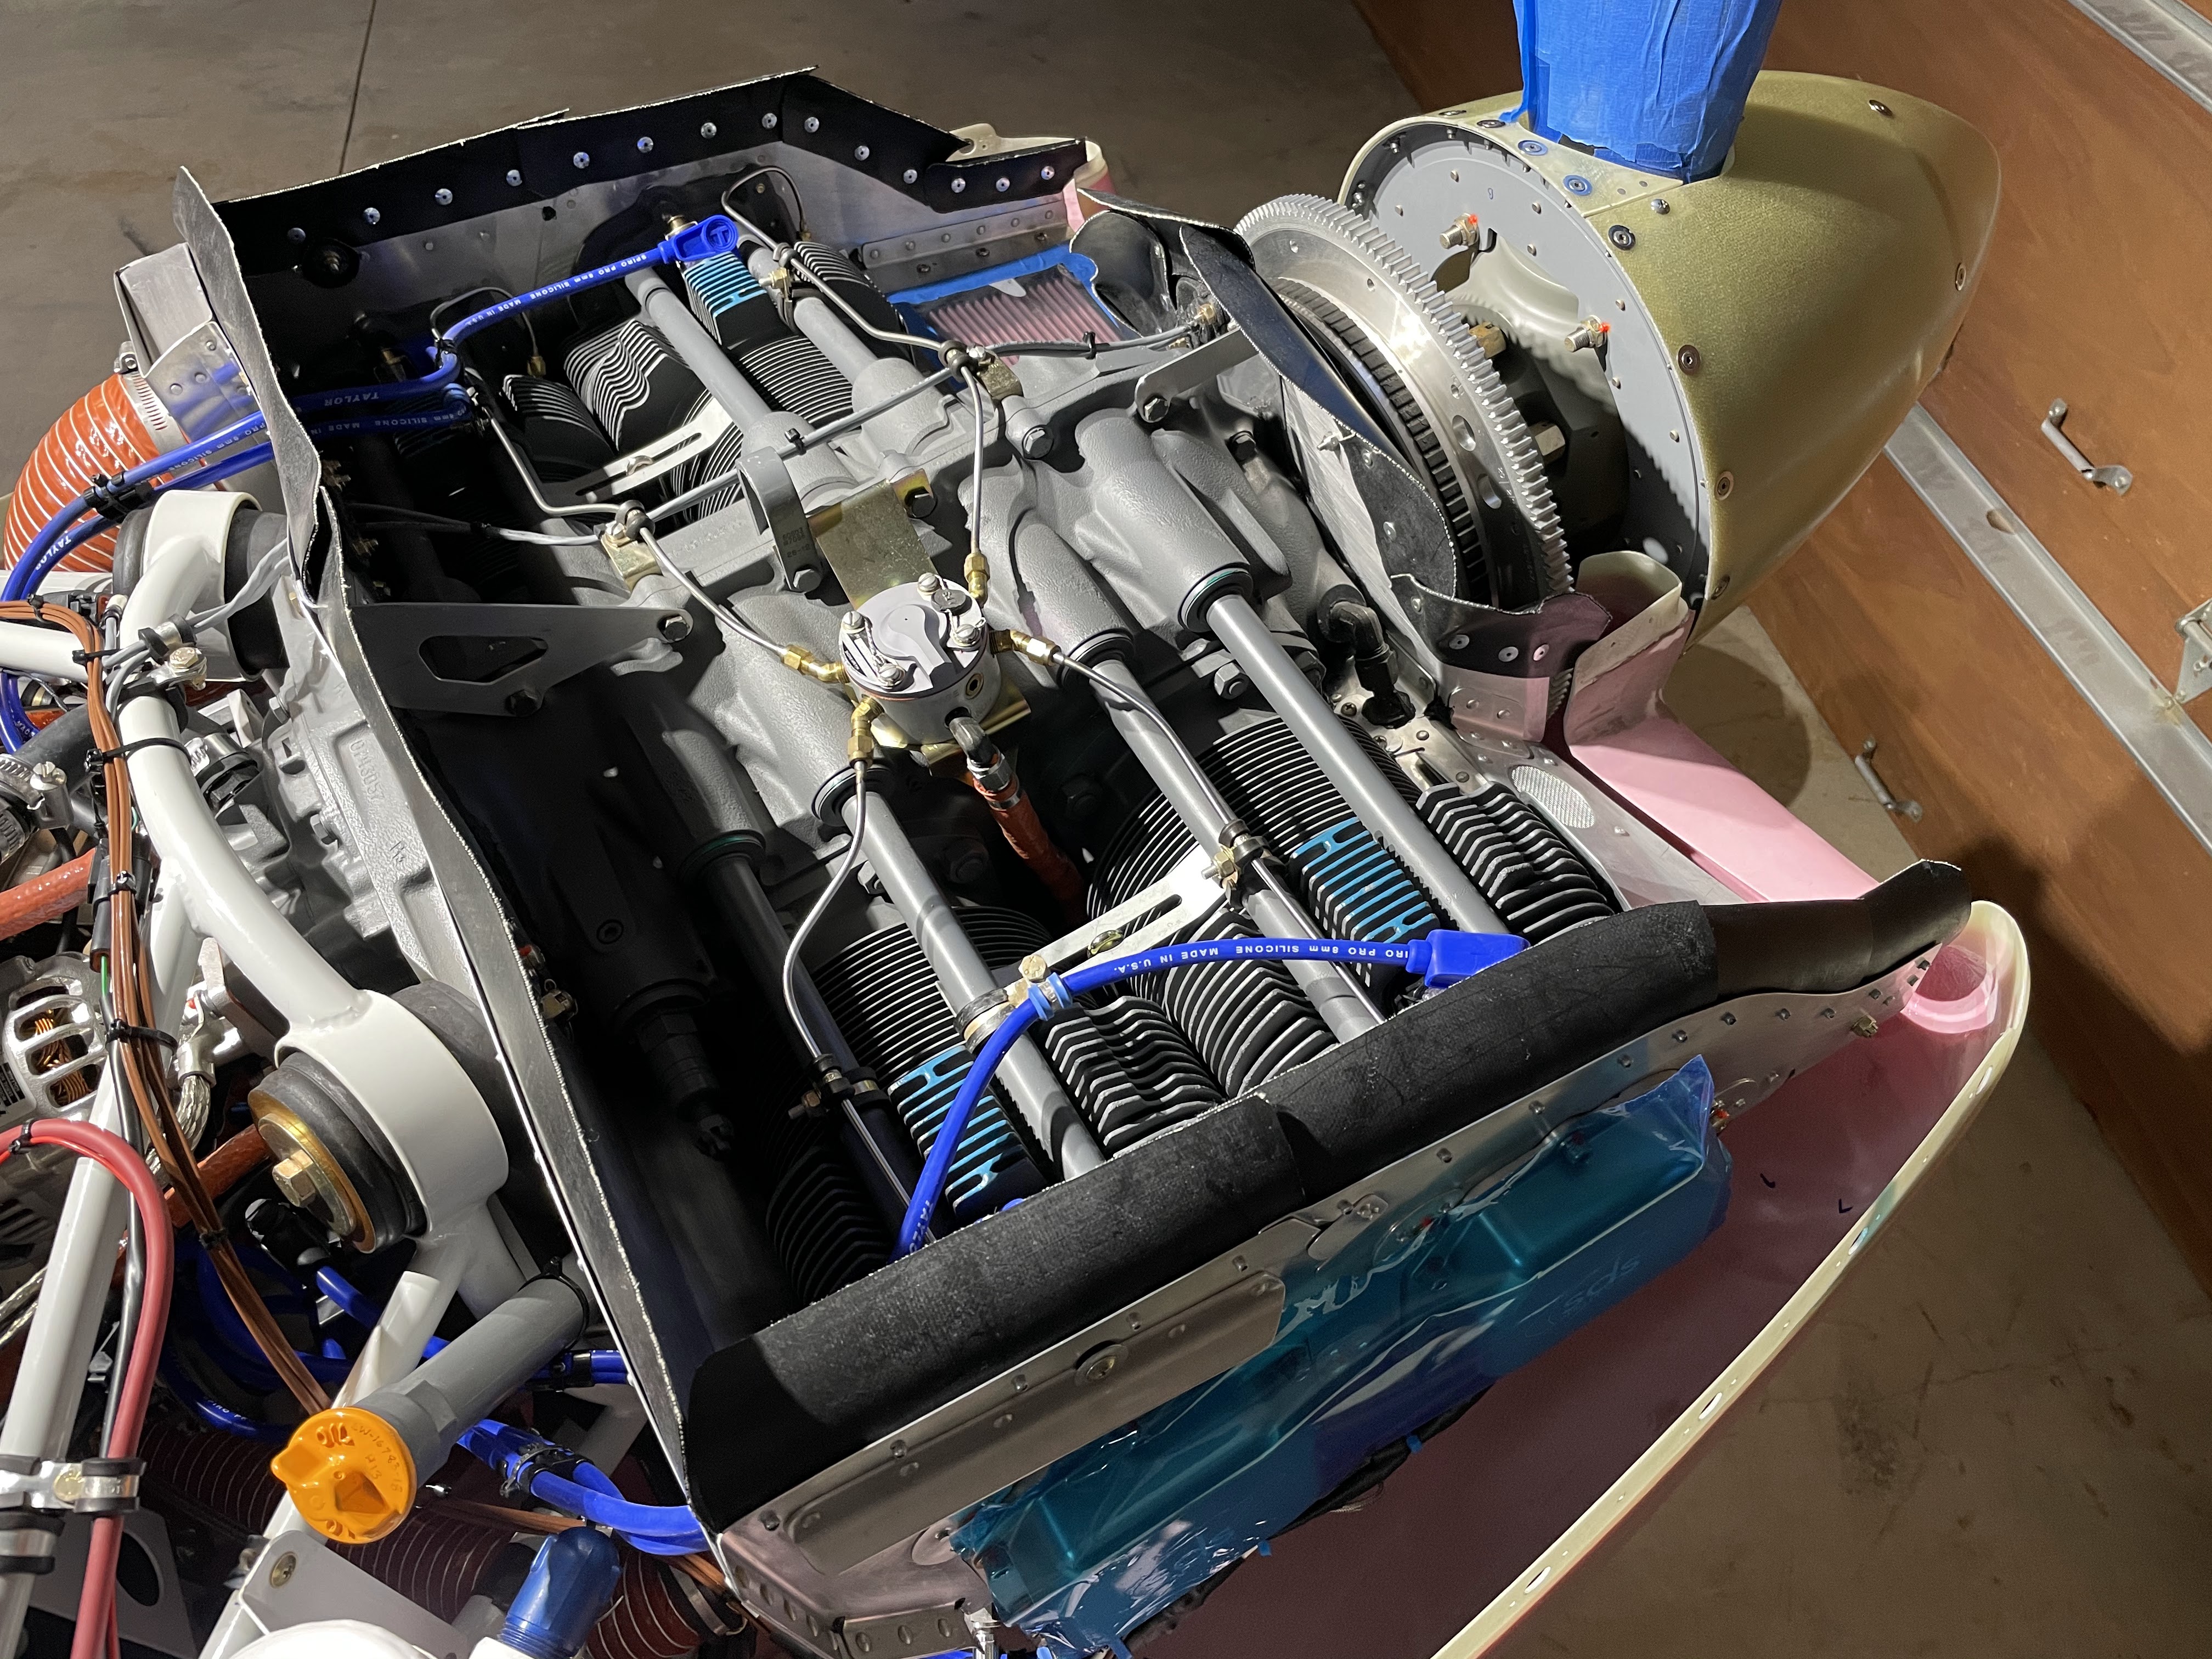
Baffles are complete:


Britt's belt hole punch worked great to prep the baffle material for rivets: